This is the first post in a series I’m devoting to all things closets. Since we downsized, I think the majority of questions I’ve received have had something to do with how we edit / where we keep our belongings. I sat down at the computer last night to dive into a post addressing all that but quickly realized it was too much for a single post. So, in an effort to keep things concise and address different closet situations, I’m going to share images and info of each and every closet in our home in separate posts over the next few months. {You may notice a few useful reoccurring themes!} Also, this is me lighting a fire under my own arse to assess and improve a few storage issues. Yep, even with all the purging and organizing I’ve done, there are two closets – one wardrobe + the boys’ closet – that just aren’t working as efficiently as they could be. But today I’m showing you the master bedroom closet and there’s nothing master-ish about it.
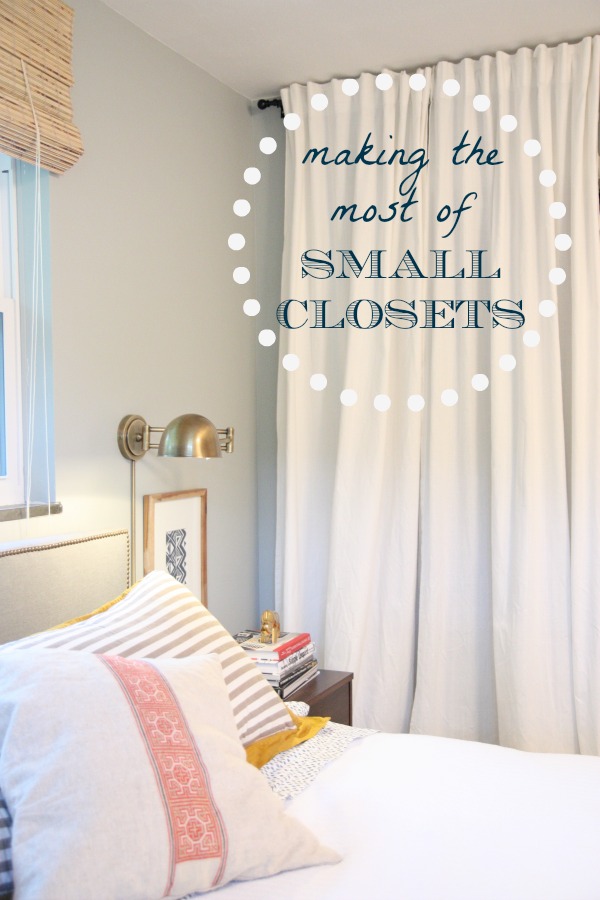
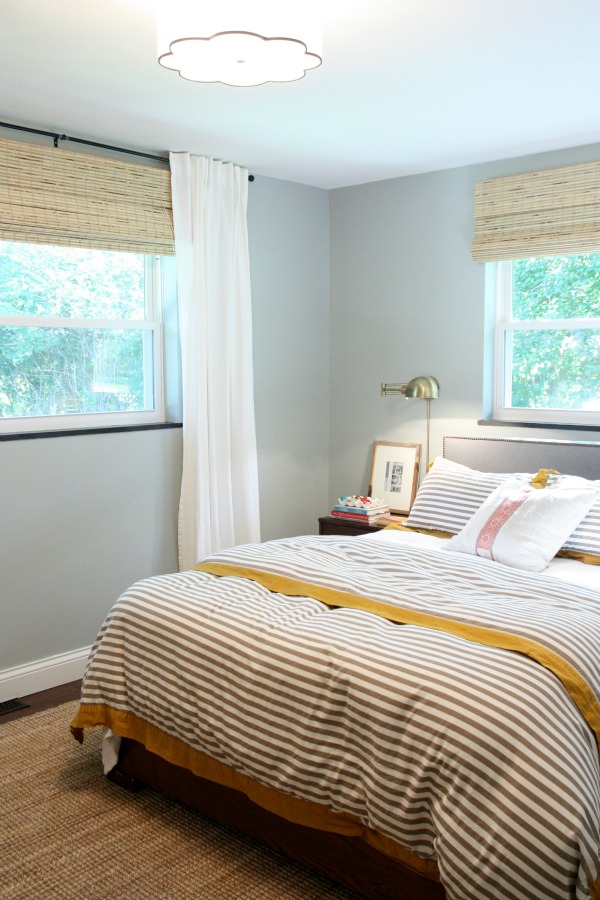
We tore down walls in the main living area to provide a more open feeling but there has never been / never will be plans for enlarging the bedrooms and bathrooms. That means the small closets that we inherited with the house are staying small. We’re committed to living with less and making the most of the space we do have. The master bedroom closet is a good example so let’s start there.
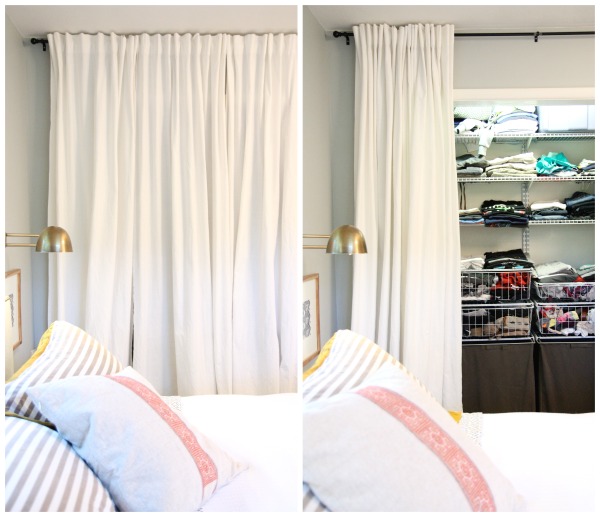
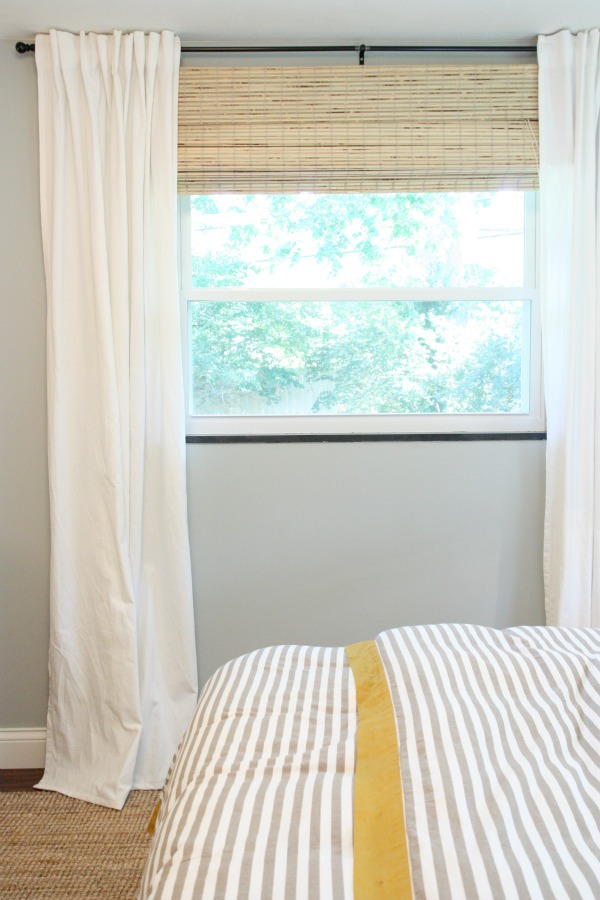
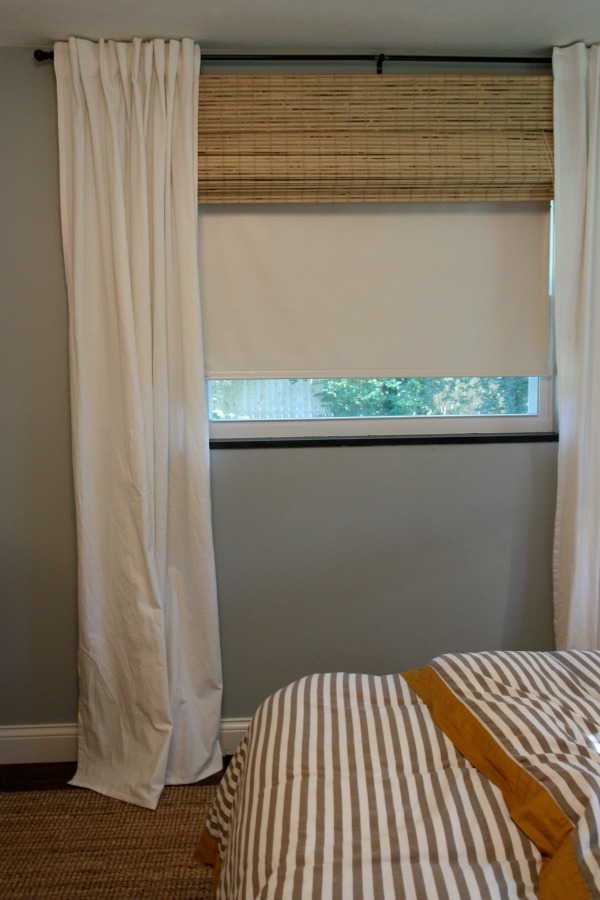
We removed the closet doors and replaced them with floor-to-ceiling curtains. This gives us easy access to closet contents and allows us to utilize the closet to its fullest potential. Doors on hinges would open up into the room and affect furniture placement. Sliding or folding doors can only be opened so far and would leave us with limited access to closet contents. Pocket doors would have been a good option but we didn’t have enough wall space and we were leery of working with the original plaster walls. A sliding barn door is another option but, again, we didn’t have enough wall space for a door + furniture. With the curtains open, we can see and get to everything in the closet all at once. We’re able to step into the closet since the curtains are hung outside of the closet. This makes it function somewhat like a dressing room. I can actually dress inside the closet with the curtains shut! Using fabric “doors” on our closet literally opens up the small space and gives us options for storage.
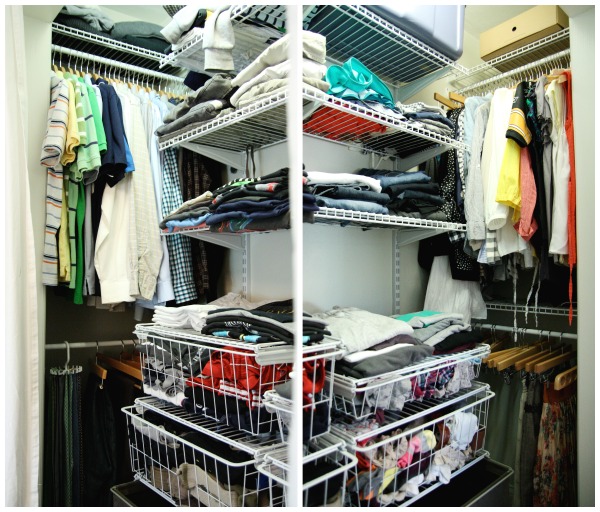
We installed a closet organization system after purging and assessing our needs. With the doors removed, we set to work editing down our clothing to only the things we wear regularly. In our previous home, it was very easy to hold on to items we didn’t wear / like / need because we had the space for them. Here, we don’t have room for stuff like that. We don’t even have room for maybes or somedays. At first, that might sound like a sacrifice but, I’m telling you, getting rid of excess clothing is so freeing! I can only wear one outfit at a time anyway, right? Basically, we donated anything we hadn’t worn in the past year and items that were stained / stretched out / torn were tossed. This closet holds all of HH’s and my clothes. Winter + summer apparel…it’s all here.
Giving up closet space doesn’t mean we’ve given up on style. HH and I spend less money on clothing now because we only buy items when we need them {not just because we have a coupon or a holiday / event approaching} and we value quality over quantity so we’re investing in pieces that last longer, are versatile and reflect our styles better. It’s been a very eye-opening and happy experience to live with a tiny closet.
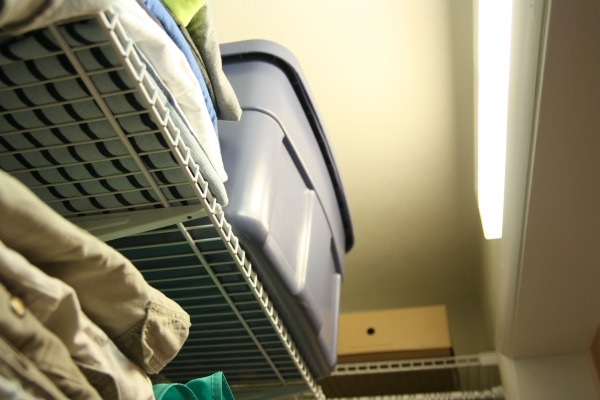
With our clothing edited, we set to work taking inventory of what was left and assessing our storage needs. We decided we wanted to keep all of our clothing in the closet {not in any furniture in the bedroom} so we came up with a plan to provide sufficient shelving and hanging rods for our clothing. We purchased ClosetMaid supplies from a home improvement store and customized the closet to suit our needs. Essentially, we divided the closet down the middle. The left side is HH’s; the right is mine. We have space for hanging and folded items. {I still want a folding board for the perfect fold!} Smaller items like socks, belts, sleepwear, bras and underwear are kept in wire drawers. I do have a tote of handbags on the top shelf but now that I see it, I realize I haven’t opened it in a year so the contents will probably find themselves at Goodwill soon. And that’s the thing with living out of a small closet…you really do SEE what you are / aren’t using and so editing is always an ongoing process. I keep trimming my wardrobe and gaining empty hangers. It’s kind of fun to discover just how little I need and, contrary to my initial thoughts, I don’t feel like I’m missing out or compromising my style in the process.
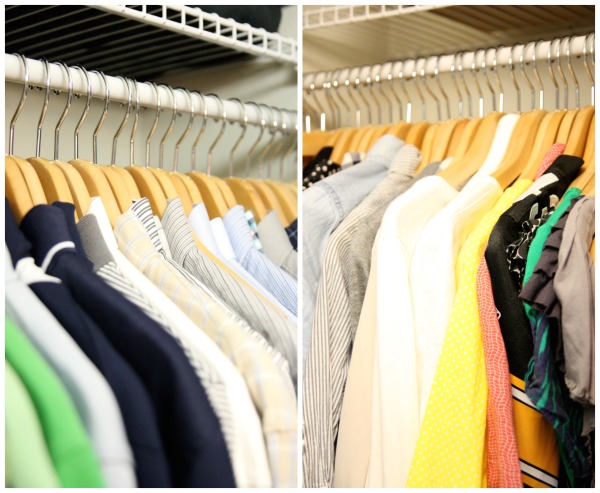
We upgraded to matching wood hangers. I’ve been married 10+ years. I’ve birthed three babies. I’ll be 35 next month. And, yet, nothing has made me feel more like an adult than switching out our mismatched plastic hangers for wood ones. So this is what it feels like!
A few weeks ago, I went through our closet and counted hangers. Sounds like a good time, no? Then I took it a step further and broke it down into pants, tops, skirts, etc. I counted what we had and added 5 to everything to give us some flexibility. {So, say HH had 12 pairs of pants hanging up. I added 5 to that and decided he would need 17 pants hangers.} We ordered our hanger supply via Only Hangers and when the boxes arrived, I couldn’t wait to put them to use. I spent a good two hours rehanging our clothes on the wooden hangers but it was oh-so-gratifying. I feel like I’m getting dressed in a fancy boutique in the mornings. Everything lines up perfectly and our hangers don’t get tangled up anymore. It’s awesome. It’s one of those things I wish I would have done 10 years ago.
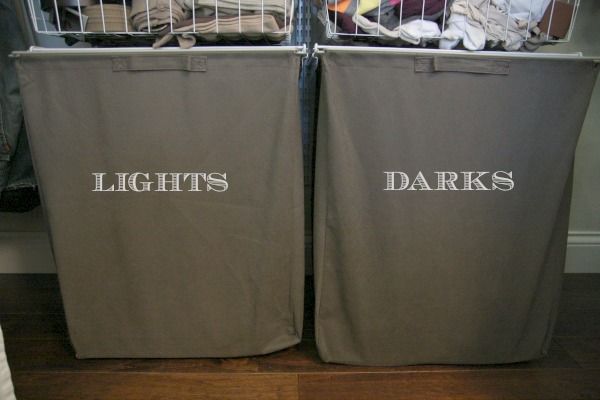
We incorporated laundry hampers into our closet organization system. We have a pull-out hamper for lights and another one for darks {not labeled in real life} in our closet. They keep clothes off the bedroom floor & furniture and it keeps me organized and on top of laundry. When the hampers are full, it’s time to do laundry. The fabric bins are removable {they are attached to the wire pull-outs with velcro} but I usually leave them in place and empty their contents into a laundry basket so we can keep using the hampers while I tackle the dirty laundry. It’s a good system and it works! Pull-out hampers wouldn’t have been possible with doors on our shallow closet so I’m glad we ditched the doors.
We added overhead lighting. Our closet didn’t come to us with lighting. We had our electrician add it during renovation. There is a switch just outside the closet, hidden by the floor-to-ceiling curtains. The lights aren’t anything to look at but they are so functional. The closet is very dark without them – even during the day. It’s great being able to see what is actually in the closet.
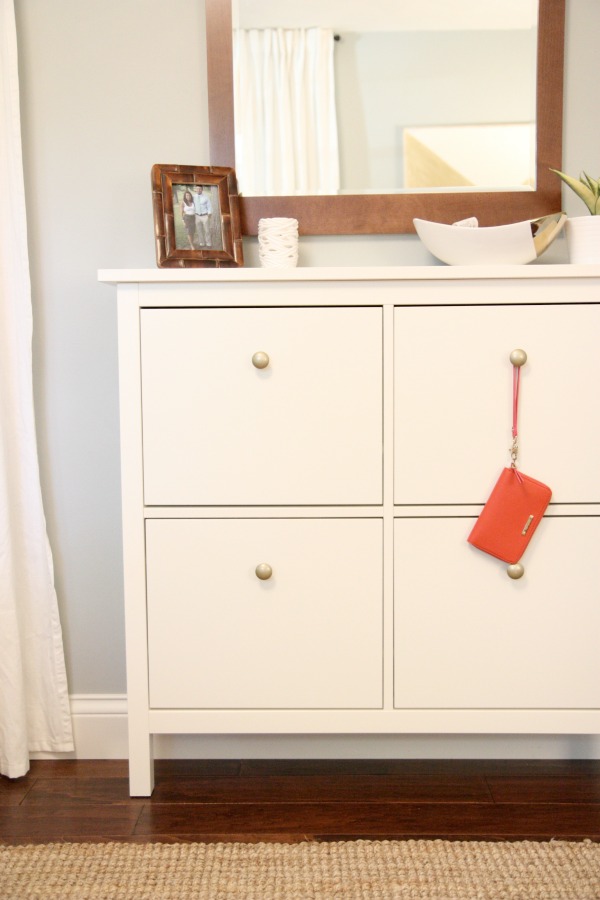
We keep our shoes elsewhere. There are no shoes in our closet. We have a wall-mounted shoe cabinet next to the bedroom closet, we have a shoe basket in the mudroom and we have a shoe rack and hanging shoe organizer in the garage. Not only does this system free up space in our closet but it helps keep the house cleaner, too. We don’t usually put on shoes unless we’re leaving the house and as soon as we get home, off they come.
Implementing all of these things has given us a fully functional, albeit small, closet and an organized bedroom. Two things that make for some pretty sweet dreams.
This post brought to you in part by Only Hangers. I utilized hangers from the natural + chrome line. House*Tweaking readers can take advantage of a 10% discount by using the code “housetweaking” at checkout until November 16th. Happy hanging!
images: Dana Miller for House*Tweaking


DIY, inspiration, organization