Our sunroom offers wide open views of our backyard and adjacent farm land {not ours}. We enjoy being in there and taking in nature’s beauty. It’s peaceful. I wanted to add a little holiday sumpin’-sumpin’ to our sunroom without taking away from the scenery or spending much. So when snow began to fall here a little over a week ago, I took inspiration from Mother Nature and put together a snowmobile. Let me explain.
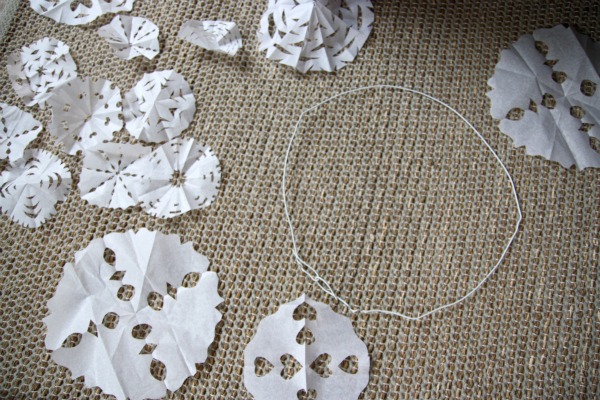
I snipped tissue paper into snowflakes of varying sizes. I bent a white wire clothes hanger into a circle. {Well, let’s pretend it’s a circle.} Then I suspended the snowflakes from the wire hanger at different heights using clear tape and fishing line. Finally, I tied the entire mobile to our sunroom’s ceiling fan.
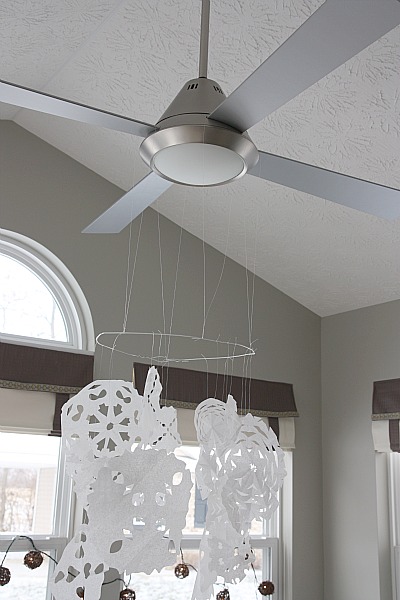
I named it ‘the snowmobile.’ Handy Hubby just shook his head. He thinks the terminology I come up with is corny. I couldn’t agree more.
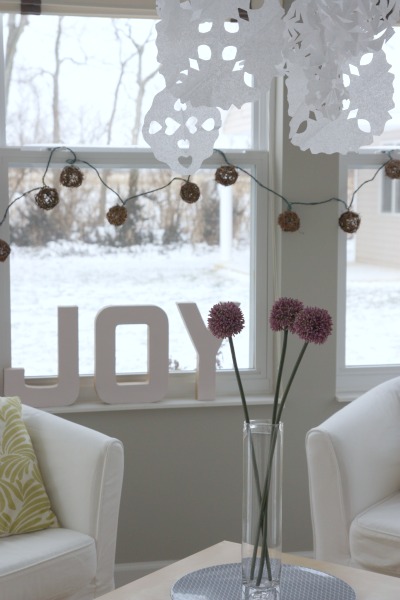
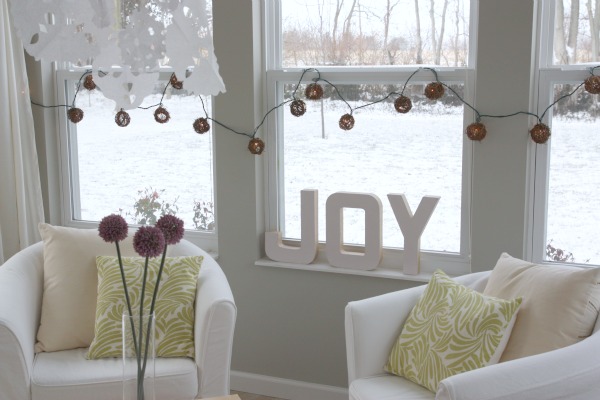
I painted paper maché letters a very light – almost undetectable – pinky lavender and propped them up in the windowsill to spell “JOY.” Handy Hubby strung the woven ball lights across the windows. {The letters and lights we already had on hand from past Christmases.} I did splurge on 3 faux allium stems. I had a coupon and they cost me less than $6 for all. I can see them being displayed in the summer months, too.

Wasn’t it nice of Mother Nature to provide some white ground cover for the shots?
Yes, my boys have already experimented with the snowmobile. If you were 5 years old wouldn’t you be curious to know what would happen with the fan on? Well, I’ll tell you what happens. The snowflakes just get all tangled up and your mother has to detangle them. No harm done.
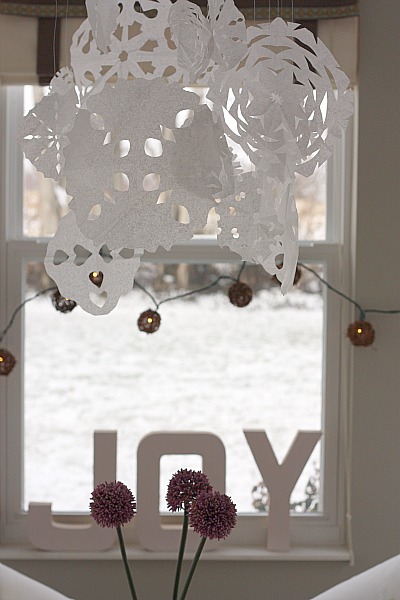
I’ve seen gorgeous DIY snowflake projects all over the place. The best part is they can stay up well beyond Christmas. What about you? Have you busted out your always useful elementary school snowflake cutting skills lately?
images: all Dana Miller for House*Tweaking
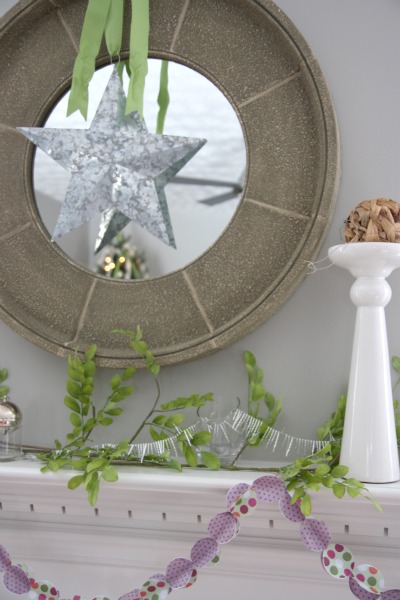
Our decor is mostly simple and light, so it should come as no surprise that I decorated our holiday mantel as such.
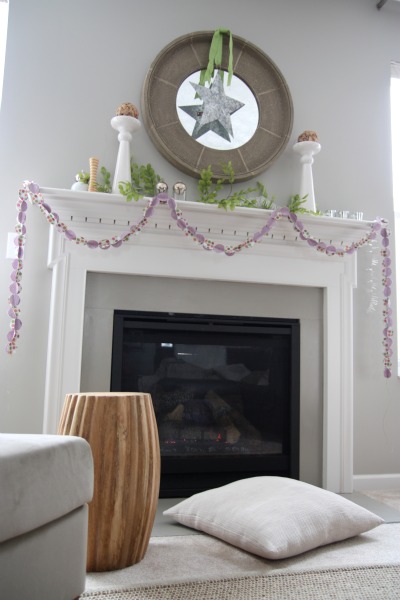
And I only spent about $8.
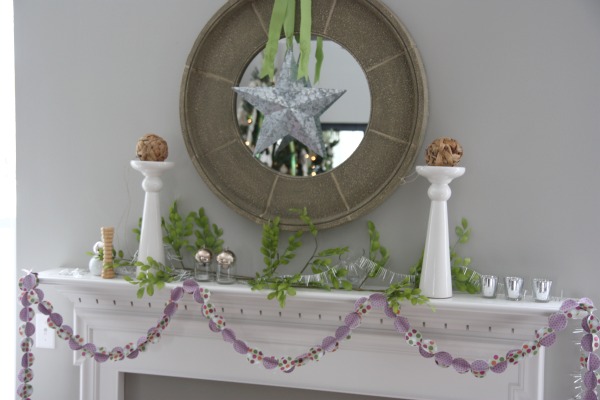
The metal star, green ribbon, 2 ceramic pillars, woven balls, leafy {faux} branches, silver icicle garland, clear and ceramic votives, rippled wood pillar {actually a back massager I think?} and silver bells are all things I’ve had for many years. The only things I spent money on were the 3 mercury votives and paper garland. The mercury votives were 99¢ each from Target.

The DIY paper garland was an idea I *borrowed* from Belinda over at The Happy Home. {I’m telling you. She’s great.} It ran me about $5.
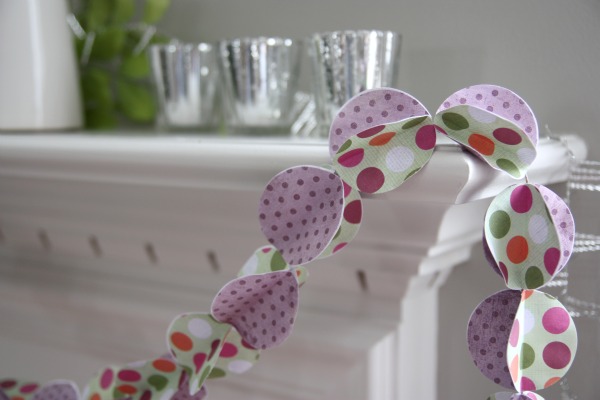
The silver bells are Handy Hubby’s from when he was little. {They really need polished.} He got one each Christmas as a child. I sat them atop clear glass votives to keep them from rolling around and to give them some height.

To keep things from feeling too stark, I tried a little layering: the star/ribbon over the mirror, the green leafy branches & icicle garland in the background, the pillars & votives & paper garland in the foreground. Notice how a few of the leaves reach up to the mirror, curve around the white ceramic pillar and brush the paper garland. I also like how just at the right angle the metal star rests atop the mirrored reflection of our Christmas tree {across the room}. A happy accident.
So do you want a DIY paper garland tutorial? If so, keep reading. If not, stop reading.
DIY PAPER GARLAND TUTORIAL
There are several versions of paper garland tutorials out there in the blog world. I used Belinda’s and tweaked it a little. Staying true to my celery, lavender and eggplant color scheme, I bought 10 sheets of scrapbooking paper. {5 sheets of lavendar polka dot and 5 sheets of celery polka dot} This cost me roughly $5. As far as paper goes, that’s expensive. But as far as garland goes, that’s cheap. Then I used a 2″ circle cutting tool {try Fiskars} to cut out a buh-zillion 2″ paper circles. {You could do this by hand but I wouldn’t recommend it.} I used up all 10 sheets of paper.

With all my circles cut out, I took 2 of each color to make 1 paper bauble.
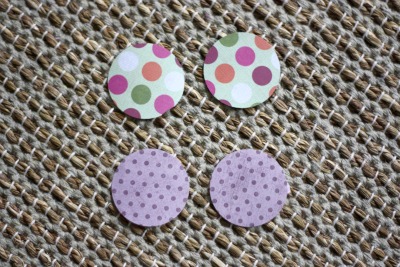
I folded each circle in half, wrong side out.
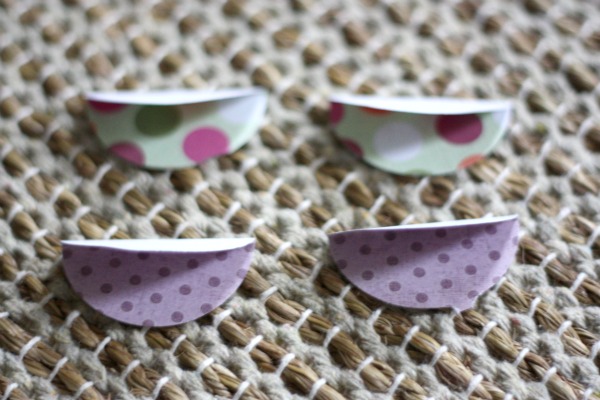
I applied glue just to the outer edge of 1 circle, wrong side out. {Be sure to leave the folded edge free of glue…this comes in handy later when stringing the baubles together.}
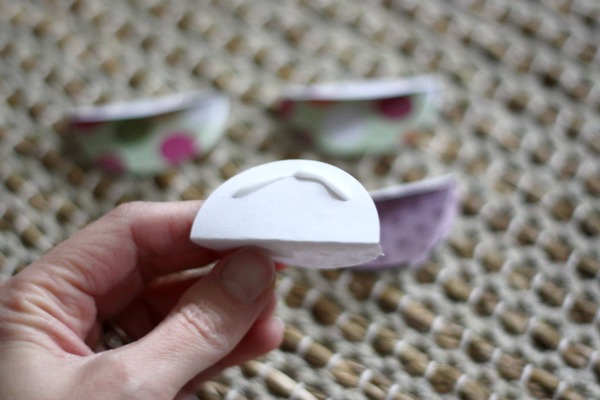
I attached a folded circle of the opposite color to the glued circle.
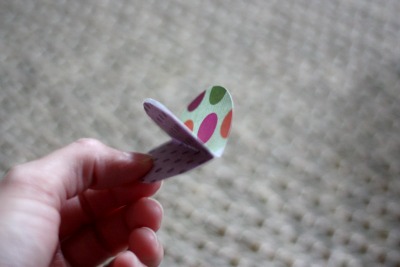
I continued gluing and adding the folded circles, alternating colors, until all 4 circles were glued together. {Layne said the baubles looked like little Saturn planets.}
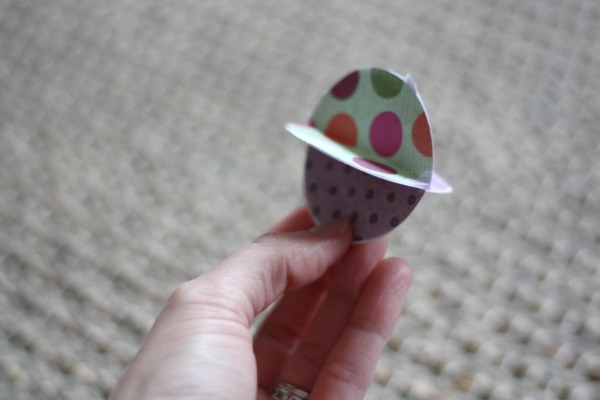
Then I repeated this over and over and over…

…or to be exact 75 times. It does take a while {hence the change in lighting – from natural daylight to artificial evening light} but it’s very easy and I found it quite calming. I let the baubles dry completely. I threaded a needle onto my trusty spool of twine. You could use string, thread, yarn, etc.
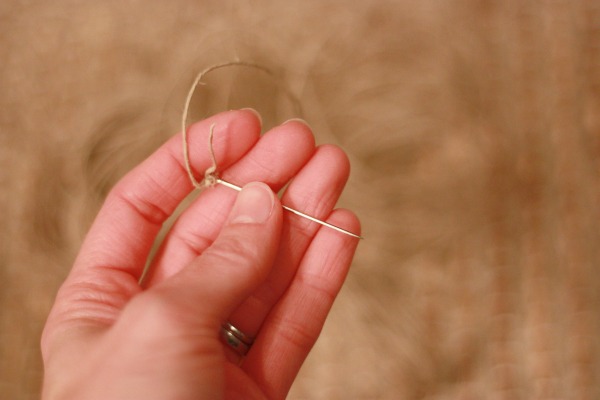
Then I pulled the twine through the center of each bauble. {That’s why you only use glue on the outer edges of the circles.} I did have to gently pull some of the baubles to open up the middle and make way for the needle. I could have used a longer needle but I didn’t have one.
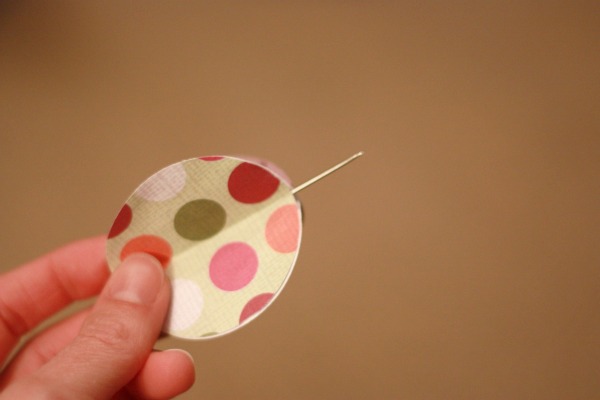
I knotted each end of twine to reveal a very pretty garland.
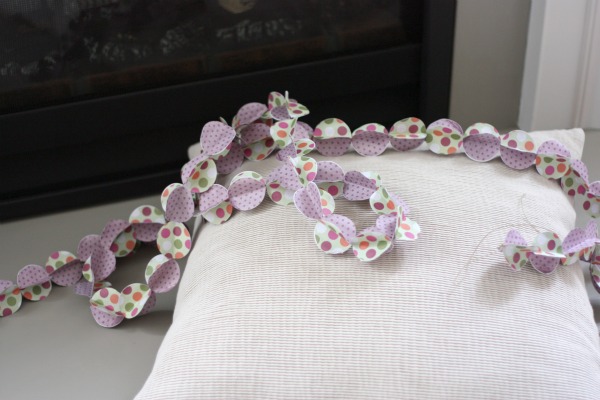
It’s playful, colorful, even a little textural. I taped mine to the mantel but it could be just as great on the Christmas tree, around doorways, on a dining table or traipsing along a wall. Oh, and what about a party decoration?!
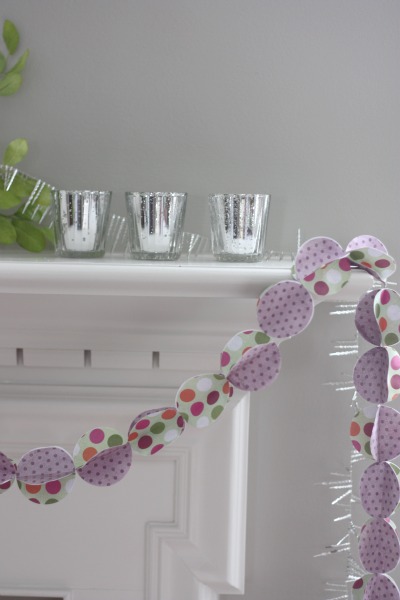
I’m definitely saving this paper garland after the holiday season is over. Who knows where it’ll end up next? What about you? Are you making any Christmas decorations? Do you prefer store bought or handmade seasonal decor? I like both. Obviously.
images: all Dana Miller for House*Tweaking


budget decor, DIY