...because home doesn't happen overnight.

bunkeasy17

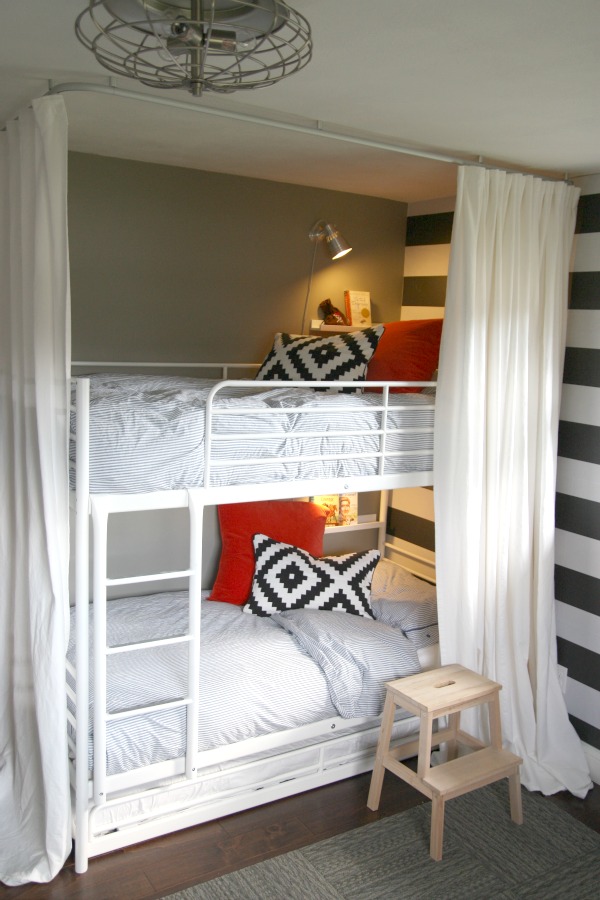
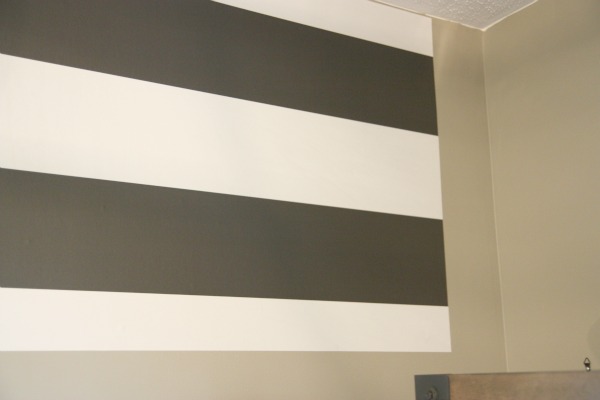
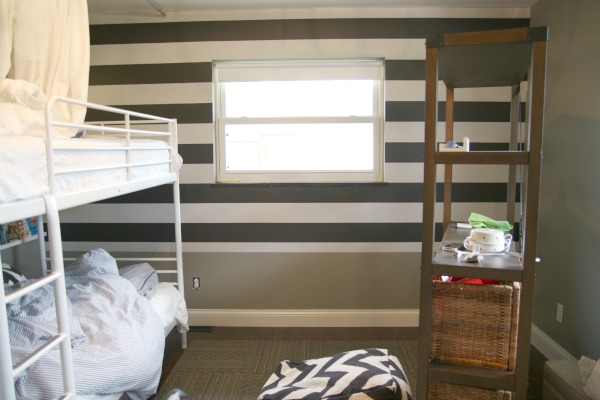
Some of you noticed the black and white horizontal wall stripes in the boys’ bedroom. Good eye! Would you believe the striped accent wall is the result of peel-and-stick wallpaper? Well, it is.

The boys’ room it set up to keep the middle of the room open for floor play – a big necessity when the room doubles as the playroom. Originally, we were thinking of DIYing a desk along the wall opposite the bunk beds. But over the last several months, I’ve discovered that it’s much easier to help the kids with homework and crafts out in the main living areas. {Typically, we use the kitchen island or dining table for homework and crafting.} So we nixed the desk idea and opted for bookcases along the wall to hold toys, costumes, books and more. More on those later…

stripes1

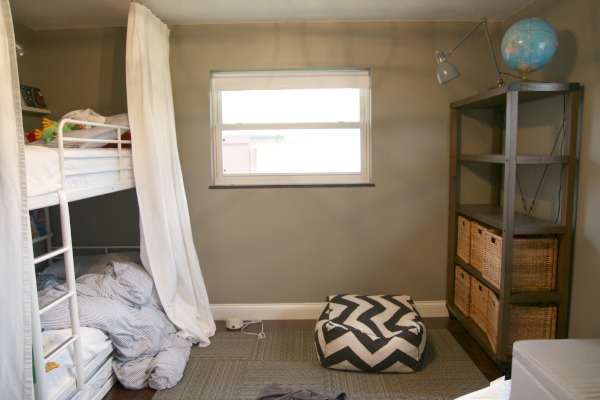
With the bunk and small dresser on one wall and two tall bookcases on the opposite wall, the room was starting to feel a bit galley-ish. I’m sure you’ve heard of a galley kitchen. Is there such a thing as a galley bedroom? I started thinking about adding something to the far window wall to make the room feel wider. That’s when I discovered the peel and stick wallpaper by Chasing Paper. At the time, the company hadn’t rolled out the new product and was looking for DIYers to try it and give them feedback. You know how I like DIY and feedback. One thing led to another. I chose a simple stripe in black and white hoping a horizontal application would give the optical illusion of a wider room. Here’s how it all went down.

stripes2

stripes3

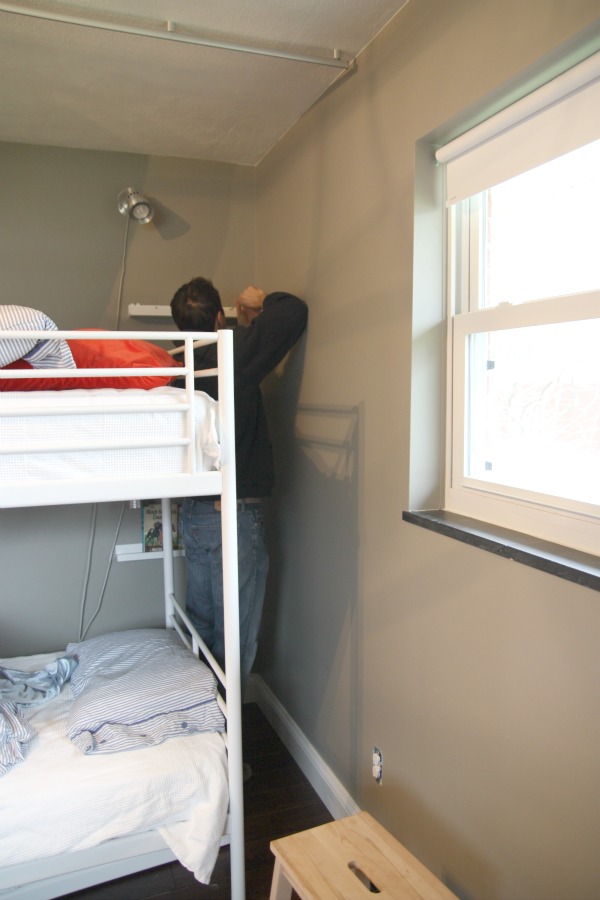
To prep, we removed furniture, outlet covers and one of the boys’ book ledges – all of which were on the wall to be wallpapered.

stripes4

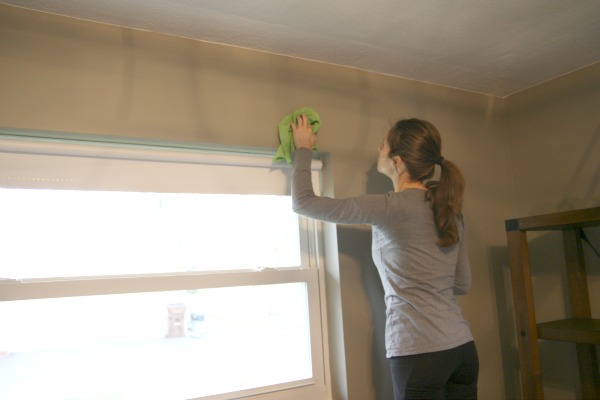
I wiped the wall down with a damp microfiber cloth and let it dry completely. This step ensures good wall-to-wallpaper contact.

stripes5

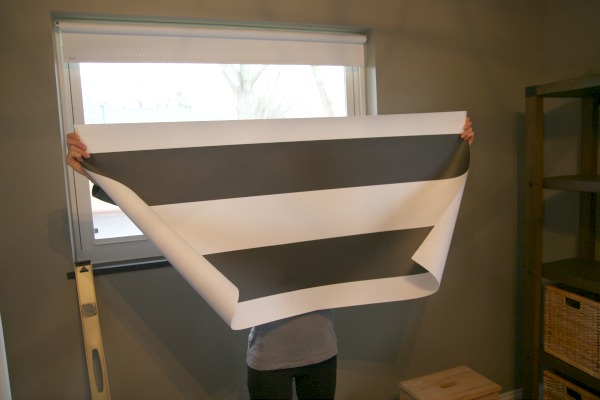
The wallpaper comes in 2′ x 4′ precut sections. Essentially, it’s one huge sticker. You just remove the backing and press the wallpaper onto the wall. I’ve worked with traditional wallpaper before and this peel-and-stick stuff is SO MUCH EASIER. No long and winding rolls of paper to get tangled up in, no dripping adhesive. Still, I found it helpful to have a second set of hands. HH – and the three kiddos! – was/were at my disposal.

stripes6

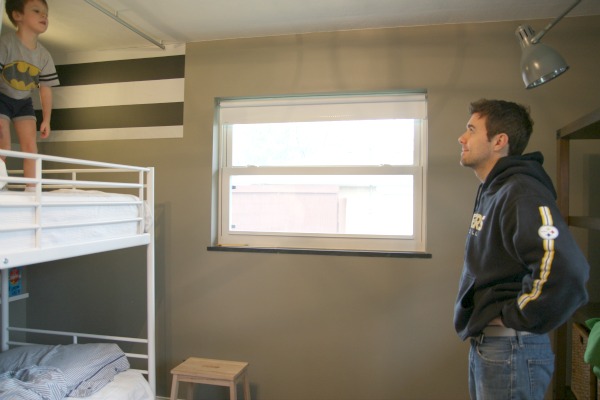
We started in the upper left-hand corner of the wall. I used a tape measure, level and pencil to draw a horizontal pencil line to line up the bottom of the first section. HH mentioned something about leveling each and every section but that sounded too engineer-ish to my impatient self. I figured if the first section was level and we based all of the other sections off of it, then everything would be fine. Maybe not perfect but good enough. {Yes, Everett is wearing a Batman t-shirt tucked into underwear. He has the personality to pull off the look.}

stripes7

One row of wallpaper in and we were on a roll!

stripes8

Three sections got us ~6″ short of the entire width of the wall. We used a sharp utility knife {a razor blade would work too} to cut a small piece to get us just past the corner. We decided to leave a bit of overhang at the end of each row in this corner and trim them all together at the end for a nice, straight edge.

stripes9

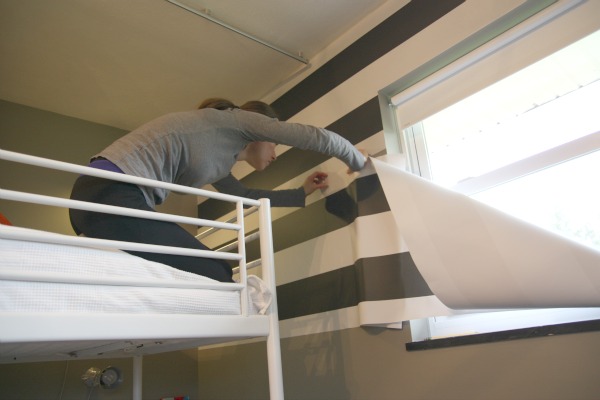
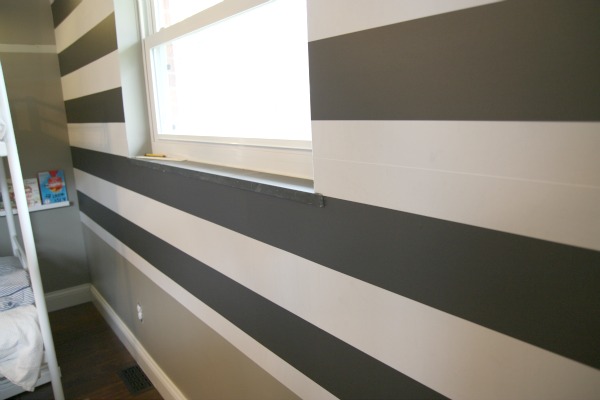
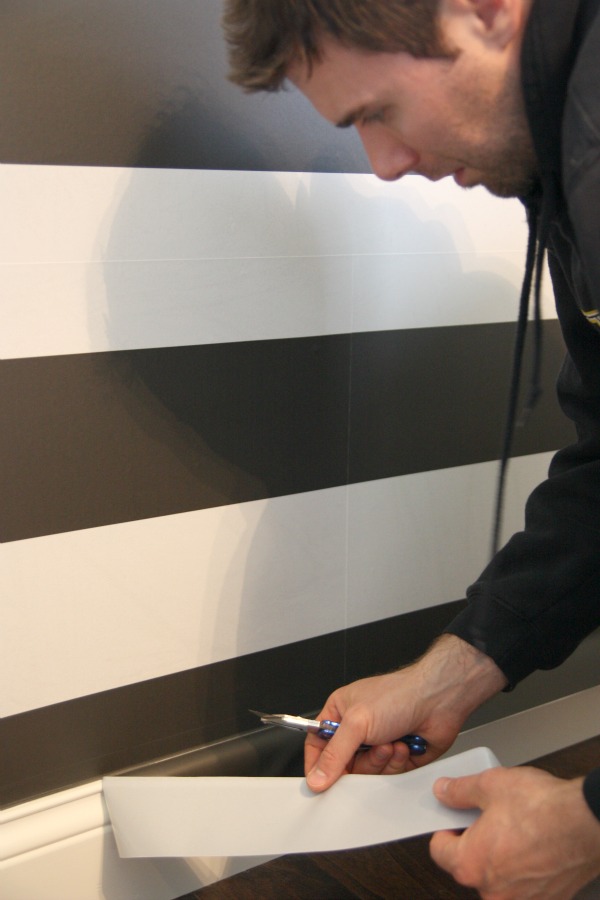
At the window, I wallpapered up to the window then HH carefully cut the wallpaper while I held the wallpaper taut.

stripes15

stripes16

stripes11

Three rows in and we had a good technique down.

stripes10

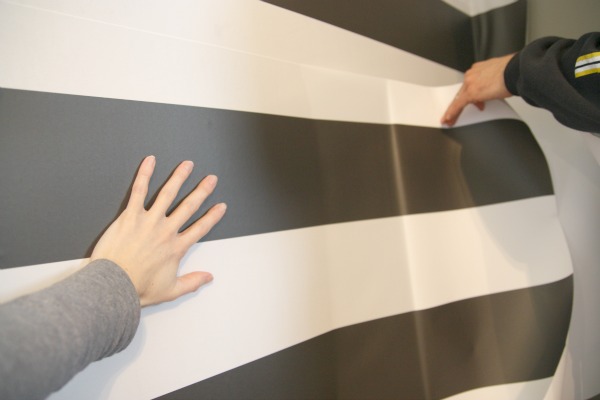
I would peel one side of the wallpaper away from the backing, get it all lined up then HH would slowly pull the backing away from the rest of the section while I smoothed out the wallpaper. We took it maybe 8″ at a time. If we got too ahead ourselves, we found that resulted in lots of air bubbles under the wallpaper. If we did get a bubble, all we had to do was peel back the paper to the bubble, release the air, and re-smooth. Super easy but even more so if you avoid getting too many bubbles in the first place.

stripes13

One thing I noticed while we were working…too little overlap of neighboring sections caused a small line of the painted wall to show through and too much overlap resulted in a slightly visible seam. I’m guessing the wallpaper works best on white walls. {Ours was a taupe-y gray.} Now you know.

stripes14

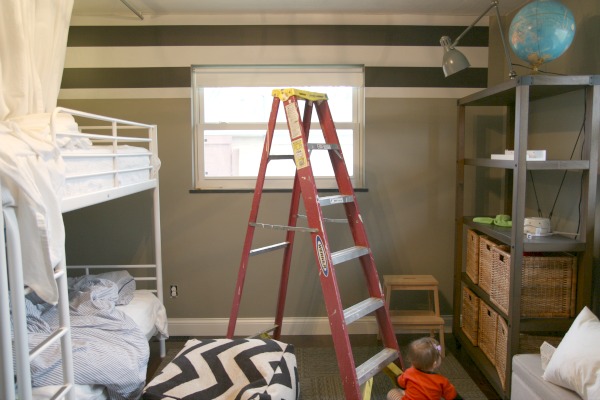
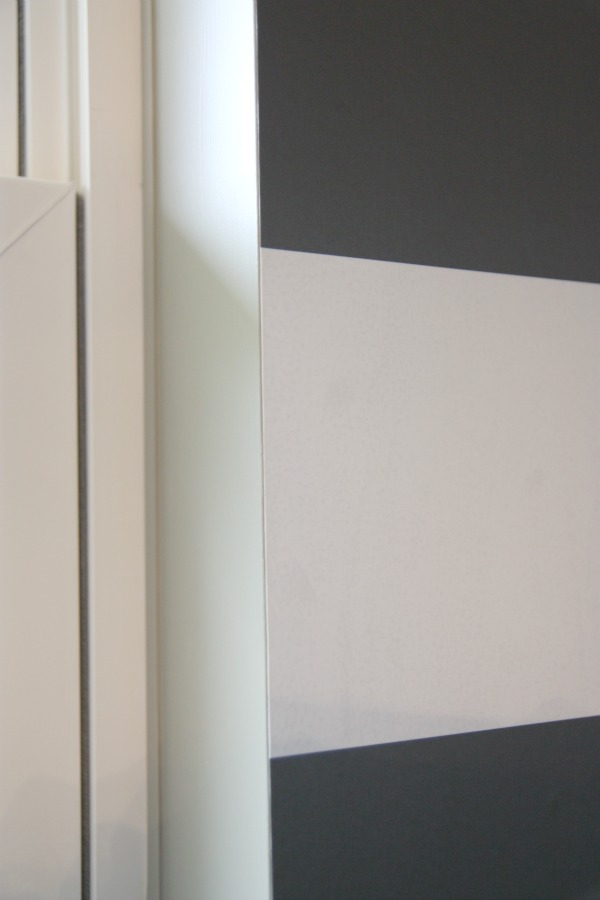
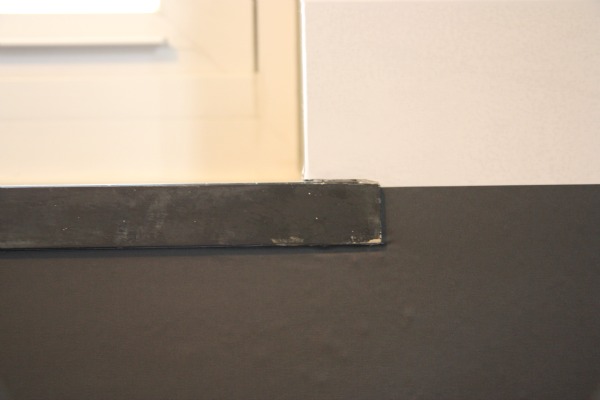
Once the wall was covered, there was trimming to do – at the baseboard and at the right-hand corner.

stripes17

stripes20

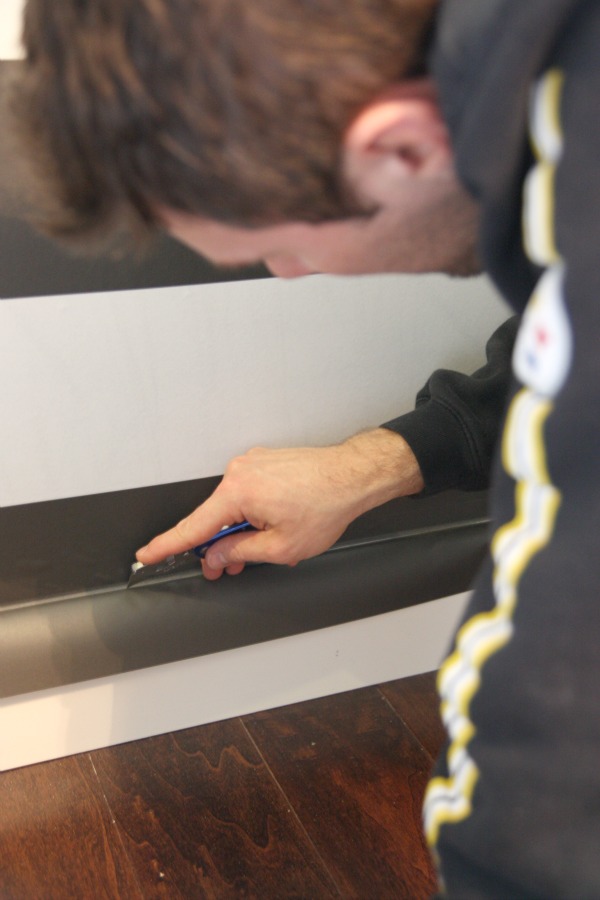
HH simply cut along the baseboard edge and corner with the utility knife then pulled the trimmed wallpaper away.

stripes21

Super clean edges and super easy!

stripes18

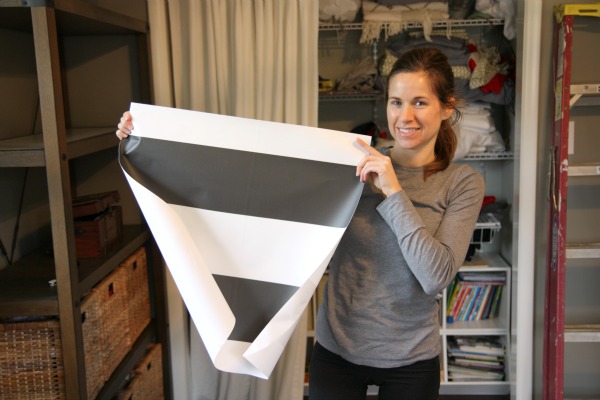
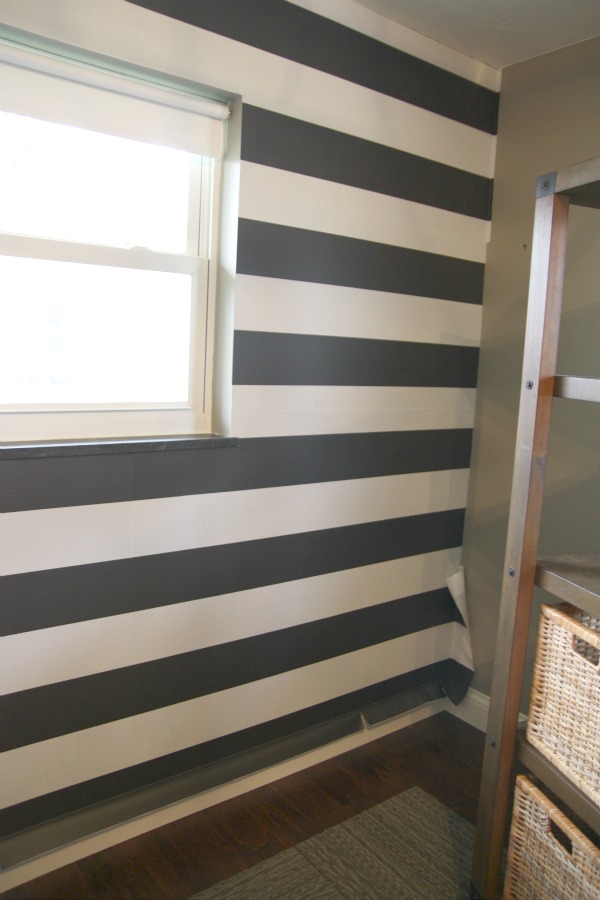
When we were done, only a small section of wallpaper remained. Thank goodness for measuring twice! Oh, and for fun HH checked the rest of the stripes with his level when we completed the wall. Such an engineer! Guess what? They were spot on.

stripes19

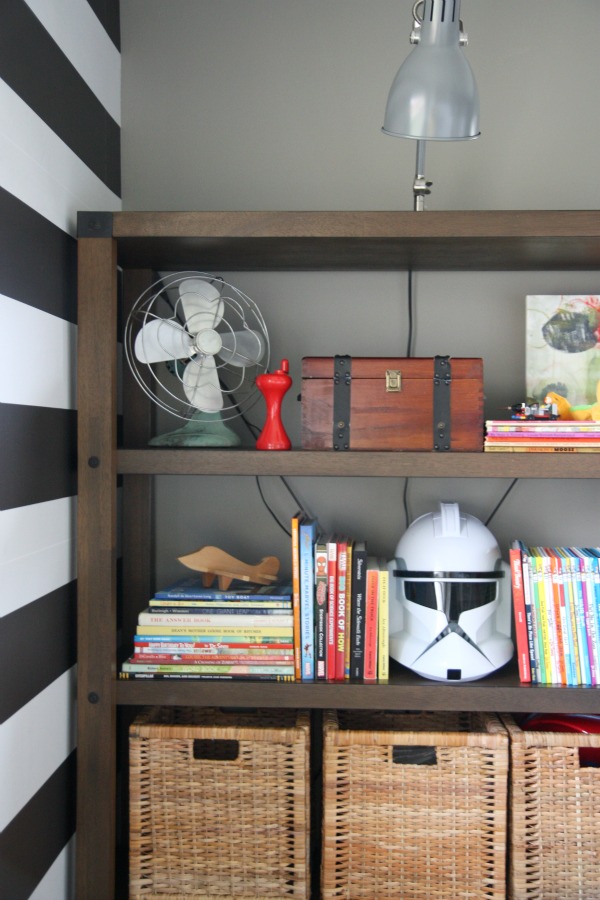
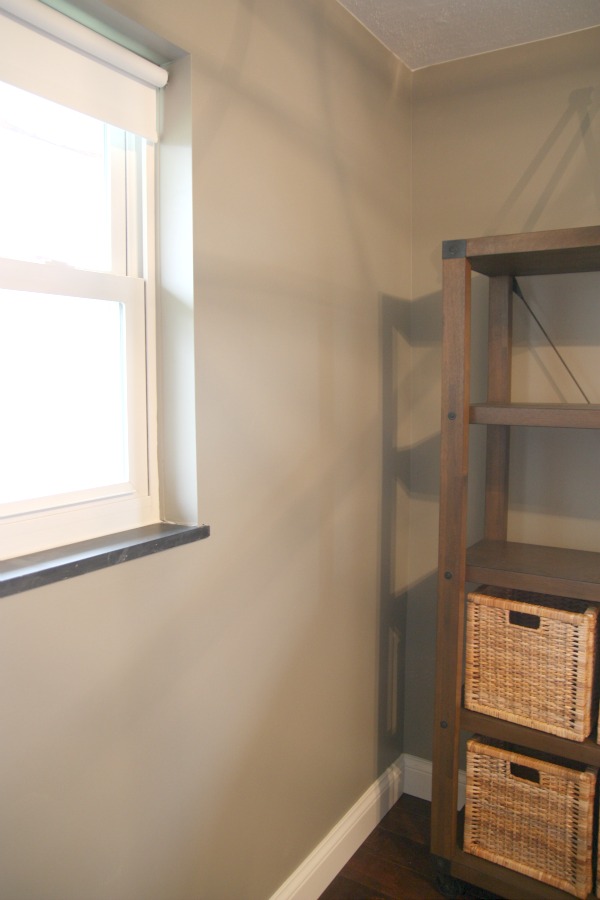
Somehow in the chaos that is DIY + three kids, I managed to not take a picture of the finished product right after. I think we were all hungry. I’ll get you an after but until then here’s a little sneak peek of the aforementioned bookcases. {There’s still a lot of little things to do in the room.} We – the boys included – are crazy over the results. The horizontal stripes really do make their room feel wider and larger. I’ve yet to meet a stripe I didn’t like.

HH asked what was the benefit of wallpapering the stripes versus painting them. Obviously, removable wallpaper {did I mention you can remove this stuff without damaging the wall underneath?!} is geared towards renters, dorm residents or even those of you in military housing. When you move, pull it up and take it with you if you want. Just save the backing papers! But I have to say, the quality of the wallpaper gives a depth and crispness to the stripes that wouldn’t be exactly the same with paint. The company also offers plenty of other patterns that would be much harder to duplicate with paint.

If you’re thinking of trying this new peel-and-stick wallpaper, here are my thoughts:

*Make it a two person job.

*Start with a clean, smooth, white wall. I don’t think this wallpaper would be a good option for bumpy or rough walls.

*Level your first section of wallpaper and go from there.

*Work in small sections, removing the backing paper and smoothing slowly.

*Don’t overstretch the wallpaper. The paper does have some stretch to it.

*For the cleanest cuts, use a sharp utility knife or razor blade.

*Wallpaper is not only for walls! Try framing it, covering an unsightly outdated appliance, lining a basic tray or adding life to vinyl rollup shades.

Hop on over to Chasing Paper to view the entire product line. UPDATE: Initially, I thought the wallpaper was constructed of vinyl but after clarifying with Chasing Paper, the wallpaper is actually constructed of PVC free fabric {!} NOT vinyl and printed with latex ink. So sorry for the confusion! Still, I did allow the paper to off gas in the garage for several weeks before installation and aired out the room after installation by cracking the windows for a day or so. When we recently returned home from vacation, there was no odor in the boys’ room even after being closed up for 10+ days. Hope that clears up any concerns!

Would you ever try removable, peel-and-stick wallpaper?

images: Dana Miller for House*Tweaking

56 Comments

09.April.2013

Hi Dana!
Can you tell me the height of the stripe? Also what Sherwin color would be close to the navy in the stripe you have– I love this look but I enjoy painting!

09.April.2013

Can you tell me the source of the floor cushion and shleves in the boys room?

09.April.2013

Pretty! Are you worried that those sweet little guys of yours will pick at the seams and start to pull it off? I did that with real wallpaper to my poor mother when I was in Kindergarten, haha. :)

09.April.2013

Per her link, it looks like a 6″ black stripe.

09.April.2013

Looks great! My daughter wants stripes in her room and this would be a great way to achieve it. Is it vinyl? I looked at their website but couldn’t find out what the paper is made of. I love the idea of this stuff but hate that it’s usually vinyl.

09.April.2013

The room looks great! Hope you had a sweet time of relaxation. Glad you’re back.

So!! glad you took a vacation, but I really missed your blogging presence. Welcome back and what a great project to kick off with. So good.

09.April.2013

Looks great, but… where’s the full-view, furniture-back-in-place, “after” shot?? :) I wanna see!

I am beyond excited about this! I love stripes but have zero patience for taping off straight lines. This wallpaper opens up a whole new world! Thanks for sharing:)

09.April.2013

I love this look! Thanks so much for sharing – it sounds like a great product!

Ohh I want to try. Hmm I wonder what room I can use this in? I have done peel and stick vinyl dots in my daughter’s closet (from a different company) and love them, but a whole wall of something like stripes is pretty darn cool! Off to check this company out!

09.April.2013

The thought of the boys peeling the wallpaper off has crossed my mind but so far, so good! It’s really strange…but when the boys see us putting work into their room they always end up respecting it.

09.April.2013

Shelves are World Market. Floor pouf is West Elm. I’ll have all the sources for you when we get the room closer to being finished.

09.April.2013

Like I said, I completely failed to get an after as soon as we were done. The kids and HH and I were all hungry. Total oops. Don’t worry – I’ll get you one!

09.April.2013

Initially, I thought the wallpaper was constructed of vinyl but after clarifying with Chasing Paper, the wallpaper is actually constructed of fabric {!} printed with latex ink NOT vinyl. So sorry for the confusion! Still, I did allow the paper to off gas in the garage for several weeks before installation and aired out the room after installation by cracking the windows for a day or so. When we recently returned home from vacation, there was no odor in the boys’ room even after being closed up for 10+ days. Hope that helps!

09.April.2013

They are 6″ stripes in black and white.

09.April.2013

Looks fantastic! Are the rectangle pieces/seams distracting at all? I have to think that for the price, $25 per 8 sq. ft. sheet, painting seems more cost effective for a larger space. But it is cool that this product can be used for areas other than walls – thanks for sharing!

09.April.2013

Hey Jenn!

Elizabeth from Chasing Paper here! We actually use a peel and stick fabric, not vinyl — the material has a texture and weave so that it looks and feels like real wallpaper. Also, the ink cures immediately after we print and has little to no fume. We are dedicated to making a safe product for families to enjoy. I am sorry the info was not more clear on out site — I will update today so thank you for the feedback!

Warmly,
Elizabeth

09.April.2013

Umh I’m kind of in love with this. It goes perfect with your ikea pillows and your pouf, it was meant to be!

09.April.2013

I love that wallpaper. We are moving soon, and this seems perfect for a kids room or anywhere you may change your mind later. I love anything self-adhesive and removal. Sometimes a new paint job or traditional wallpaper seems too much like a real commitment. With this you you can easily change it with regret. Thanks for posting.

09.April.2013

Thanks for the clarification, Elizabeth! I will update the post as well.

09.April.2013

This looks great! And oddly, I was just looking at a place in my kitchen today that might really look great with this concept. It is the wall between fridge and stove horizontally and the granite and the bottom of the cabinets vertically. It just needs something! but not tile or any hard surface. Cool! Great timing. But I can’t imagine how you did this – it would be like the SNL contact paper skit if I did this large of a surface. Congrats!

09.April.2013

We are getting ready to tear up our bathroom floor and i was contemplating whether or not to do anything to the walls. I will have to check this product out!

Love the stripes! I once did full sized birch trees in my master bedroom that were wall decals and I loved that when I got sick of them I could just peel them off! I never considered wallpaper stickers…hmmm. Thanks for inspiring!

That looks great! I think its even better than painting. When you paint stripes, depending on how many coats you do, when you want to paint over the stripes you still see where they were because they’re raised. You can try to sand down the raised edge but it doesn’t always work. This is a great temporary solution.

10.April.2013

Whoops! Sorry, Dana! Somehow I missed that comment in your post :( Looking forward to seeing how it all turned out. Beautiful wallpaper choice; very inspiring!

10.April.2013

Thank you for being a test subject! I loved the idea of this wallpaper but needed more info before committing to putting up one of their fun patterns in my office. Now to save up a little..

I love this! And I’m with everyone else that would NOT want to paint stripes. I especially love that it’s black and white. Thanks for sharing,
Kate

I am very happy that I popped over here today. We rent, and I have a huge wall that my TV is on that needs something. I do not want to paper the whole wall, bunch a pinch of it would be a great art installation. Sweet!

10.April.2013

I love the glimpse of the black and white chevron pouf. Can you please share where you found it? Thanks!

The stripes look amazing, but I must say, I am always impressed by your ability to mix the super dark colors with warm wood tones so well. You continually inspire me Dana!

10.April.2013

West Elm!

10.April.2013

Wow! I have never heard of that type of wallpaper. It looks really great in the boys’ room!

[…] See on https://www.housetweaking.com […]

12.April.2013

It looks awesome! I can’t wait to see the full view finished product. Where did you find that bookcase? I’ve been looking for one like that for our new home. Thanks Dana.

12.April.2013

Love the stripes and the bookcases. Do you have the boys’ clothing in the bins on the bookcase?

16.April.2013

I am loving the room! Can’t wait to see it all pulled together.

Is it bad that I immediately noticed the Steelers sweatshirt your husband is wearing? Ehh..I may have a problem. :) So ready for football season again.

23.April.2013

Jenna, it’s not sad. I noticed the same thing. We’re just Steeler-lovers.

04.May.2013

Hi Dana,

I am contemplating the Chasing Paper Chevron 2.0. Just wondering if your stripes were their Standard material or the Luxe?

Thanks!
Nancy

08.July.2013

I’m wondering where you got those awesome bookshelves?

08.July.2013

I haven’t properly introduced them yet but they are from World Market last fall.

11.July.2013

Thanks so much for the quick reply! I found them on clearance online and was able to grab the last two at one of my local stores. One is now sitting happily in my family room.

27.August.2013

How many panels did you use for this wall?

18.February.2014

Was wondering what are you using to hold the panels to the ceiling? Thinking some kind of a track system. Where can I find it?
Thanks so much!

18.February.2014

If you mean the curtains around the bunk, they are on a ceiling track from Ikea.

04.December.2014

How many panels come in one roll?

[…] housetweaking.com […]

[…] Like here. […]

[…] housetweaking […]

[…] housetweaking.com […]

[…] housetweaking.com […]

[…] housetweaking.com […]

[…] housetweaking.com […]

11.June.2016

Where did you get the bunk beds?

12.June.2016

IKEA!

[…] © housetweaking.com   […]