
Last year my friends, James and Kristina, graciously allowed me to share the renovation of their midcentury modern family home. (You can see it here and here.) They recently remodeled their master bathroom and, when I saw the results, I just had to share it too. Keep reading to see the transformation!
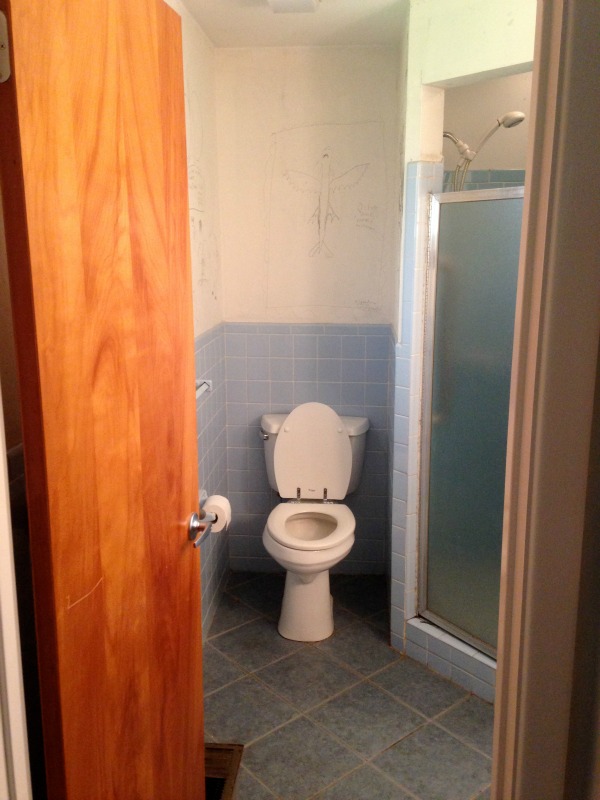

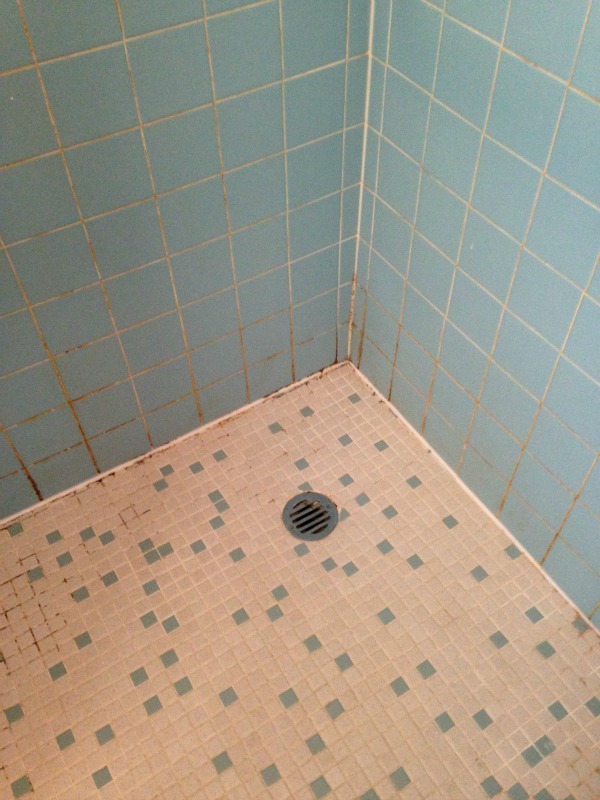
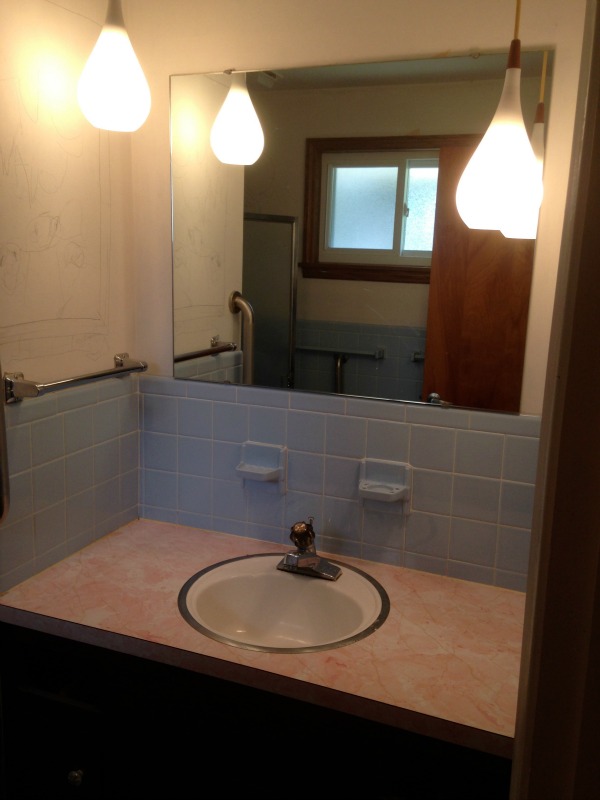
The bathroom is en-suite to the master bedroom and, even though it doesn’t boast a tub, the homeowners consider it their master bathroom. The original finishes included a mix of mismatched blue floor & wall tile. A boxy brown vanity supported a pink laminate countertop and a teeny oval sink. The corner shower stall was dark and dank. Just before demo, the couple let their kids draw on the walls for fun.
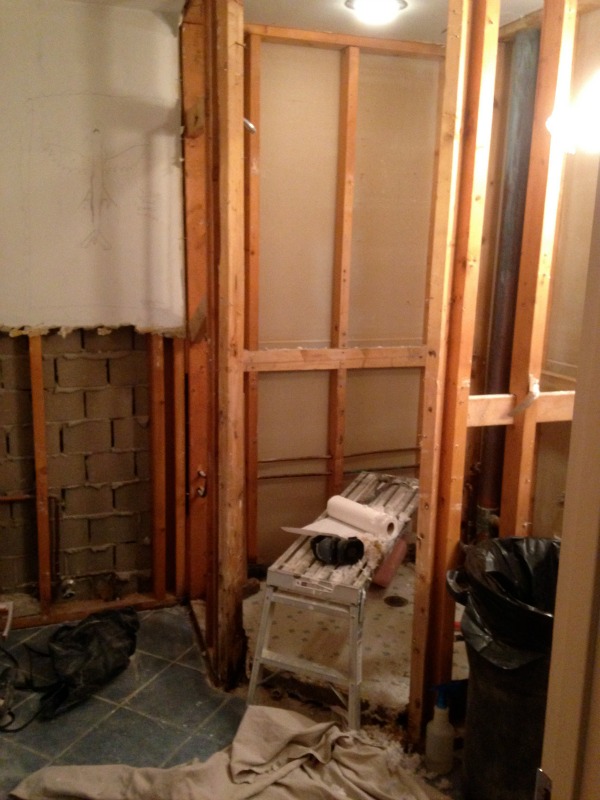
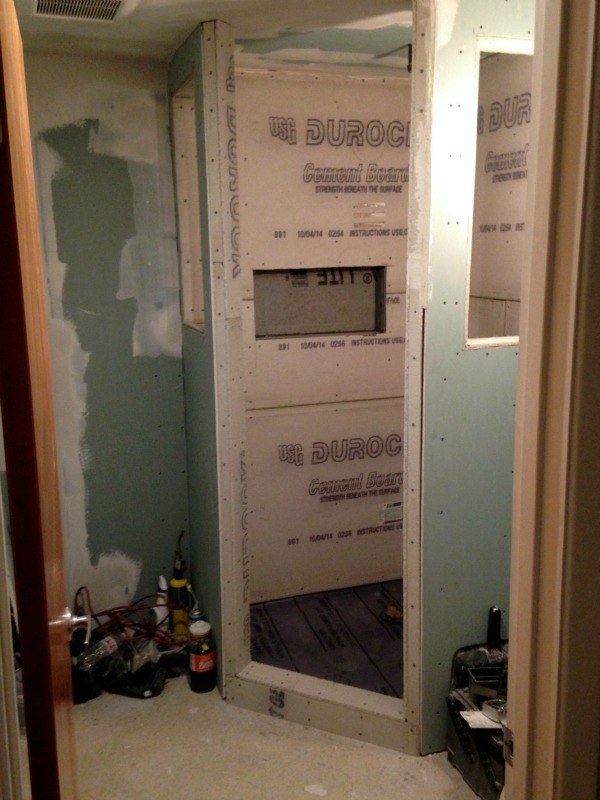
By tackling all of the work themselves, the couple was able to completely revamp the space for <$5,000. To save money they kept the room’s original layout but chose modern materials that both brightened and warmed up the space. They discovered mold in a shower wall which was mostly remedied with bleach and a mold-inhibiting spray. Still, some framing had to be replaced. To bring more natural light into the shower, the homeowners devised a plan to add sidelight windows on either side of the stall.
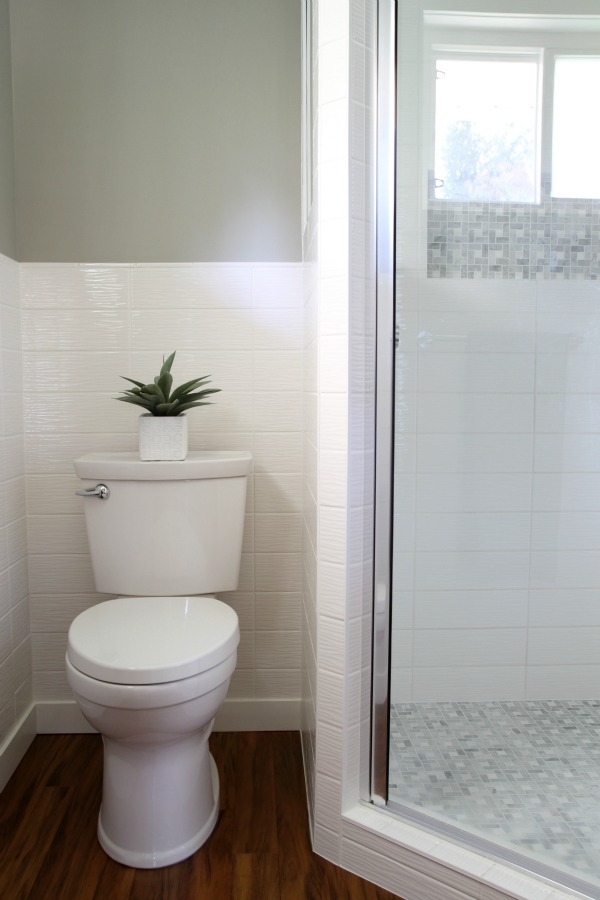
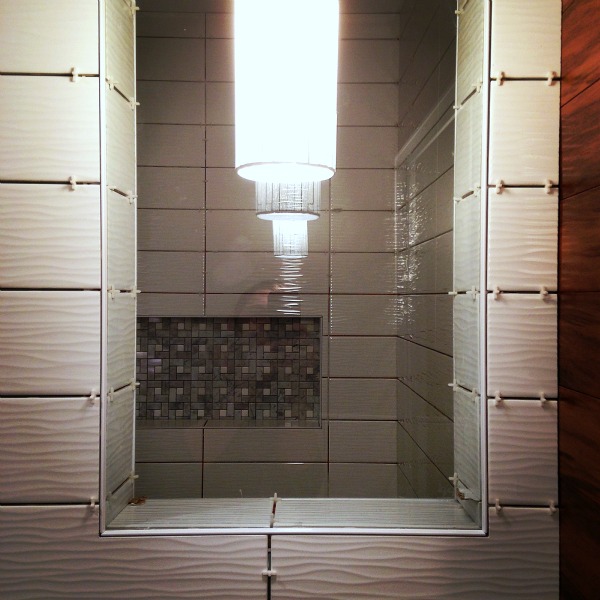
The couple was aiming for a midcentury spa vibe that felt warm and natural. Sticking to a palette of white, gray and wood was key. Material selections were based on design and budget. Wavy wall tiles in a high gloss finish catch light from a south-facing window and bounce it around the small room. The rippled texture lends an organic vibe while the horizontally stacked pattern feels modern.
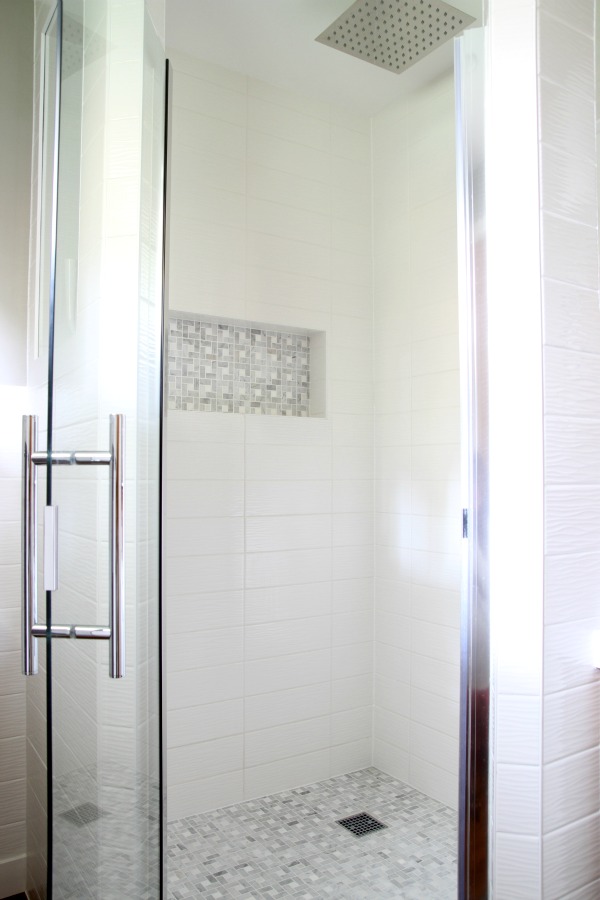

A frameless glass door and sidelights allow light to flow freely into the once dark shower. A wall niche for toiletries and an overhead rain shower head were space-saving measures that also feel luxurious. Marble mosaic was used in the shower niche and on the shower floor for contrast. Using the marble sparingly was an intentional, budget-friendly choice.
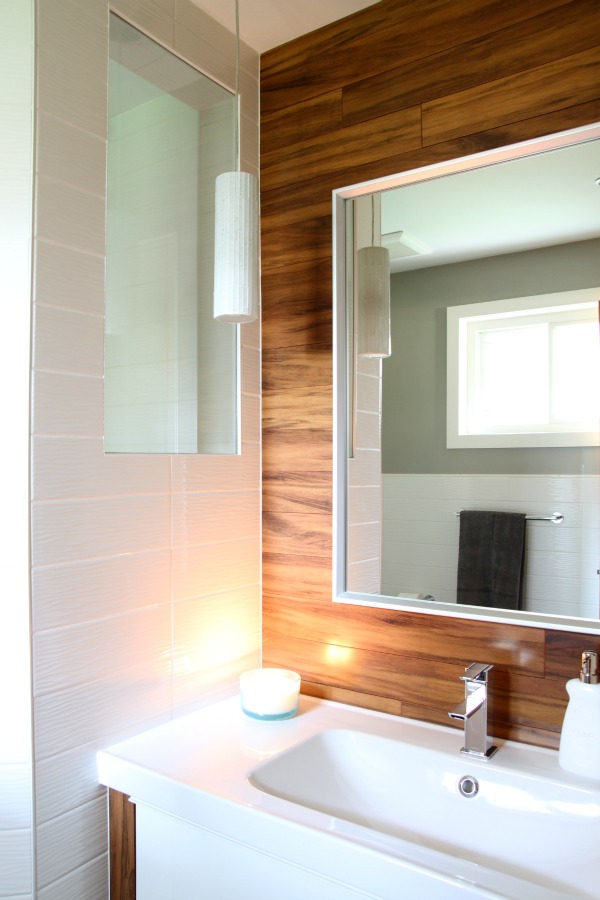
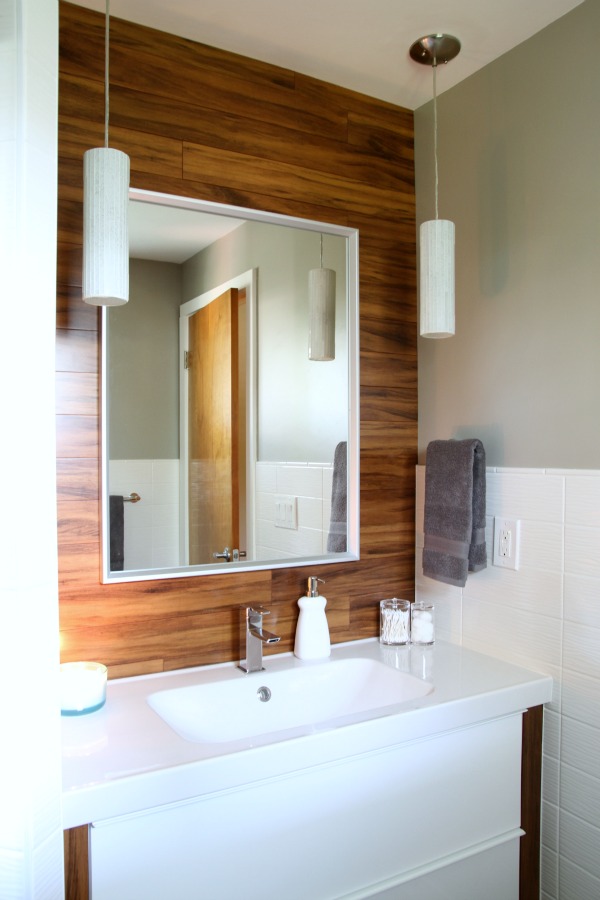
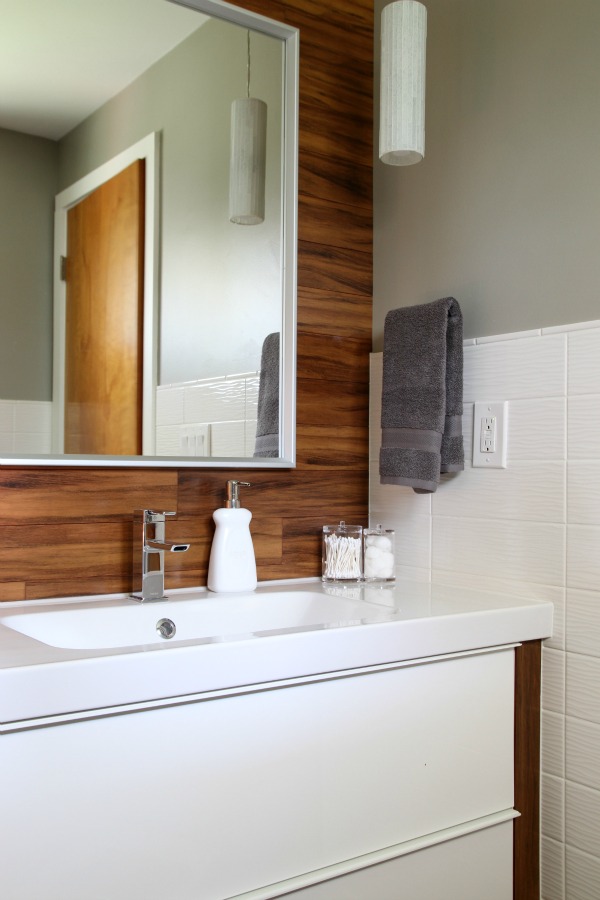
Running the tiger wood flooring onto the vanity wall is a defining design element that punctuates the sink area and brings added warmth to the nook. A pair of cylindrical glass mosaic pendants flank the mirror.

A floating Ikea vanity frees up visual and floor space, providing the perfect spot for stashing slippers and a scale. The vanity is somewhat of an Ikea hack. The nook is 45″ wide and the off-the-shelf vanity is slightly narrower at 39″ wide. James improvised and ripped down leftover floor boards to stand in as filler pieces on either side of the vanity.
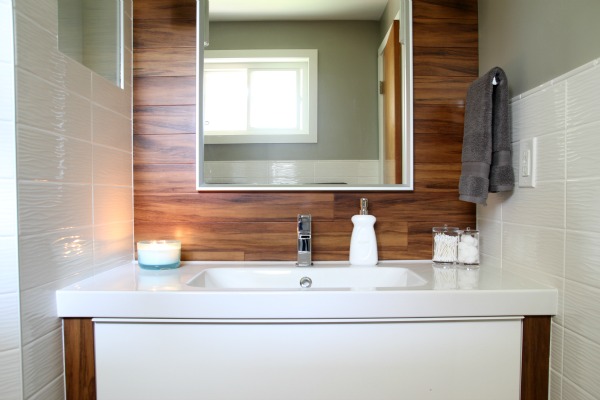
Likewise, the 47″ wide Ikea sink top had to be modified to fit the space. Using a grinder + a spray bottle filled with water, James cut 1″ off each side for a custom fit.
Resources of note:
wall paint – granite boulder, Behr Ultra (Home Depot)
trim paint – satin white, Behr Ultra (Home Depot)
wood flooring – ½” tiger wood bamboo (discontinued), Build Direct
wall tile – Allen + Roth wavecrest white gloss 4″ x 12″ ceramic tile, Lowe’s
accent tile – anatolia carrera marble mosaic, Lowe’s
shower head – 12″ Hudson Reed, Amazon
shower handle – Delta, Amazon
shower door – Coastal Shower Doors, Amazon
inserts for sidelights – ¼” tempered glass from local glass shop
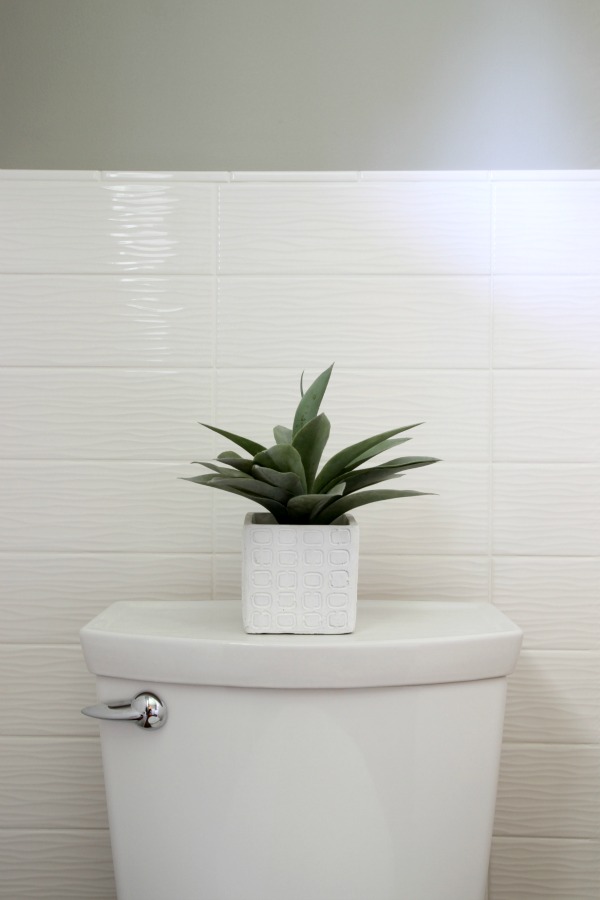
toilet – American Standard cadet 4, Home Depot
toilet paper holder – Amazon
towel bars – Amazon
pendants – Lamps Plus
mirror – SKOGSVÄG, Ikea
vanity – GODMORGON, Ikea
sink – ODENSVIK, Ikea
sink faucet – Moen, Amazon
accessories – Marshalls
Thanks again, James and Kristina, for sharing your home with me and the internet!
I have many favorite things about this bathroom starting with the color palette. I love the tile choices mixed with the tiger wood on the floor and sink wall. The sidelights in the shower are so clever! I know the tiger wood filler on the vanity was primarily a means to an end but I love the result. It’s a detail that instantly de-Ikeafies (yep, I’m making up words) the floating cabinet and gives it a high-end look. Overall, the new bathroom design is purposefully spa-like but it doesn’t stray too far from the rest of the midcentury home’s decor. That’s not always easy to pull off!
What is your favorite part? Can you even believe this is the same bathroom?!
images: Dana Miller for House*Tweaking


budget decor, DIY, inspiration, interior design, renovation