**This giveaway is now closed.**
I am so happy to {finally!} offer you guys a giveaway! I’ve always wanted to show you readers how much I appreciate the time you set aside to tune into H*T each week. And with Thanksgiving right around the corner, what better time than now?

Today’s giveaway comes from TILEShowroom, a fairly new online company that sells a variety of tile…from recycled glass to natural stone to stainless steel. Whether you’re looking to install a colorful kitchen backsplash or to outfit a calming bathroom retreat, TILEShowroom has options galore. Here are a few I’ve taken a liking to…

My selection is a little reminiscent of a modern, natural beach house, isn’t it? Oh, if only I were in a beach house. I’m not. I’m {very reluctantly} anticipating the arrival of formidable winter weather here in the Midwest. And I’m being very resistant to it, leading my subconscious to pick these tiles. Wow. Sorry for the tangent.
TILEShowroom is dedicated to helping homeowners express themselves in creative ways. From the moment you first browse their inventory to the minute you install your last tile, they want you to have a happy experience. And today they’re offering up a $100 gift card {via a coupon code} to put a smile on your face and some tile in your place. So, do you want to get in on the tile action? Great. Let’s talk details.
- PRIZE: one $100 coupon code to be redeemed at TILEShowroom
- RULES: Must be at least 18 years old and live in one of the 50 United States. One entry per email address.
- HOW TO ENTER: Leave a comment on this post proclaiming “SMILE FOR TILE”
- DEADLINE: Enter before Wednesday, November 24th @ 8:00pm EST. The winner will be picked at random and announced on Thursday, November 25th. {Due to the holiday schedule, the winner will receive their coupon code via email on Monday, November 29th.}
- WHILE YOU’RE AT IT: Tell me what you’re most thankful for this year.
Good luck!
FYI – I’ve not been compensated for this giveaway. I just love sharing good stuff.
images: 1) TILEShowroom 2) collage created by Dana Miller with TILEShowroom images
This is my powder room.
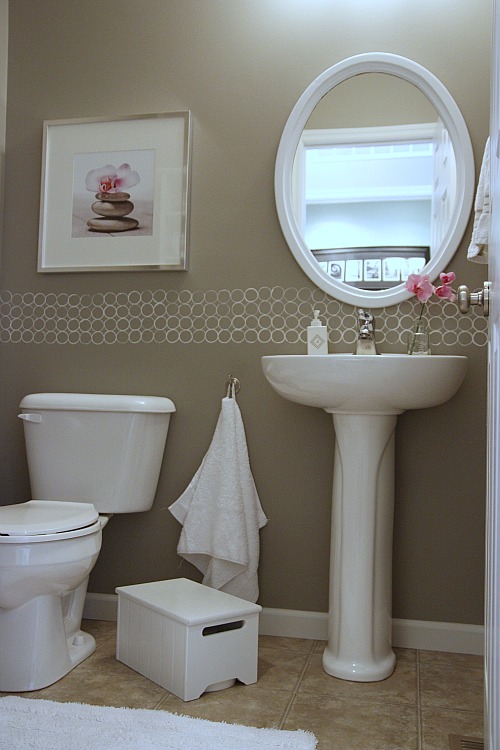
I hand painted the circles border for FREE during my kids’ naptime a few years back. I just used a tape measure, level, pencil, painter’s tape, a few empty cardboard toilet paper tubes {paper towel tubes would work as well}, a teeny paint brush {fabric brushes are a good choice} and leftover matte paint. Here’s how I did it:
**This is a reenactment of actual events. Names of characters may have been changed. If only I’d have known what a blog was when I originally took on this project, I could give you the real deal.**
I knew I wanted the border to run just above the sink and toilet. I measured up from the floor to figure out where I wanted the bottom of border. 36″ looked good.
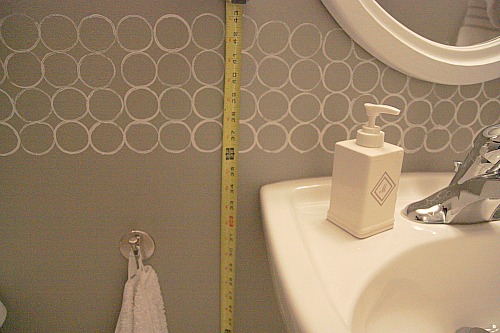
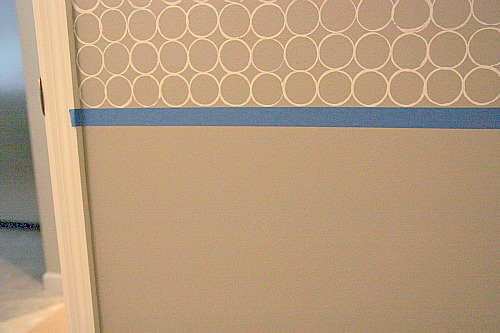
Starting at the door, I used a level and pencil to mark off the bottom of my border all the way around the room. Then I taped if off with painter’s tape.
I practiced my painting technique on the back of a notebook before applying it to the wall.
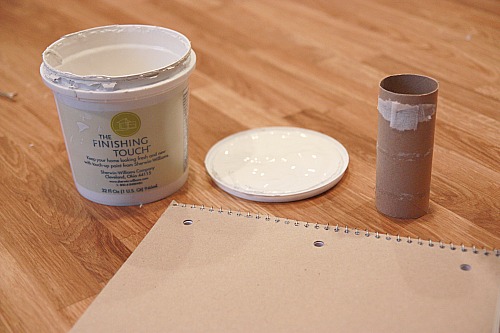
I used the paint off the lid of some leftover trim paint that the builder gave us when we bought our spec home.
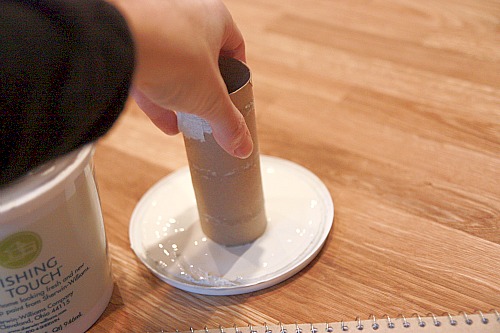
I pressed the wet tube firmly onto the paper.

Notice the circle isn’t perfect. It’s okay. {That’s what gives it texture in the end.}

I perfected my technique…
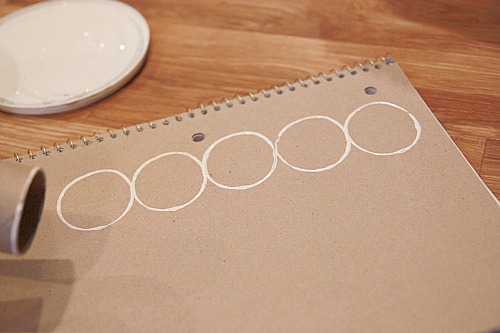
…and decided on a border that would be 4 circles high {5 circles was too high}. I used the same painting technique to ‘paint’ circles on the powder room walls, following the 36″ high tape line. I painted column-by-column – meaning I would make one circle right above the tape line and then add 3 more above it before moving on to the next column of circles. When my cardboard tube would get soggy on one end, I’d just flip it over and use the opposite end. When both ends were soggy, I threw it away and got a clean one. {This is why you’ll need more than one paper tube.}
Now, let’s talk corners for a minute. I was 1 for 4 in the corners. Only 1 corner in the powder room didn’t have to be touched up in some way. The way the circles fell, I was able to press a painted circle right at the corner and then go on to the next perpendicular wall.
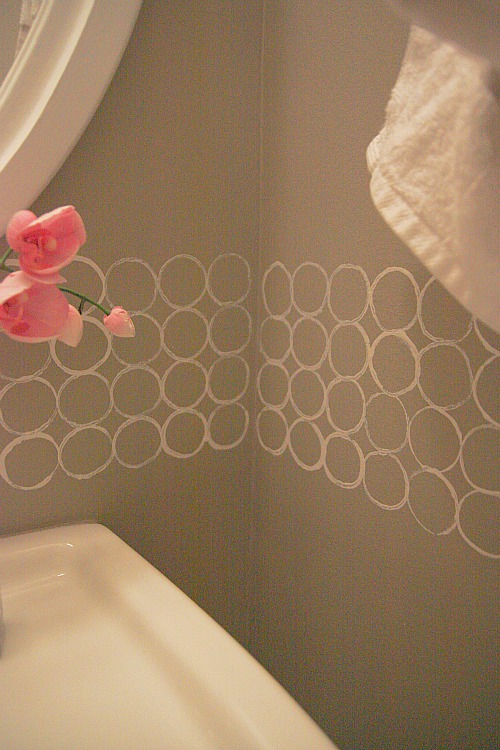
In the other 3 corners, though, I had to hand paint the circles using a stiff fabric brush. {Really, any small paint brush would work as long as you have a steady hand.} I don’t think I did a great job, but no one notices unless I point it out to them. It helps that I did my first ‘touch-up’ in the corner behind the door.
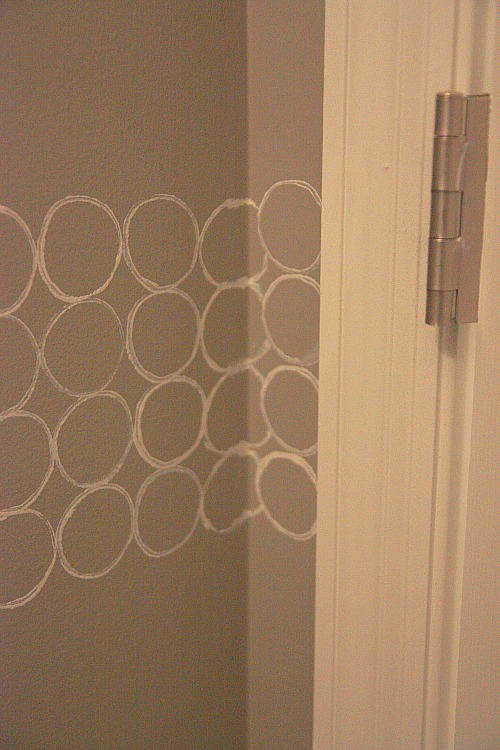
After the border was complete, I simply removed the painter’s tape and let the paint dry. This DIY project took me about 45 minutes from start-to-finish and cost me $0. This is definitely a good naptime project for moms…quick, easy and painless. Everyone that visits our home and uses the first floor powder room complements the border and then asks how I did it. They’re always surprised when I tell them I did it with a cardboard toilet paper tube for FREE. It is a little ironic that I used an empty toilet paper roll to paint my bathroom, isn’t it?
images: all by Dana Miller taken in bad lighting


DIY, inspiration