...because home doesn't happen overnight.
When I posted my workspace reveal, one item was missing from the original mood board. (Some of you noticed. Good eye!) It was the mini linen lamp. It was on backorder and didn’t arrive in time for the big reveal but it’s here now.
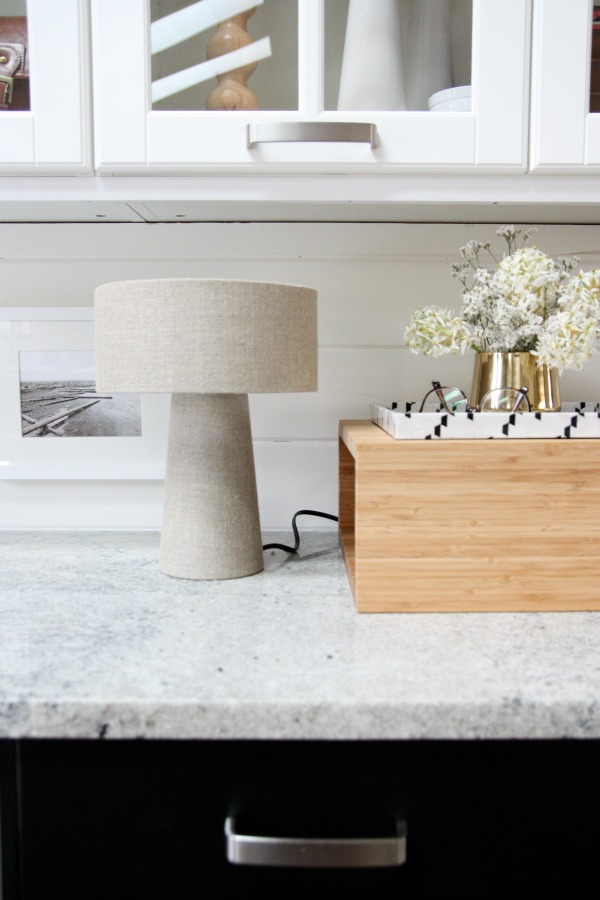
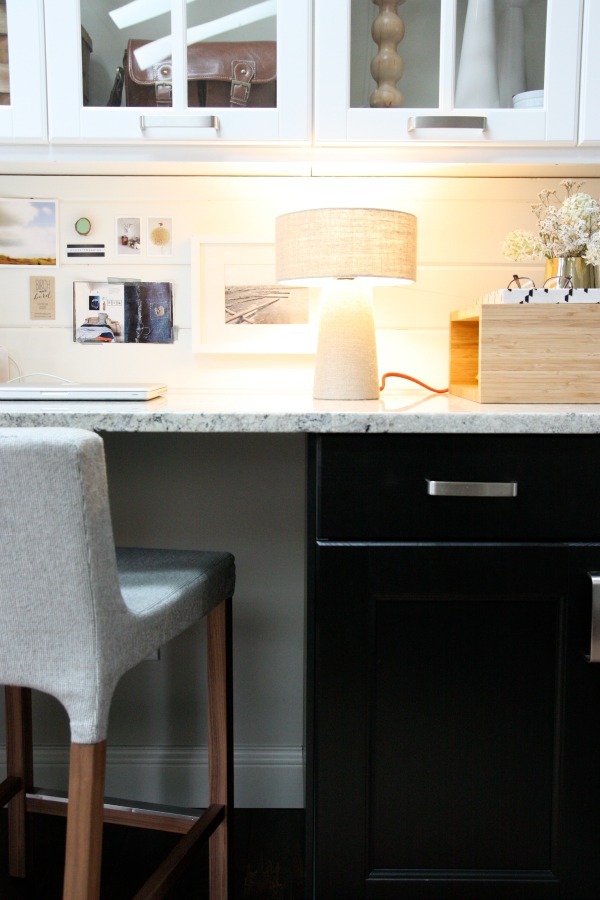
It’s just about the cutest lil’ lamp I’ve ever seen. It’s about 13″ tall and 9″ wide and it fits perfectly under the glass-front cabinets. The nubby linen gives it a cozy texture which feels really homey even though the silhouette is pretty modern. You know how I feel about cozy modern.
There was one downfall. The black electrical cord irked me. I don’t understand why companies go through all the trouble of producing beautiful lamps only to stick an ugly black cord on them. Why?! It’s like a handsome guy with no sense of humor. Deal breaker.
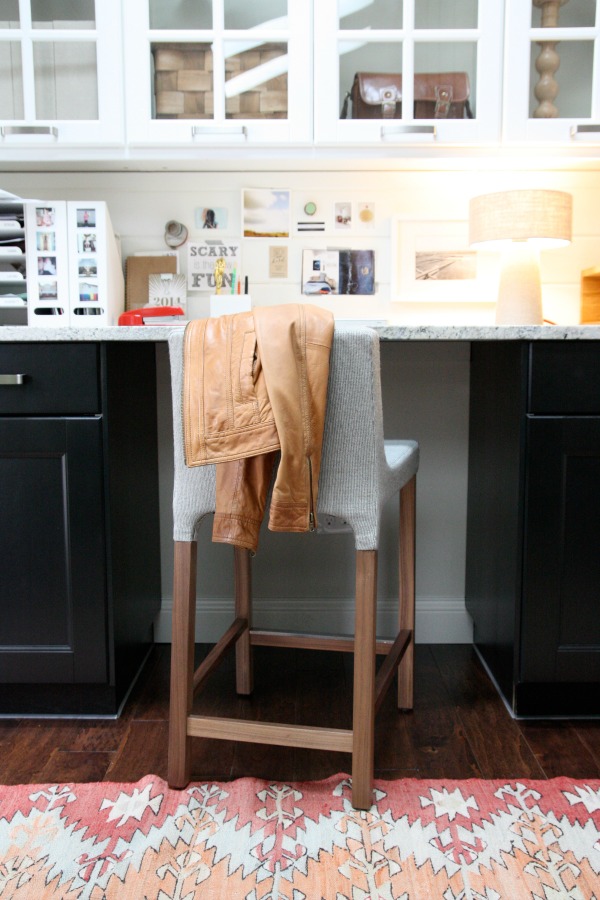
But I really LOVED the lamp and it was the ideal scale for my desk so I decided to do what I do best: tweak it. (Not to be confused with ‘twerk it.’)
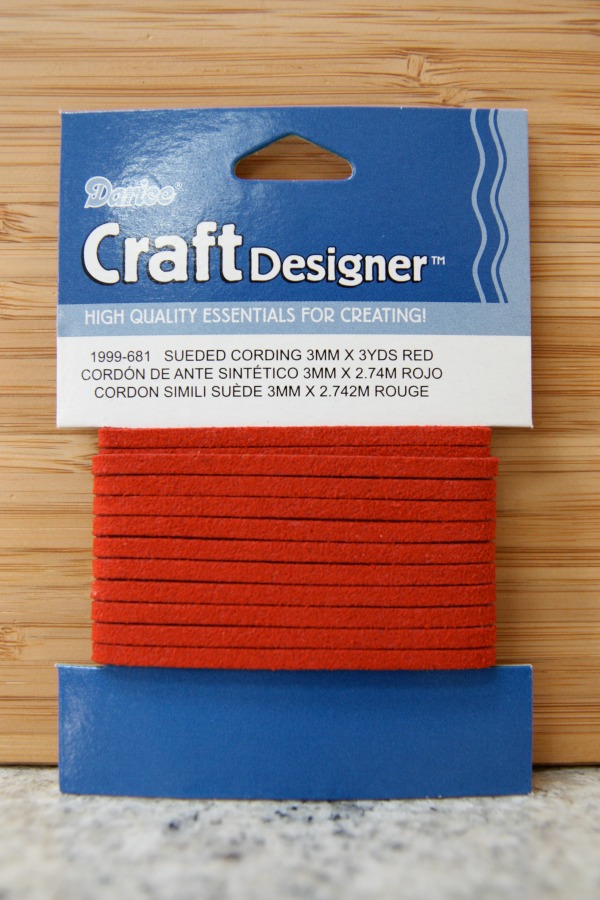
I found some red sueded cording at JoAnn’s. I paid less than $2 (with a 40% off coupon) for three yards. I thought the red suede would make a fun cord cover. Here’s how I went about disguising the black cord eyesore…

1 – I used a small piece of double-sided adhesive tape and stuck it on the backside of the cord.
2 – I ran the sueded cording up the tape then wrapped it over on top of itself to secure the end.
3 – I continued wrapping the electrical cord with my sueded cording making sure to pull it taut for a snug fit.
4 – I wrapped the cord to the rotary line switch then used a drop of hot glue on the backside of the new red cord to secure the end. (It’s important not to apply the hot glue directly to the electrical cord.)
5 – I snipped off the excess sueded cording with fingernail clippers.
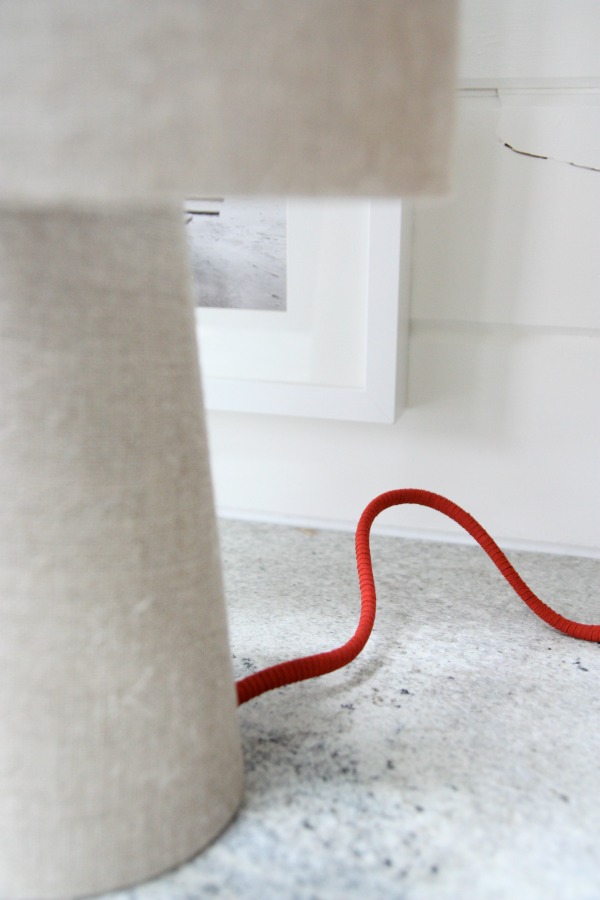
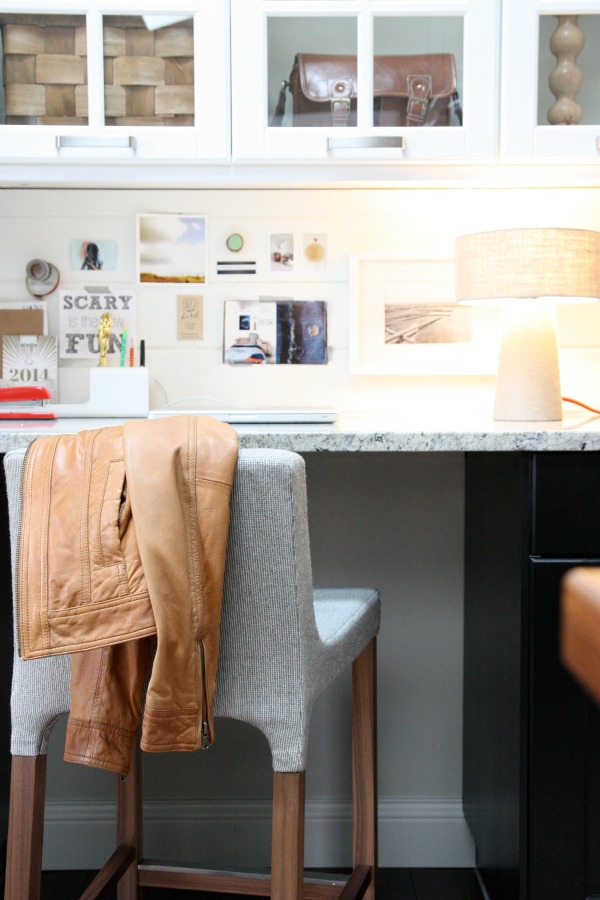
And that’s it! It took me all of 5 minutes. I only wrapped the cord to the rotary switch because I knew the rest of the cord would be hidden behind the wood cubby on my desk but you could easily wrap the full length. For reference, I wrapped ~13″ of electrical cord and I had ~9″ of the sueded cording leftover. Of course, that number will vary depending on the circumference of your electrical cord but three yards of cording for every foot of electrical cord seems like a good rough estimate.
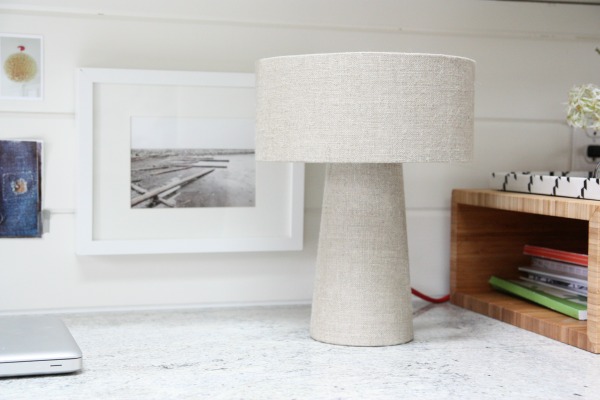
This cute lamp just got a little cuter. Steve even noticed and he loves it! Funny. I can rearrange our living room and he doesn’t notice for days. But I slap some new cording on a teeny lamp and he catches it right away. I don’t get it.
The lamp isn’t totally necessary. We do have over- and under-cabinet lighting. But, I have to say, the soft glow of the little lamp is nice on overcast days or late at night when I don’t want to light up the entire kitchen.
I’ve always liked the idea of a lamp in the kitchen, too. It feels cozy, warm and casual.
I wish companies would pay more attention to lighting cord aesthetics. It kinda sucks that I had to spend $2 to make my $40 lamp look like a $40 lamp but I’m really happy with how it turned out.
images: Dana Miller for House*Tweaking
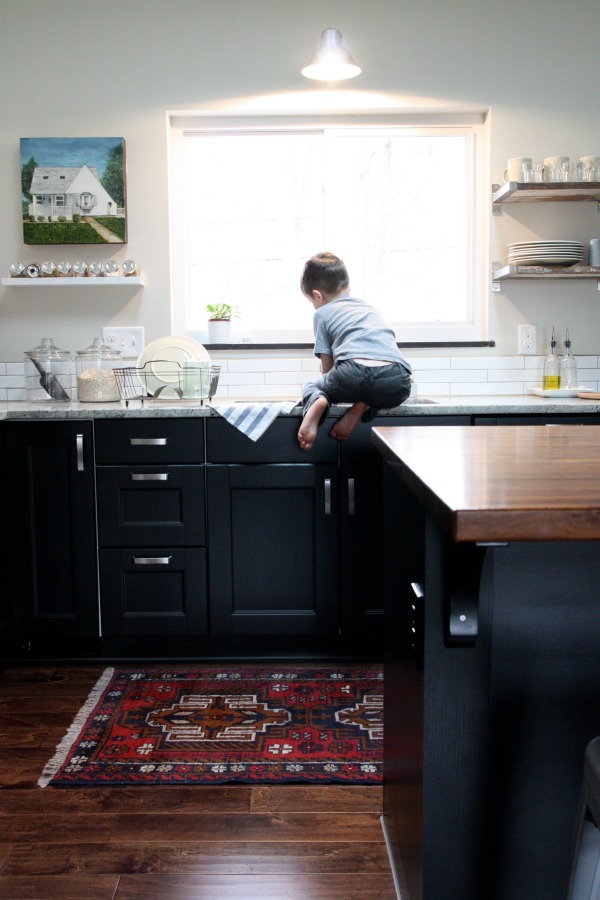
That’s Everett. He’s five. He wants to do everything his big brother does including wash his hands at the kitchen sink even though he can’t reach the faucet. Instead of walking back to the bathroom, because you know it’s sooooo far, he climbs up on the counter and precariously balances on the edge of the sink. Obviously, it isn’t safe. I keep picturing him falling head first into the sink or backwards onto the floor. Plus, there’s no center support in the cabinet under the sink so I don’t really think it’s meant to hold the weight of five-year-olds.
Enter the Ikea BEKVÄM step stool. It’s $15, constructed of solid wood and sturdy. (We have one in the boys’ room so I can vouch for it.)
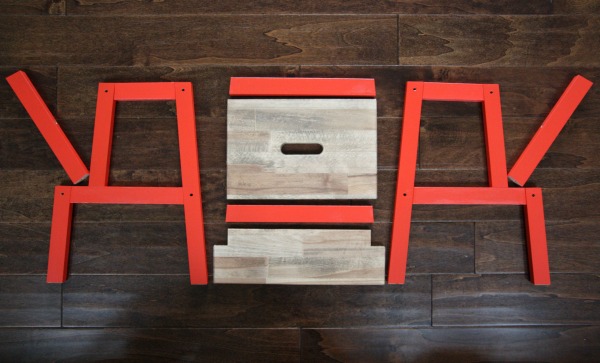
(I got a little carried away with laying out the unassembled pieces. Doesn’t it look like a graphic group cheerleading pose?)
Before assembly, I painted the legs and stained the steps. I walked into Sherwin Williams (I had a gift card burning a hole in my pocket) and was immediately drawn to a fiery red-orange swatch. The paint color is called “stop”. I guess because that’s what you do when you see it. STOP! I like mostly neutrals in our house but I thought it would be fun to have a shot of color on the stool. Also, I seem to be on a red-orange kick lately. The paint guy said since it was in the red family I was to use a primer first. I didn’t. I’m such a rebel. I brushed on two thin coats in a semigloss finish and the coverage was great so I left it at that.
Ikea advises against painting the steps due to the risk of slipping. And since safer was my goal in the first place, I decided to stain the steps with one coat of Minwax special walnut. We had some leftover from previous projects so all I had to do was walk out in the garage and search for a half an hour through our own private paint department. Oh, wait!, first I used a coat of wood conditioner…then I stained. I always use a wood conditioner before staining. Okay, so that was one coat of wood conditioner then one coat of special walnut. I decided not to seal the steps because I like the raw, matte wood and I kinda love the idea of it getting beat up and taking on a patina over time.
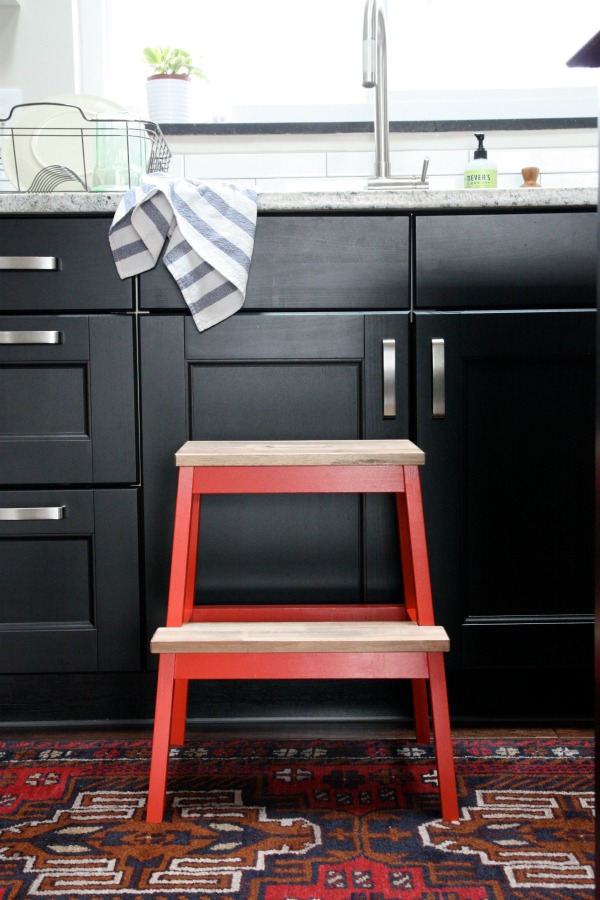
Isn’t it spicy against the black cabinets?! HOT. With hints of orange and coral, it’s such a great modern red. I’m so happy I only did one coat of stain on the steps and left them unsealed. I love me some rustic-modern juxtaposition.
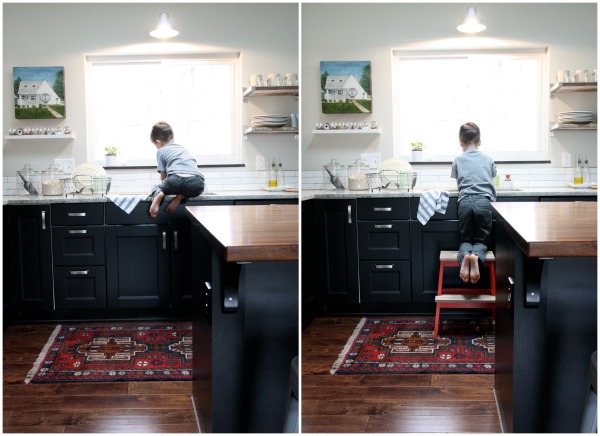
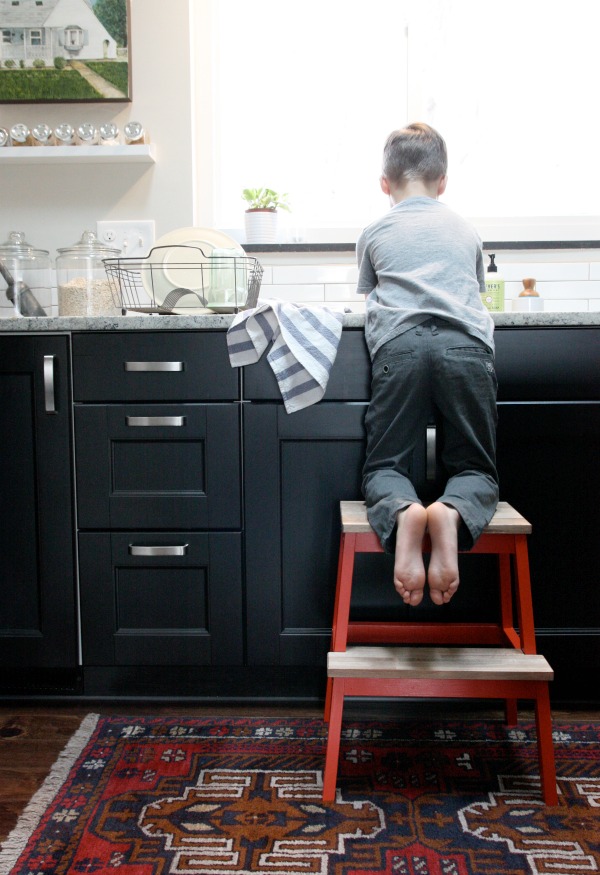
Now the lil’ man can wash his hands, no problem. Everett was so excited when I told him the stool was for him.
But there was a *slight* ulterior motive for this stool. I have a hard time reaching a cabinet above our microwave. I usually end up hoisting myself onto the counter or dragging over an extra tall stool from the island. No more.
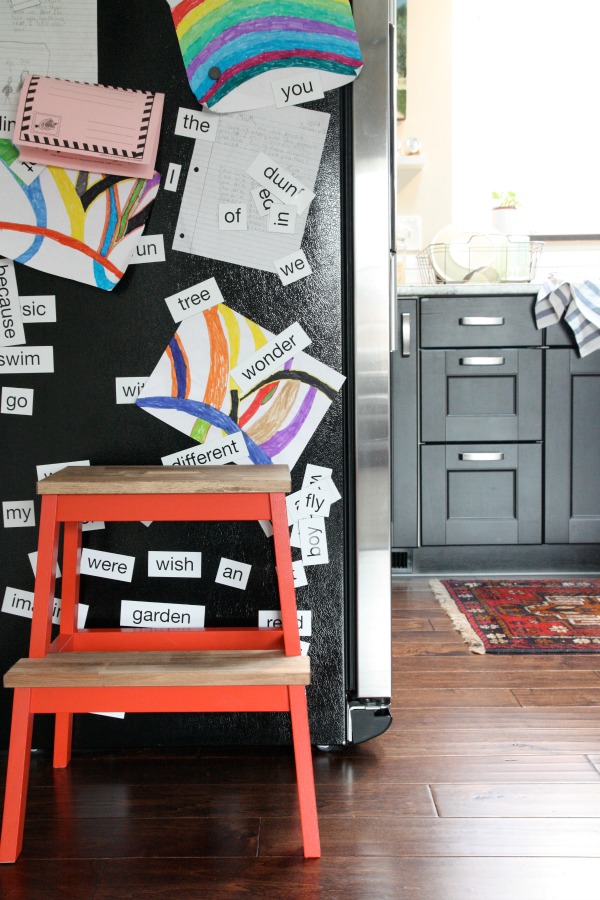
When the stool isn’t in use, I’ve been stashing it next to the fridge. (Mabrey is all about climbing up and messing with the papers and magnets. One problem solved, another created.) Eventually, it will go live where the high chair is now in my workspace.
I am a little worried about the paint marking up the cabinets but I talked to Everett about it and so far he’s been really careful not to bump the stool against the cabinets. Like I said, he LOVES the fact that this is his stool and he’s taking it very seriously. Ha! I’m hoping the high quality paint won’t be prone to leaving marks. I also made sure to let the paint cure thoroughly before bringing the stool into the kitchen. So far, so good.
Isn’t it just the hottest lil’ thing? All of a sudden I’m craving a margarita and chips & salsa. Any takers?
images: Dana Miller for House*Tweaking


budget decor, DIY, interior design