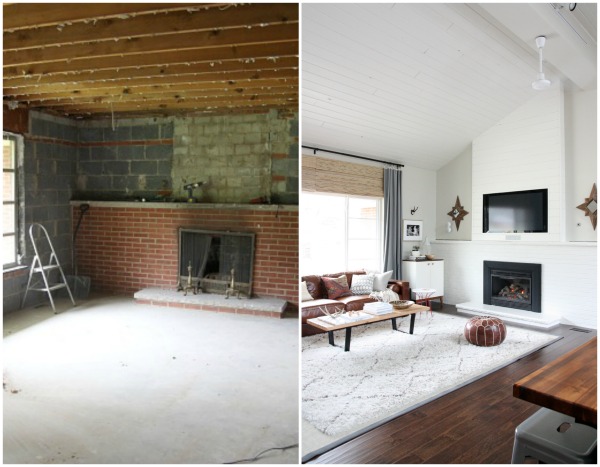
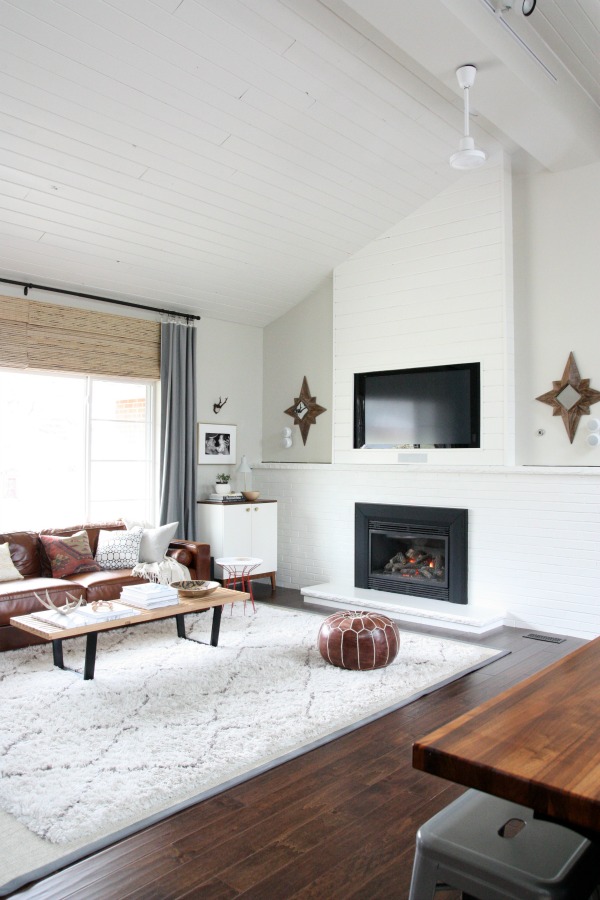
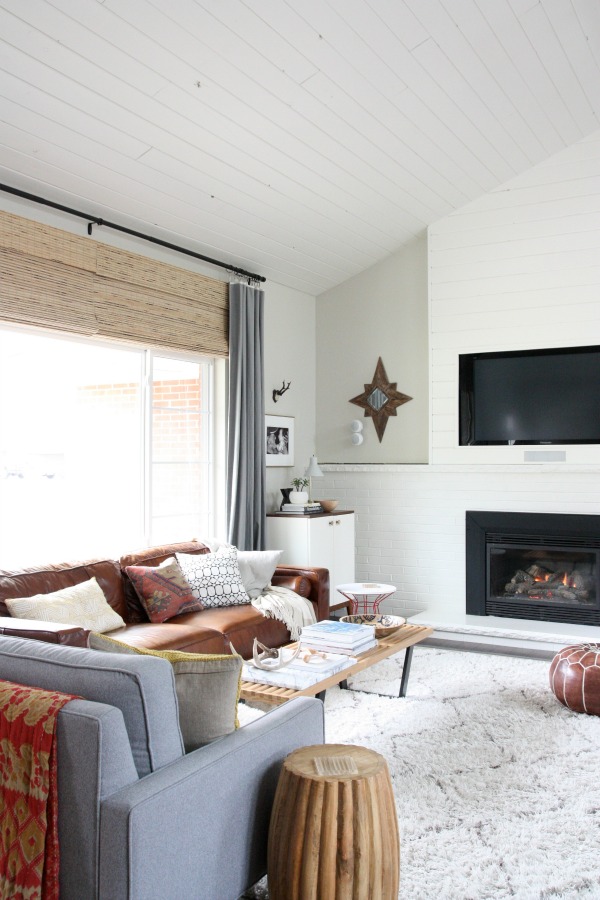
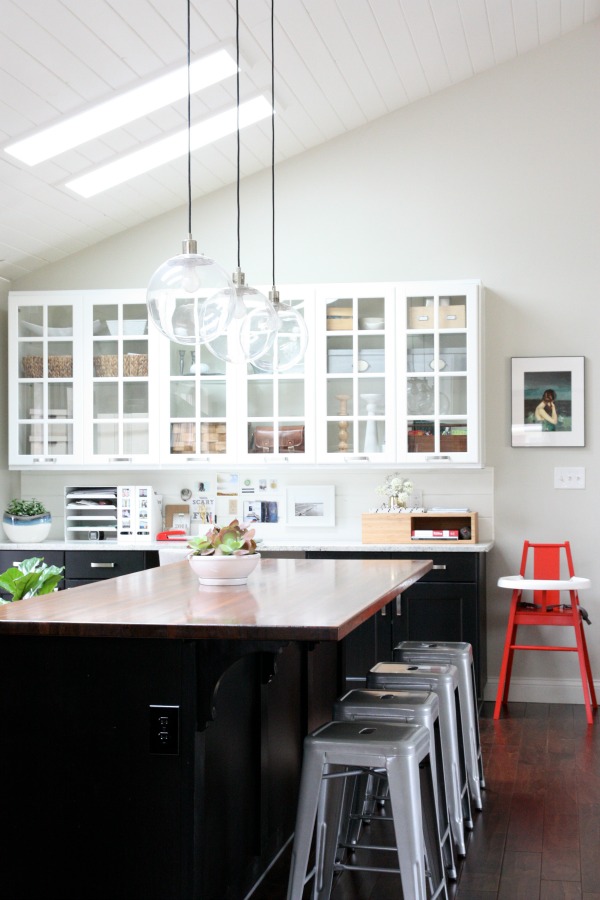
That’s a little before-and-after action of our living room. So, so, so many things have happened in between those two pictures. (Like, two years, kiddo #3, lots of hard work and not a lot of sleep.) I don’t consider the room “finished” but we’re awfully close. One of our biggest undertakings in this space was vaulting the ceiling and it’s something I want to share in more detail now that we’re living on the other (cleaner, less stressful) side of it.
If you have been following along, you already know we removed the walls separating the original kitchen, dining and living rooms. When the walls came down, part of the plaster ceiling came down, too, and it gave us an idea – a wonderful, awful idea. Why not rip out the 8′ ceiling in the future kitchen-living space and vault it? We knew it would be a major renovation but we also knew it would totally make the space.
Steve did a bunch of research online (he found finehomebuilding.com especially helpful) and in person with several contractors and a professional engineer at a local lumber yard. We went back and forth between the options of installing collar ties or a structural ridge beam. In the end, we were advised to install a structural ridge beam. (You can read more about these events as they occurred in real time here and here.)
We hired a contractor as this project was way beyond our DIY skill set. Our contractor worked closely with an engineer at a local lumber yard to create an LVL (laminated veneer lumber) beam specific to our roof pitch, room dimensions and length of span. Like I said, waaaayyyy-haaay-haaay beyond our skill set.
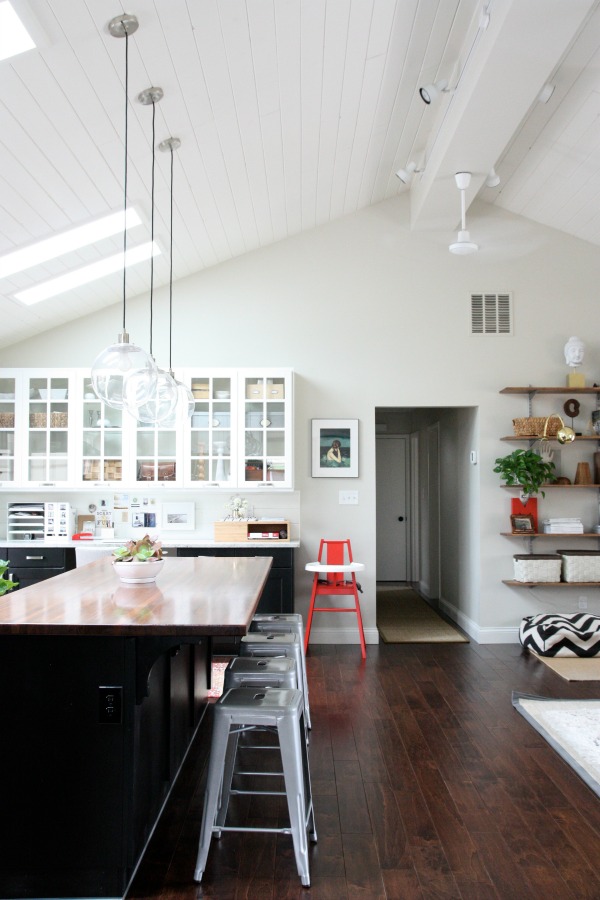
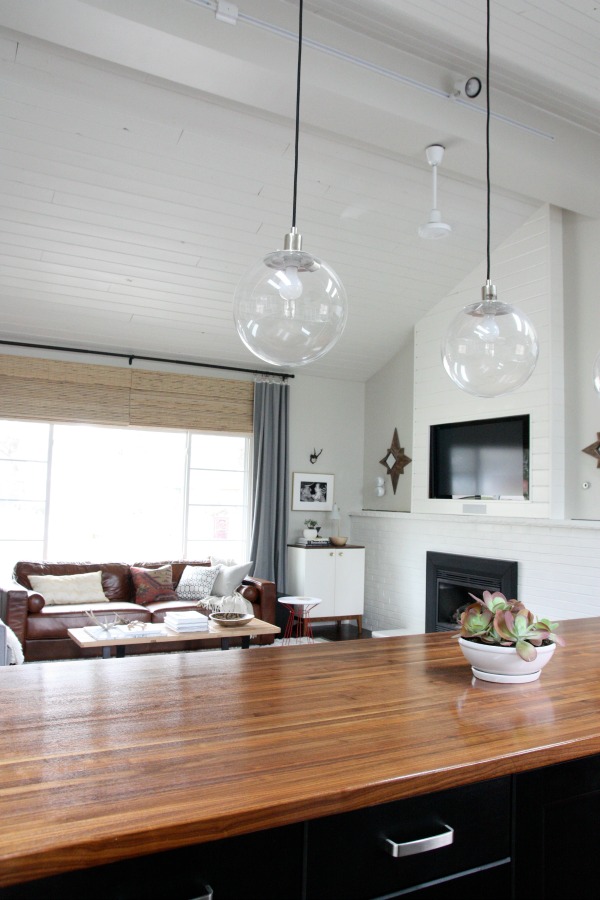
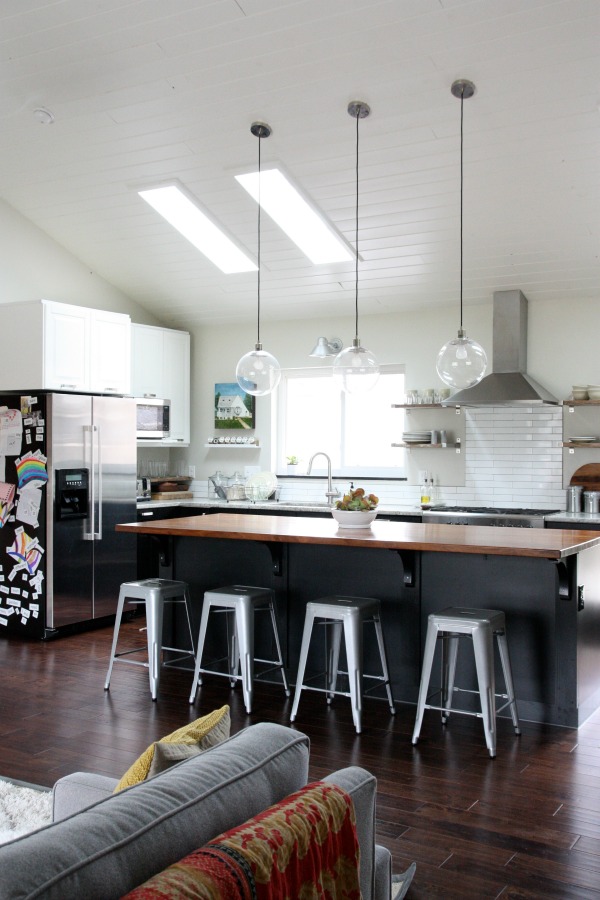
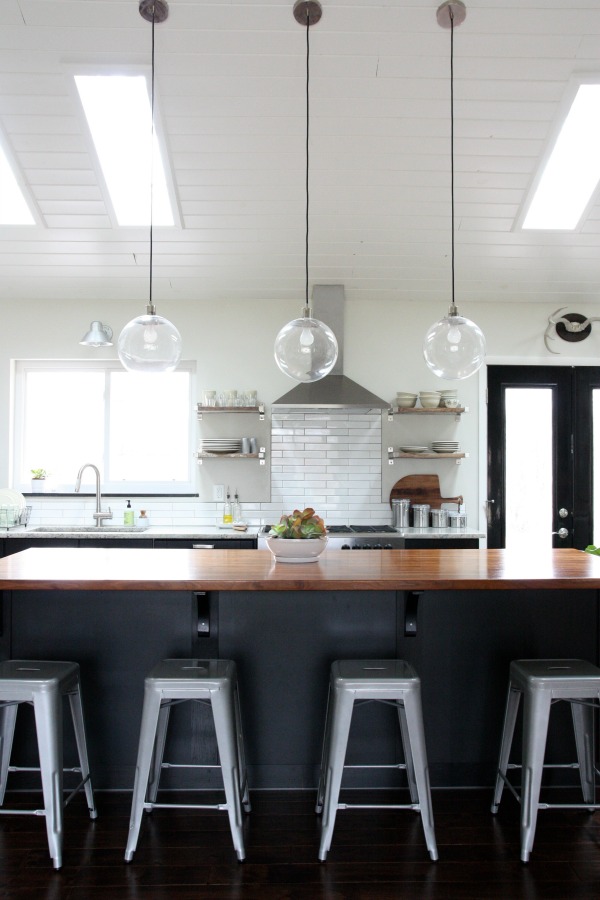
An LVL beam is constructed of multiple layers of thin wood held together by adhesive. This allows for a smaller yet stronger structural support when compared to a solid wood beam. The compact size allowed us to run electrical along the beam (for track lighting + two ceiling fans) and box it in without taking up too much space at the peak. The LVL beam was manufactured off site, signed off on by a professional engineer and installed by our contractor.
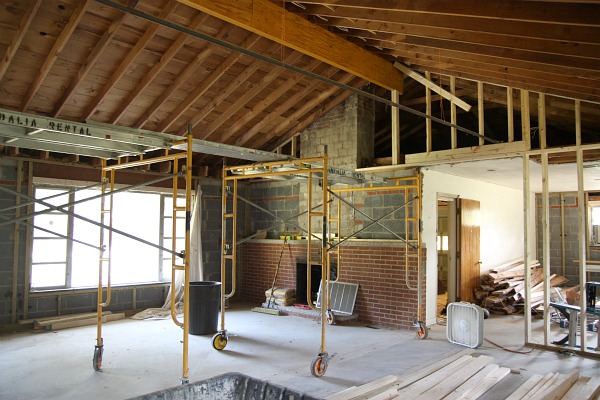
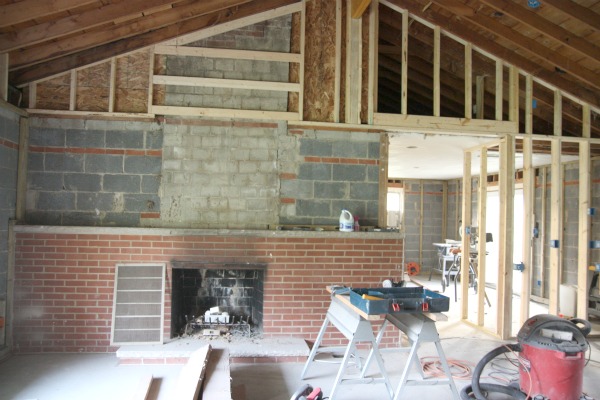
These photos were taken after the structural ridge beam was installed. The fireplace wall is a block wall. A support was installed for the beam to rest on the block wall.
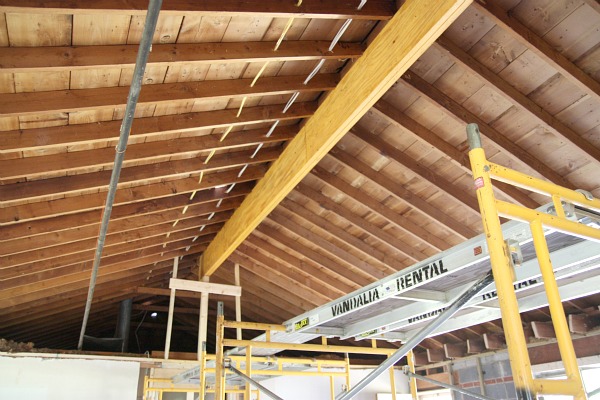
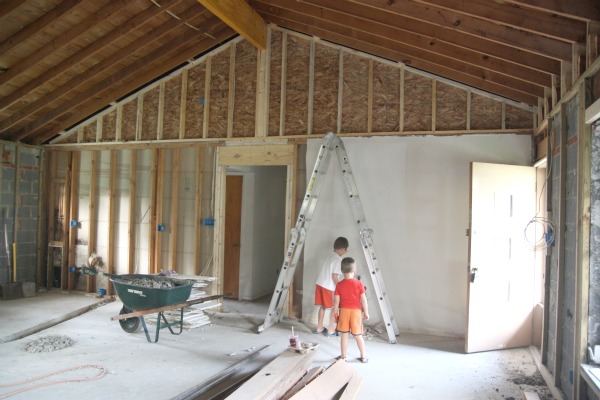
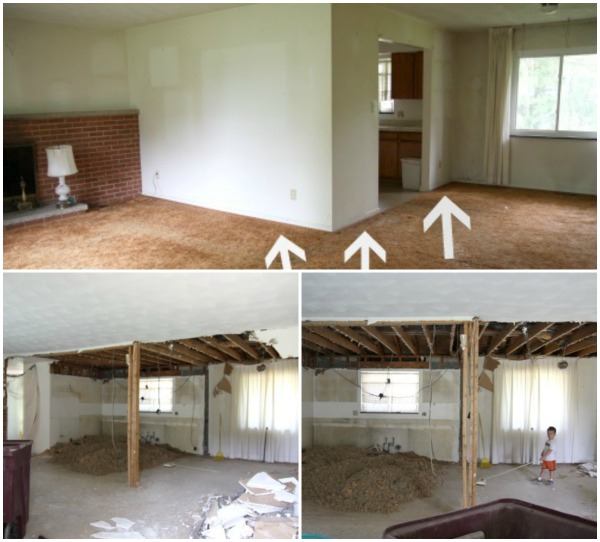
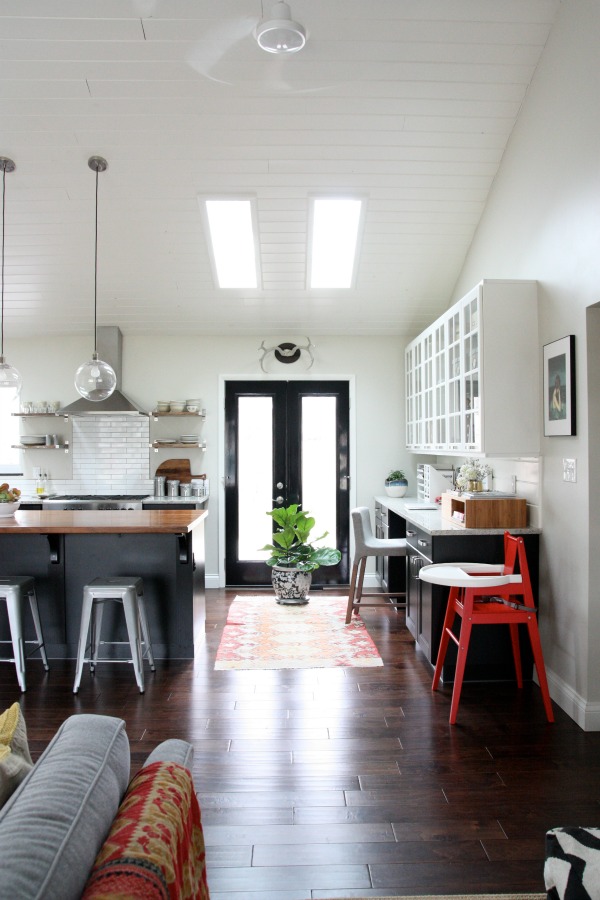
At the other end of the beam is an interior wall – no block wall. To support the beam properly, the slab on either side of the doorway shown above was jackhammered and dug out. Footers were poured and the corner studs were replaced with glued and nailed 2 x 4 posts. The header above the doorway was beefed up as well to support the structural ridge beam. On a side note, the boys look so little!

With the ridge beam installed, we were finally able to envision how the space might look someday. It felt so much bigger yet we hadn’t touched the house’s original footprint.
How much did all of this cost? To have the LVL beam manufactured and installed, we shelled out $5,600. That was with us demo’ing the walls, the drop ceiling and most of the rafters. That price does not include insulation or drywall around the beam or affected walls. It does not include the cost of installing tongue and groove on the vaulted ceiling either. (You can read about that DIY project here and here.) That’s no drop in the bucket, for sure. But we bought the worst house on the street for well below $100,000 so it was within our budget and the result was a game-changer.
And a slew more because the boys were behaving and Mabrey took the longest. nap. ever…


…then my camera battery died which explains the somewhat grainy shots. Damn.
Anyway.
We bought a crappy house for not a lot of money and vaulted the ceilings to make it less crappy. We like it here. The end.
Pssst! – We made it to The Homies finals! Whaaaaat?!
Click here to find out who won the epic Barcelona chair giveaway.
images: Dana Miller for House*Tweaking


budget decor, DIY, renovation