The nursery we weren’t expecting…
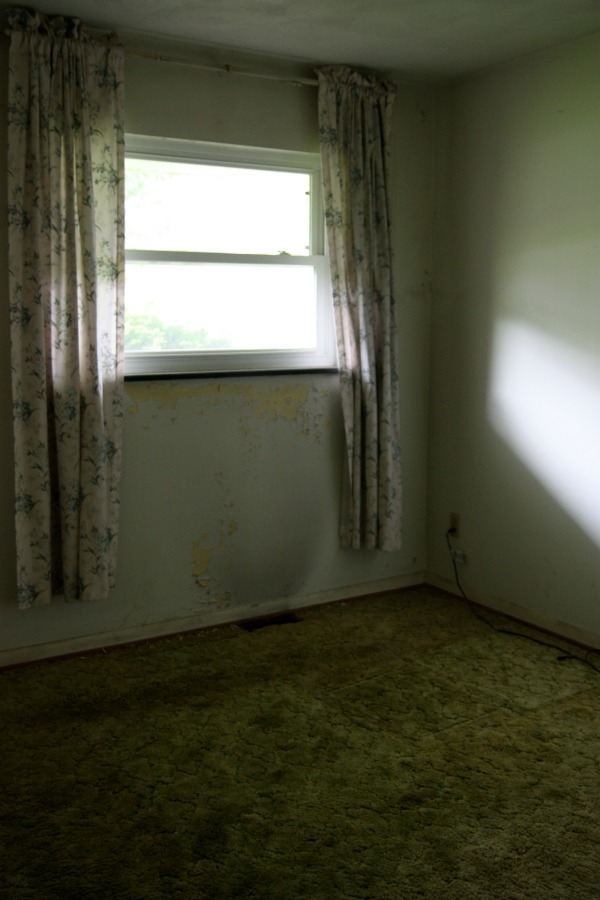
The before: not a lot to say here. Questionable green carpet, peeling paint, disintegrating baseboards but, LOOK!, a new window! This is the smallest of the three bedrooms (it’s not even 10′ x 10′) but it faces south and receives a good amount of natural light. When we bought the house, we had planned on this being Everett’s room. But a week before we sold our previous house, we discovered we were unexpectedly expecting. Surprise! In an instant, this room became the nursery. Well, not really in an instant. Mabrey was five months old by the time the room resembled anything remotely close to a nursery.

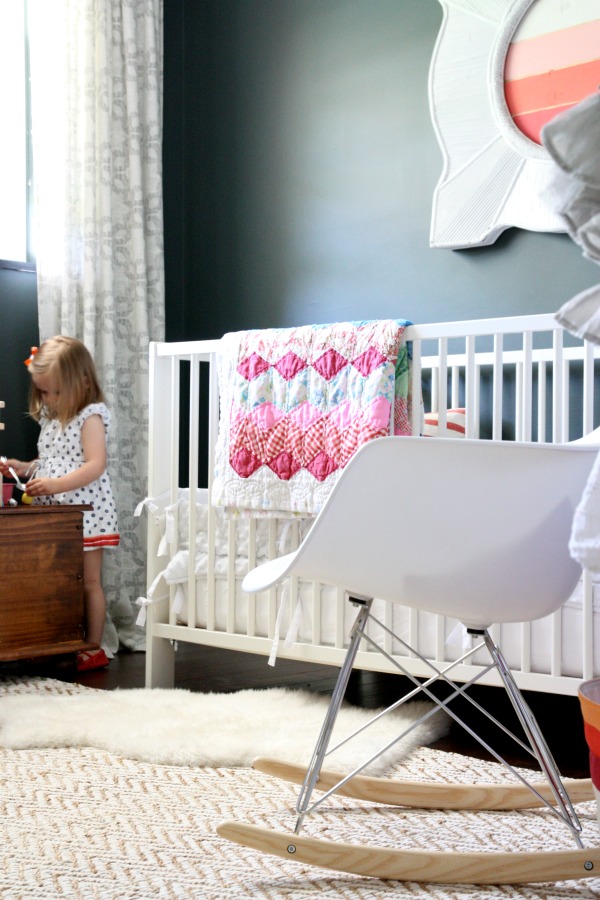
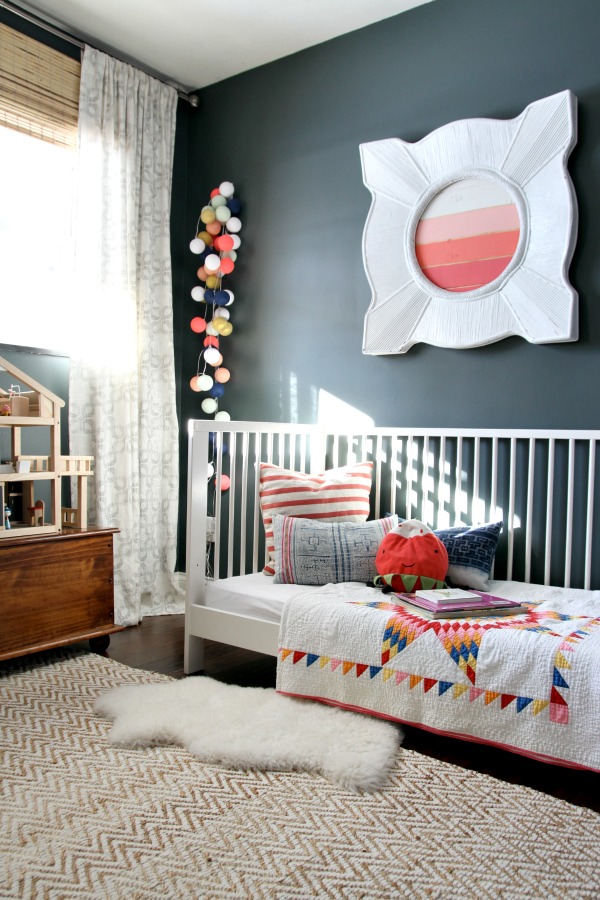
I don’t know about you but my number one goal for a nursery is to make it conducive to sleeping – the more, the better. I chose a deep blue-gray for the walls and Steve thought I was insane. (I was extremely sleep-deprived at the time so it wasn’t much of a stretch.) Once the paint was up on the walls, though, he came around. Somehow, the moody walls made the teeny space feel larger. There’s so much depth to the color, it’s as if the walls recede. It continues to be one of my favorite paint colors in the house.
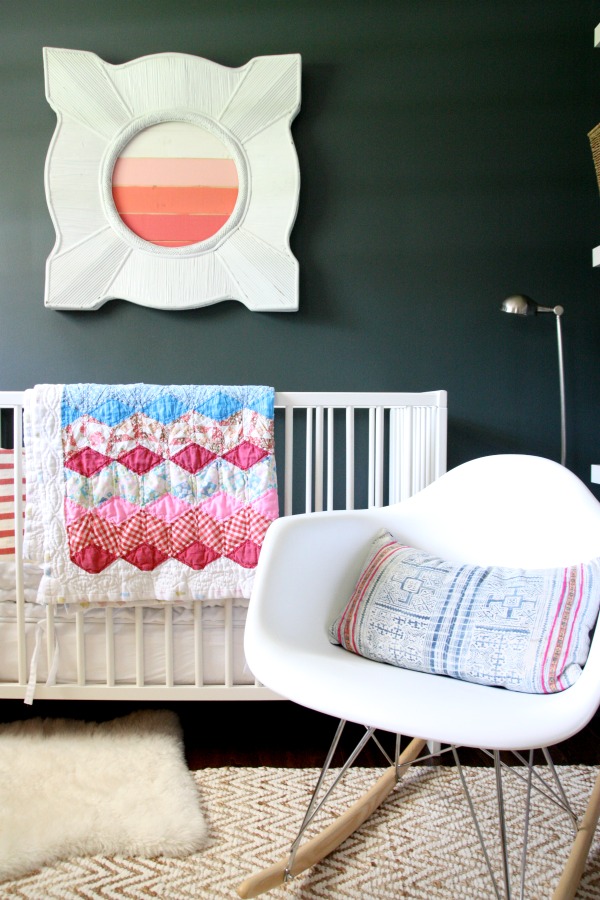
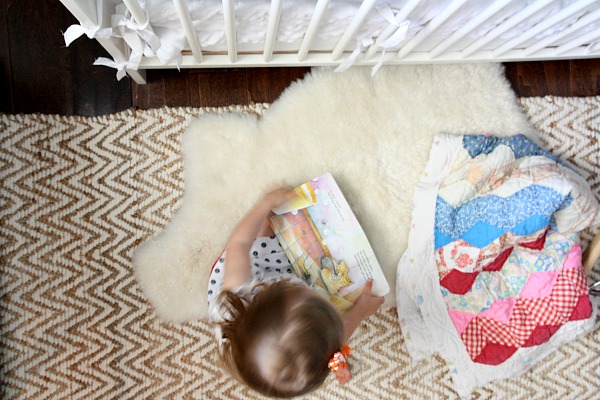
Along with a good amount of natural light, I used lots of white to brighten the space. I love the contrast. I chose pinks and corals as accents. In keeping with the vibe of the rest of the house, I added hits of texture with layered rugs, a woven shade and seagrass baskets. Since the room is so small, I chose a simple (and inexpensive!) crib that can be converted into a toddler bed. Two years later, I have nothing but good things to say about it. The quilt is a family heirloom. My great-grandmother made it. It was my dad’s when he was a baby then mine. I’ve used it with all three of my kids. It’s starting to show some wear but I think that only adds to its beauty.
I created the art above the crib using an old mirror frame, leftover tongue and groove planks (from our mudroom renovation) and paint. It’s reminiscent of a sunset. It’s secured to the wall with drywall anchors and 3M adhesive strips. Mabrey has never shown an interest in playing with the art but it’s nice to know it’s not going anywhere if she decides to make it her toy. (I know it looks substantial but it weighs less than three pounds.)
The room wouldn’t accommodate an oversized rocker so I chose one with a small footprint. A lumbar pillow and floor pouf (which now lives in the living room) made late night feedings comfortable enough. Luckily, Mabrey was a fast eater so I never spent more than 15-20 minutes in the rocker at a time. Today, it’s where we sit to read nap time and bedtime stories. We’ve made a lot of good memories in that rocker.
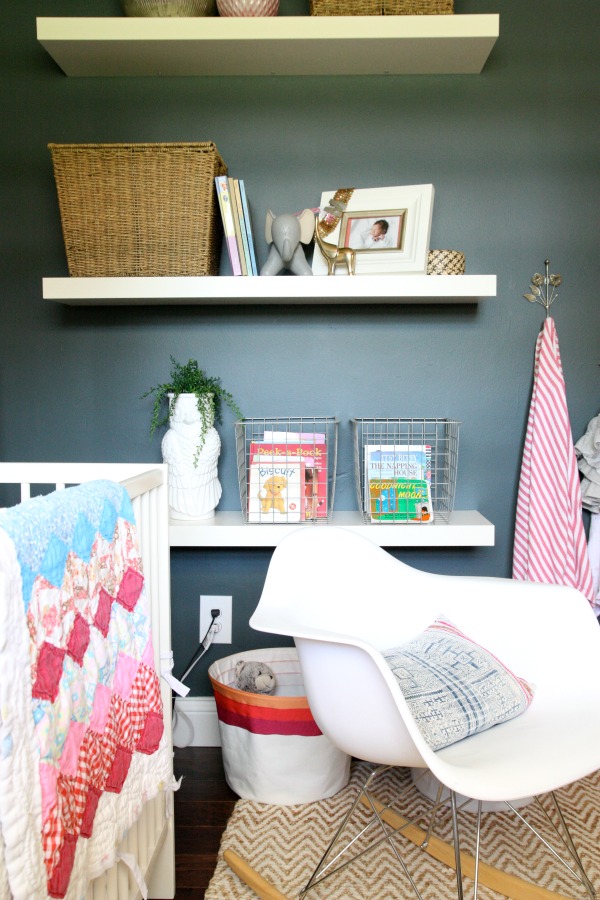
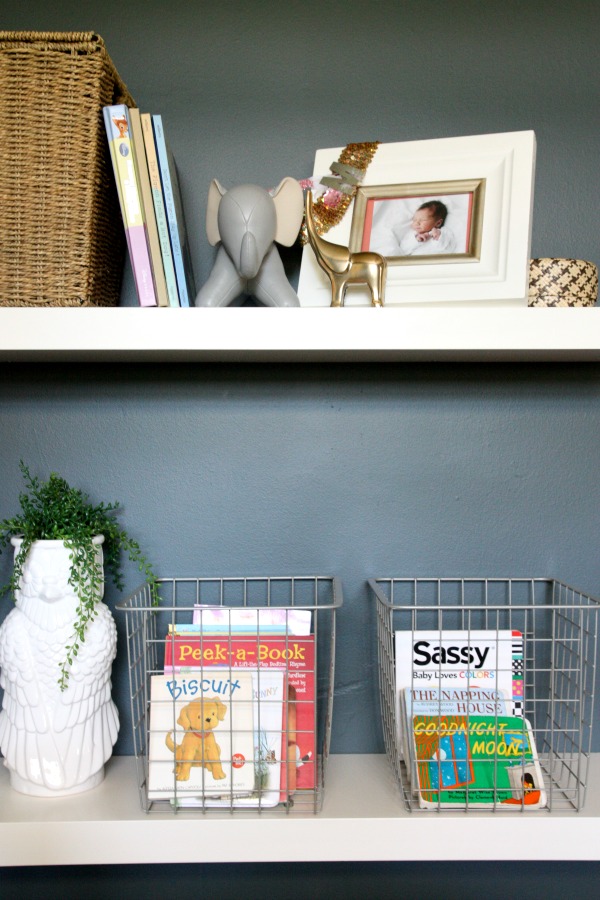
A trio of floating shelves holds books, baskets and decorative items without taking up precious floor space. Two fabric bins on the floor corral toys for easy access and cleanup.
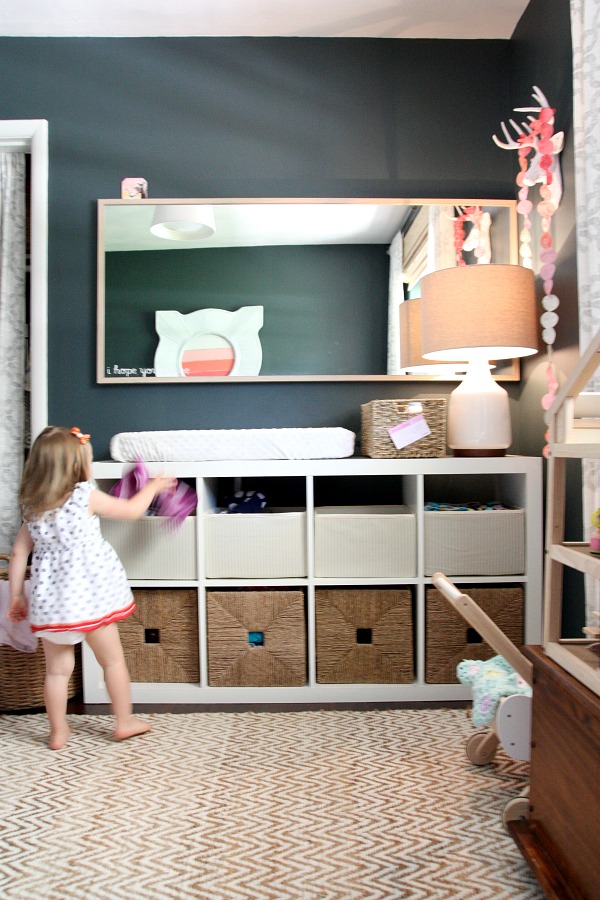
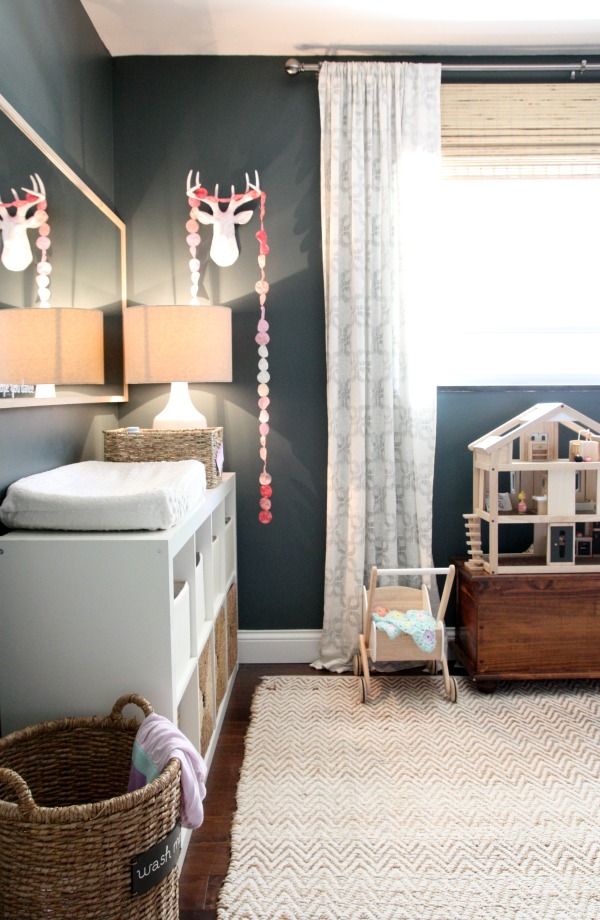
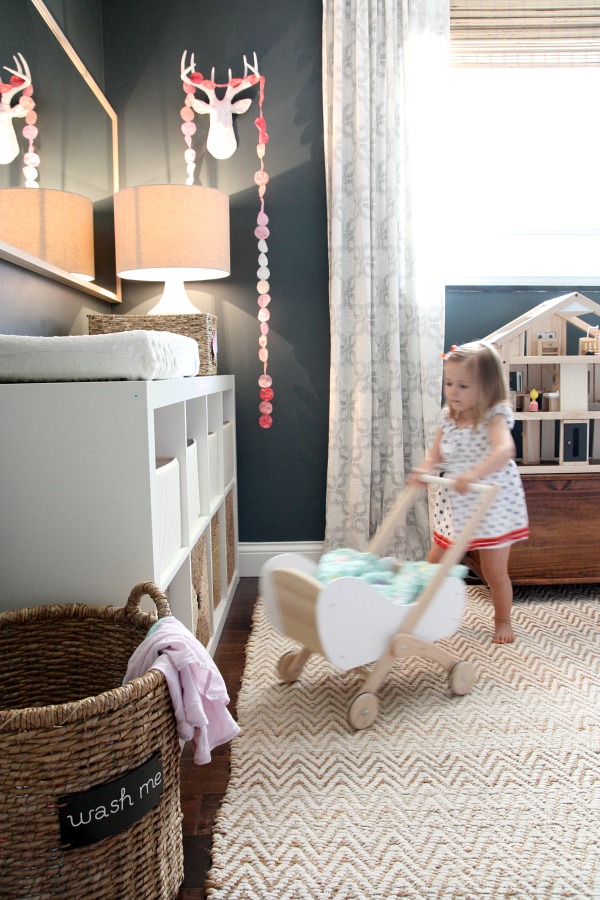
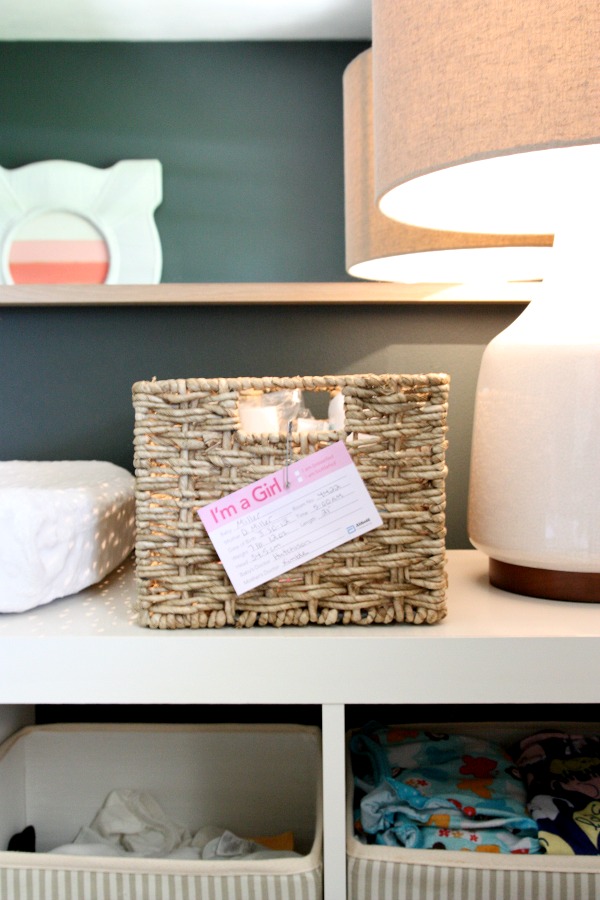
A makeshift changing table sits opposite the crib. We’ve had the horizontal bookcase for several years and it has served as a living room console, playroom storage and media stand in our previous residences. It’s so versatile! I added a contoured changing pad, toiletry basket and lamp to give it a completely different function in the nursery. The bins and baskets hold the majority of Mabrey’s clothes and diapers.
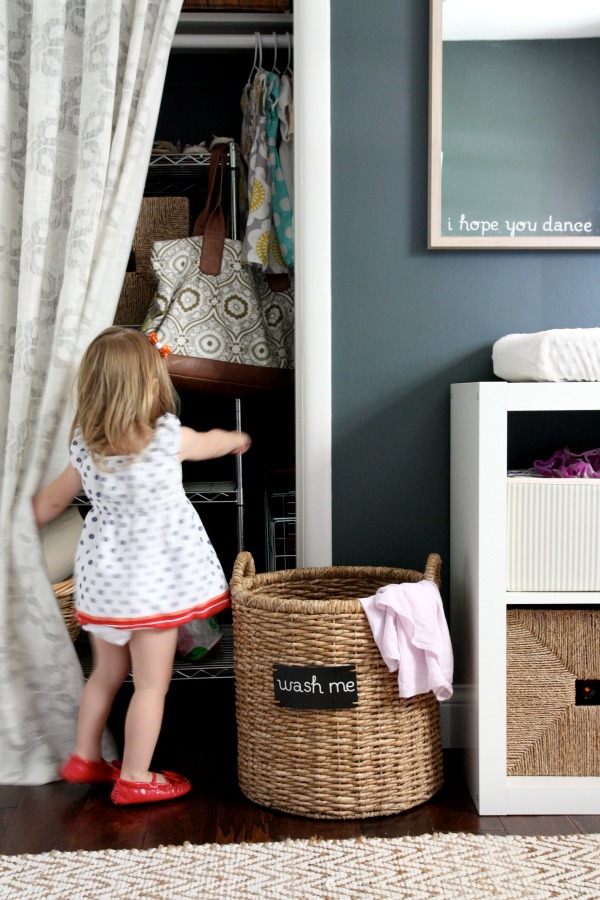
Just like in the other bedrooms, I removed the closet door. The door to the room opens up right in front of the closet and it was cumbersome having so many doors (if you can consider two doors “so many”) in such a small space. I hung a curtain panel from a tension rod in the door frame and called it a day.
The closet is super tiny. I put a standing utility shelf in it for extra storage. The closet primarily holds a few hanging items (like dresses, coats and jackets) that are currently in rotation along with hand-me-downs that don’t fit just yet. I keep a laundry basket in the closet and throw in things that are too small as Mabrey outgrows them. When the basket is full, I donate them. It’s a good system. The basket on the floor next to the changing table acts as a hamper.
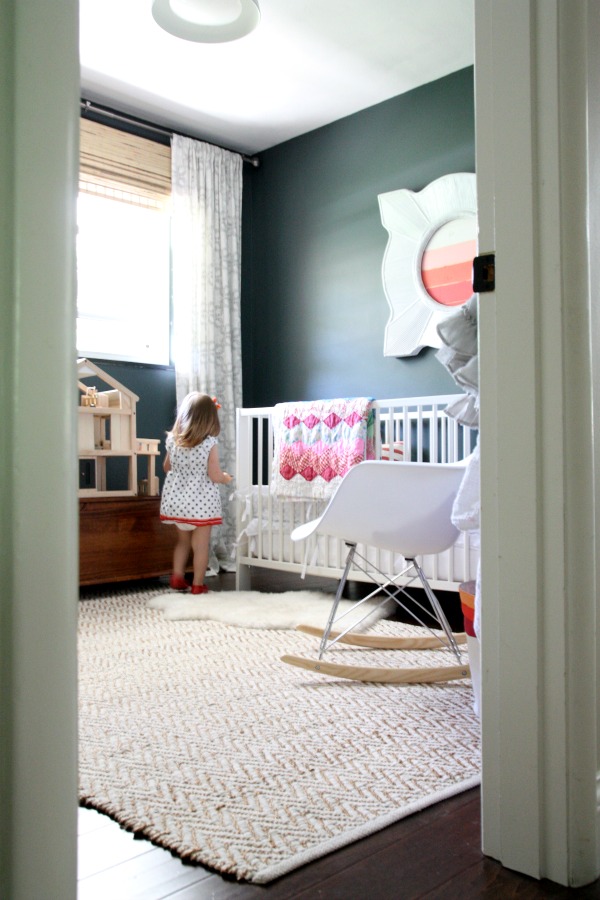
The curtains framing the window match the one hanging in the closet. The woven shade is mounted outside the window frame while a room-darkening roller shade is mounted out of sight, inside the window frame. The trunk under the window was a wedding gift from my mom. I tweaked an off-the-shelf dollhouse (it originally featured blue and orange accents) because I’m crazy like that. Sometimes we bring it out to the living room to play.
I caught quite a bit of flack in the online world for creating a dark nursery but I don’t regret it one iota. It’s actually a very happy place to play and sleep. I’m pretty sentimental about this room. I never thought we’d have a little girl in our family (and I was content with that) so I’m really grateful for this space and the amazing little person in it. She’s quite the firecracker and I can’t imagine life without her. Also, I’m already brainstorming ideas for a “big girl” room. It probably won’t happen for a year or so but, be warned, it’s coming. And then, technically, I won’t be able to call it a nursery anymore and I will sob. The end.
UPDATE: We converted the crib to a toddler bed. See the conversion here. I’m currently brainstorming a big kid room for Mabrey!
Resources of note:
wall paint – Benjamin Moore dark pewter
trim paint – Benjamin Moore white dove
flooring – Jasper engineered hardwood handscraped birch in Texas brown via Build Direct
ceiling light – Ikea, discontinued
curtains – West Elm, discontinued
curtain rod – Target
woven shade – petite rustique from Overstock
room-darkening roller shade – Levolor from Lowe’s
dollhouse – Plan Toys terrace dollhouse
trunk – gift
area rug – jute chenille herringbone from West Elm
sheepskin rug – Ikea
floor lamp – gift
crib – GULLIVER from Ikea
organic mattress pad – Amazon
crib sheet – Amazon
crib bumper – Amazon (white version unavailable)
artwork above crib – DIY
quilt – vintage
striped crib pillow – West Elm, discontinued
rocker – Amazon
lumbar pillow – etsy
floating shelves – Ikea
wire book bins – Kroger
various seagrass baskets – Ikea, Kroger
fabric toy bins – Target
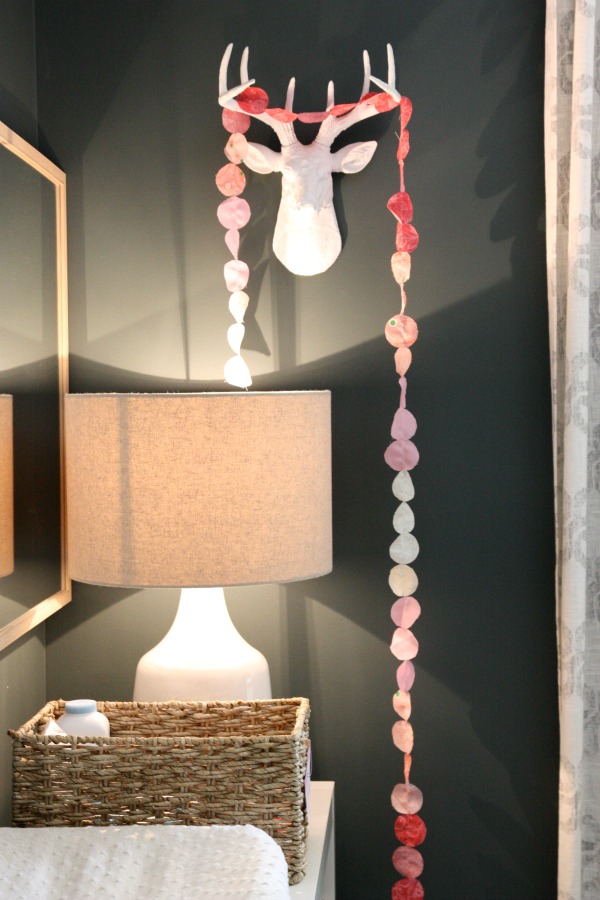
resin deer head – White Faux Taxidermy
fabric garland – DIY
wall mirror – Ikea
table lamp – Morten table lamp from West Elm
extra long, contoured changing pad – Amazon
changing table – EXPEDIT from Ikea, discontinued
striped bins – Ikea, discontinued
doll stroller – Land of Nod
In case you haven’t seen enough of this itty bitty room, here are a bunch of links documenting its evolution:
RENOVATION
*https://www.housetweaking.com/2012/01/04/the-painting-saga/
*https://www.housetweaking.com/2012/01/11/the-flooring/
*https://www.housetweaking.com/2012/07/05/hold-the-door/
*https://www.housetweaking.com/2013/10/15/a-date-with-my-doors/
FURNITURE, DECOR, TOYS & ORGANIZATION
*https://www.housetweaking.com/2012/08/28/mabreys-room/
*https://www.housetweaking.com/2012/10/03/diy-fabric-circles-chandy/
*https://www.housetweaking.com/2013/01/22/a-crib-review-with-special-guests/
*https://www.housetweaking.com/2013/02/25/playing_in_the_nurser/
*https://www.housetweaking.com/2013/09/10/free-for-all-white-faux-taxidermy/
*https://www.housetweaking.com/2013/12/13/making-the-most-of-small-closets-nursery/
*https://www.housetweaking.com/2014/01/07/a-dollhouse-for-mabrey/
*https://www.housetweaking.com/2014/02/03/the-boy-version-of-mabreys-room/
*https://www.housetweaking.com/2015/02/01/transitioning-from-crib-to-toddler-bed/
*https://www.housetweaking.com/2016/01/26/living-with-toys/
*https://www.housetweaking.com/2016/02/24/brainstorming-a-big-girl-bed/
*BONUS* – Mabrey’s birth story.
You can access this nursery tour (along with a general house tour and individual room tours) under the “See My House” tab in the side bar. I’ll be adding more rooms in the weeks to come. Thanks for reading!
images: Dana Miller for House*Tweaking


budget decor, DIY, interior design, kid-friendly, organization, renovation