It was this time last year that we learned we were unexpectedly expecting. Wouldn’t you say it’s about time Mabrey had a proper nursery?
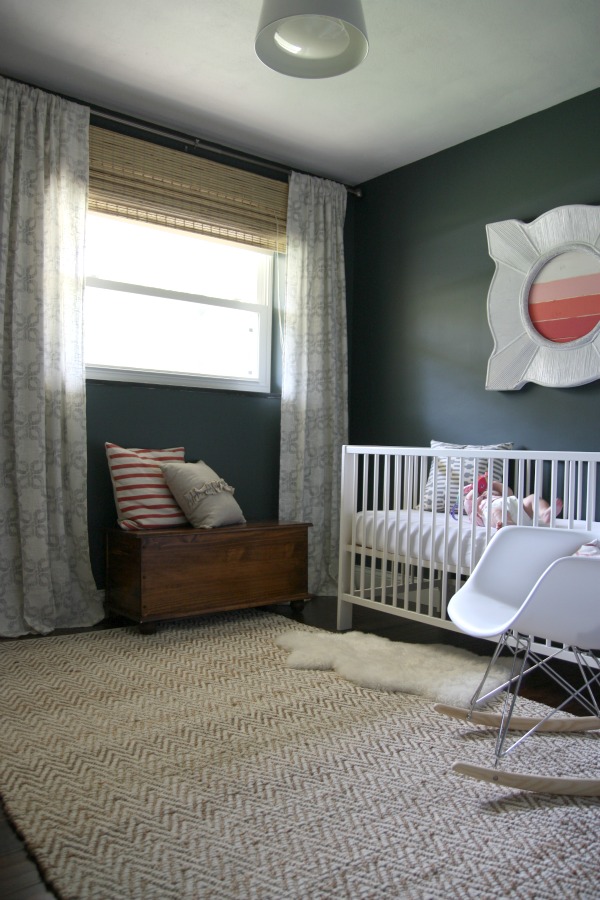
Mabrey’s room is teeny – not even 10’x10′. Normally, I wouldn’t think of painting a small room a dark color but it felt right and the room faces south so it gets a fair amount of natural light. I absolutely love the dark walls. It feels like a cozy cocoon in there. The enveloping mood is fitting. I like the idea of this being her little cocoon. A place for her to rest, prepare and grow her wings before she turns into a busy butterfly.
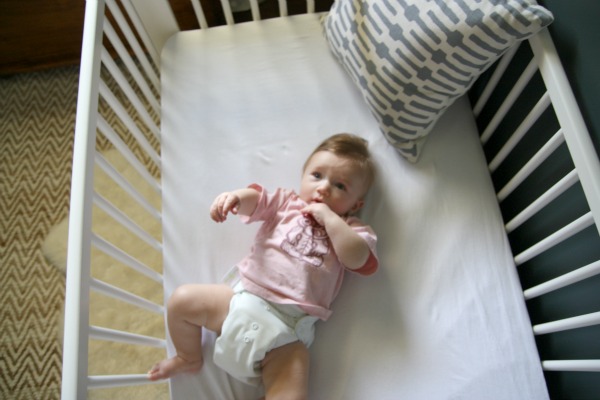
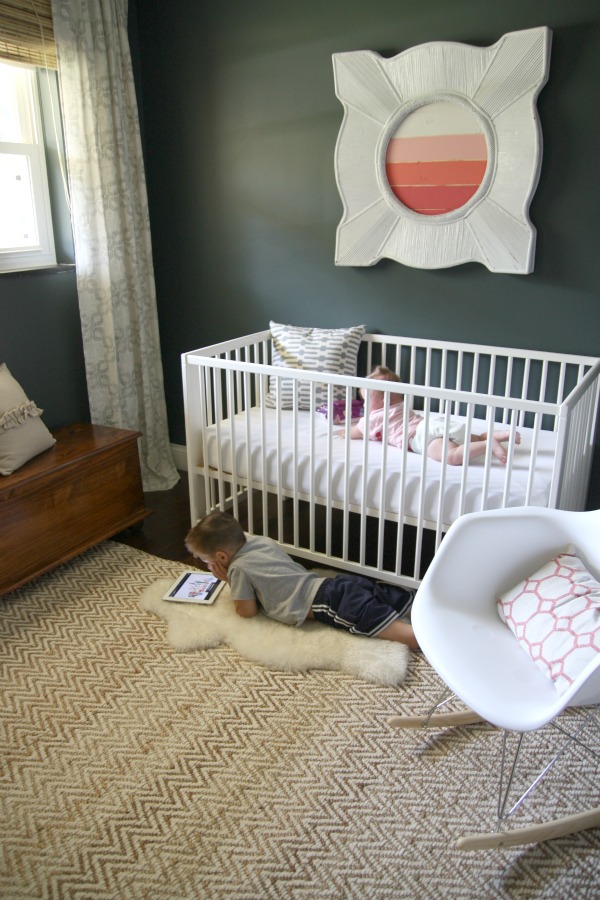
There’s something not quite right about sharing a nursery minus the baby, so I made sure to include Mabrey. Don’t worry. The pillow comes out of the crib when Mabrey is sleeping.
The paint color is a chameleon. It changes throughout the day and even from wall to wall depending on where you look. Sometimes it’s charcoal, sometimes navy, sometimes black, sometimes a tint of green. I adore colors with this trait. There’s less risk of me becoming bored with the wall color if it’s always changing. It’s a great defense mechanism for paint in our house!
To brighten the room and add contrast, I kept most of the furnishings white.
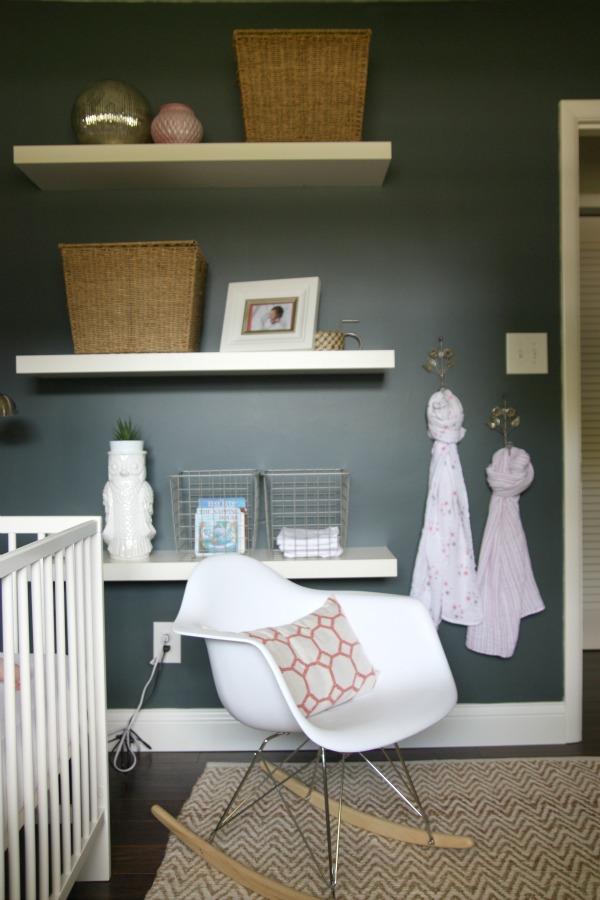
Floor space is limited so I enlisted the help of popular wall shelves for open storage and display.
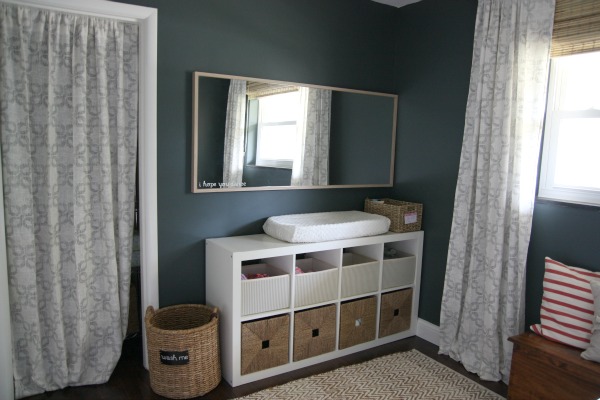
Opposite the crib is the changing table and closet. The placement of the changing table near the closet is convenient.
Now that you’ve had a brief tour around the room, let me divulge more details.
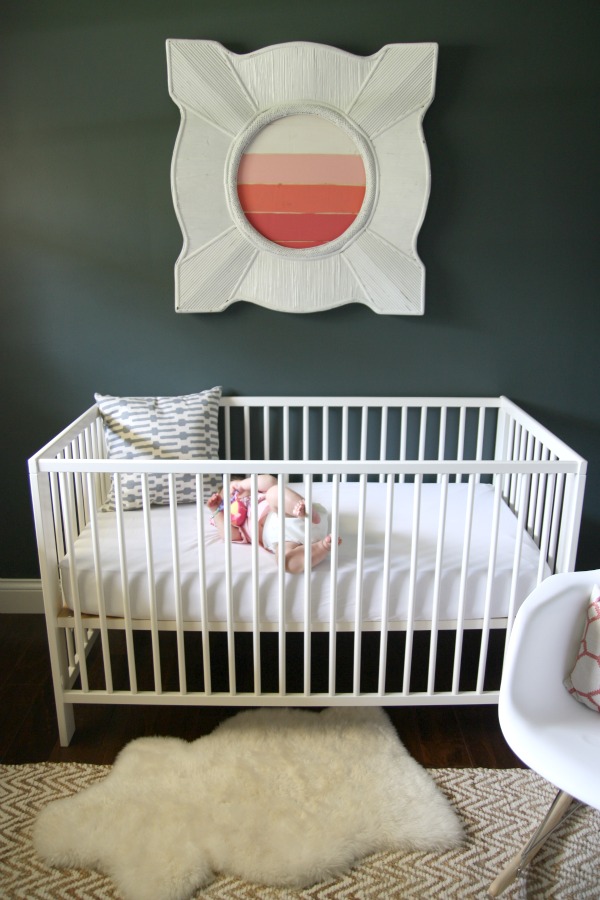
The crib is new. Our old crib – one of the only baby things we didn’t get rid of in the midst of downsizing – had a totally different aesthetic. It was curvy and large and screamed country. It was obvious it would hog a lot of room in the nursery, so I bit the bullet and bought a white replacement with cleaner lines and a slimmer profile. It converts into a toddler bed {the old crib didn’t} so we’ll use it longer, too.
I DIY’d the art above the crib. It’s actually an old frame that I had in the guest/playroom of our previous home. {I bought it as a mirror but when it arrived, the mirror was shattered. The company sent me a replacement right away and told me to keep the mirror-less frame because return shipping would have cost them more than what they would get out of the repaired mirror. Seven years of bad luck? Myth debunked.}
I had HH put together six small scraps of tongue and groove leftover from our mudroom and screw them to the back of the frame. Then I painted them ombre ranging from white to light pink to coral to raspberry. I used two bottles of craft paint {a coral and a berry} and simply mixed them with the white trim paint leftover from painting our baseboards to get the various shades. I brushed the paint on with small foam brushes and left the tongue and groove seams exposed – partly for an imperfect look but mostly because I was in a rush. I love the raw pine seams. They make the art look rustic and handmade.
Before I brainstormed the ombre idea, I tried painting ‘I hope you dance’ on the pine boards but it didn’t turn out so well. I painted over it. You can see the faint cursive writing in the pink and coral boards. Thank goodness for Plan B’s. The ombre turned out way better than I had envisioned. I think it looks like an abstract sunset.
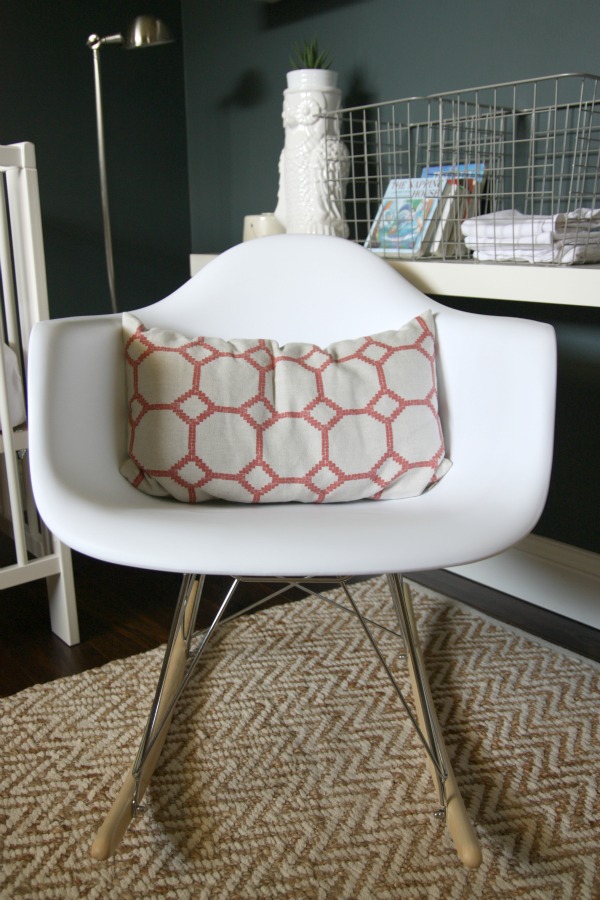
The cradle rocking chair is new. It arrived missing the assembly instructions but after contacting the seller I had directions emailed to me within minutes. Assembly was quick and easy. No tools {other than the included wrenches} required and I had it together in 10 minutes.
Until recently, I used a thrift wing chair for night feedings and while it was super comfy it took up too much space. The cradle rocker is perfect for the small room and surprisingly cozy with a pillow for back support. It probably wouldn’t be a good choice for long newborn feeding sessions – say, longer than 25-30 minutes – but it’s great for quick feedings and bedtime stories with older babies and kids.
Even after the baby phase, I see this chair growing with our family. It could easily become Mabrey’s go-to chair when she’s a toddler climbing up and rocking herself. Maybe it will follow her to college since it’s so light. Maybe it will make its way to the family room. The possibilities are endless.
The open shelves hold baskets that store extra blankets and clothes that Mabrey doesn’t fit into yet. They’re a little sparse but I’m sure I’ll fill them up with more pictures and plants as time goes on.
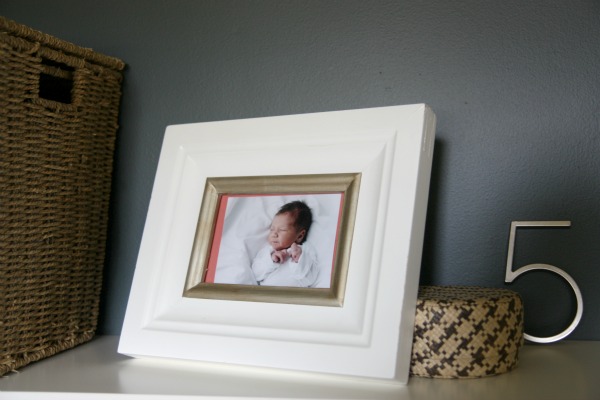
And baby makes 5. The little basket behind the frame is original to the house. I bought it at the estate sale. I put Mabrey’s hair clips and bows in it.
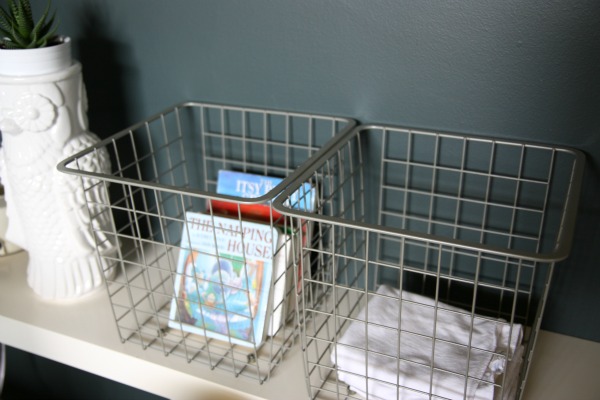
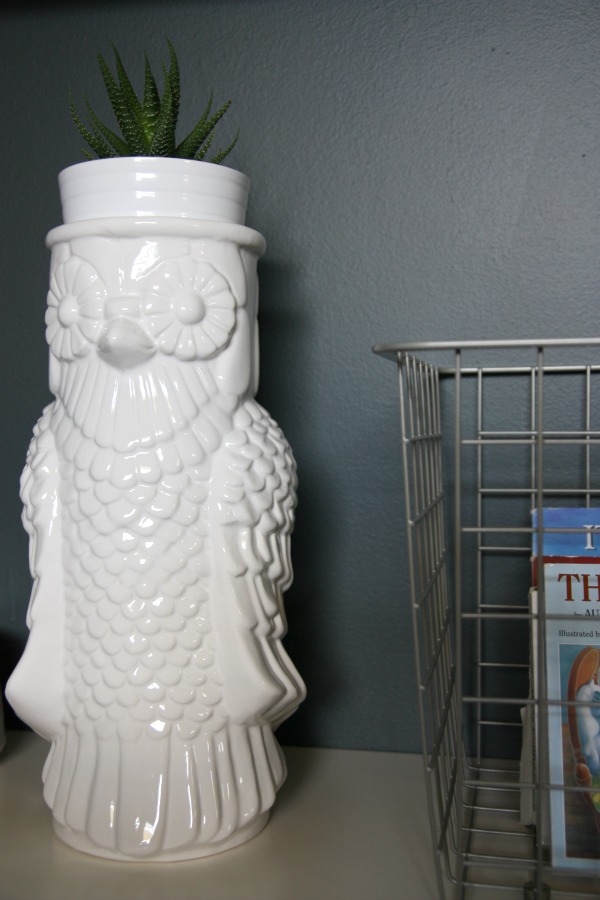
The wire baskets hold board books and burp cloths within arm’s reach from the rocking chair.
I know owls in nurseries are totally cliché but I couldn’t resist this guy. I put a mini pot of aloe in him. His spiky succulent hair reminds me of Mabrey’s crazy ‘do.
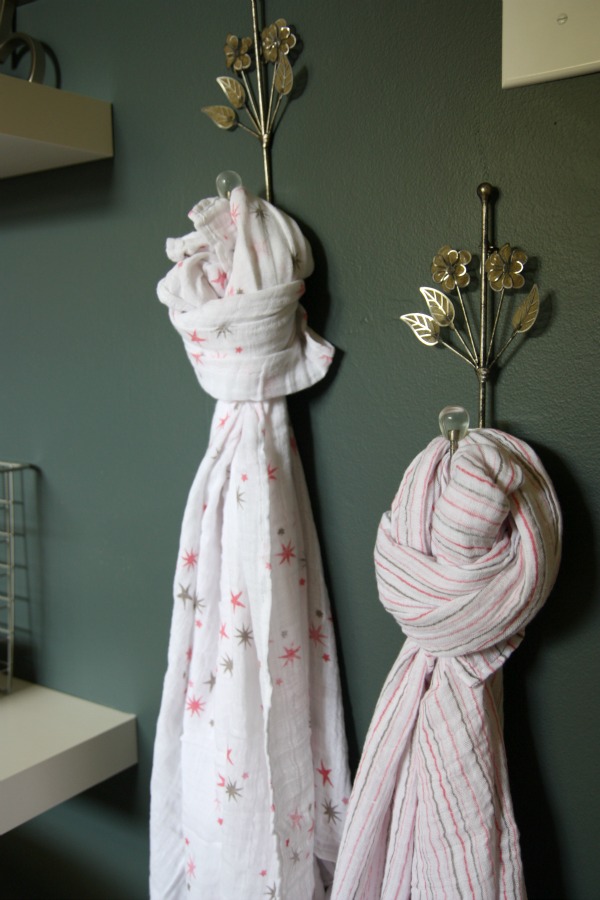
For a feminine touch, I added a pair of gold vintage-looking flower hooks. The lightweight blankets are perfect for warmer weather.
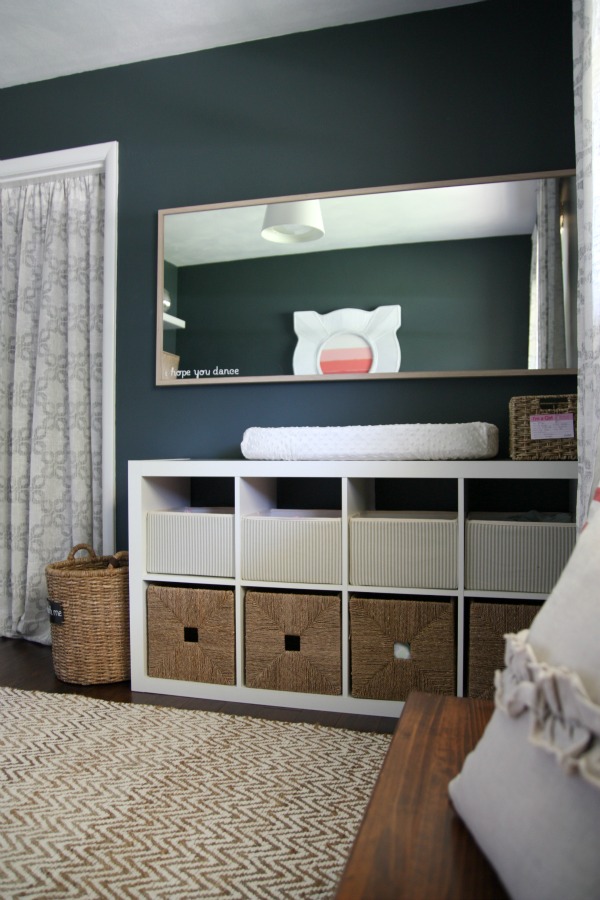
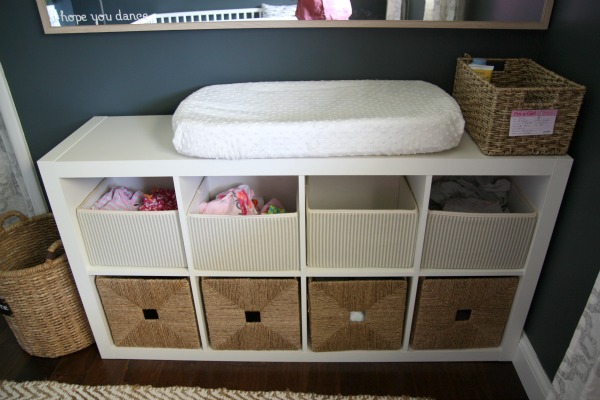
The changing table used to live in our previous home’s playroom {as toy storage} and in our previous apartment’s family room {as a media console}. It gets around. I’m working on a handmade mobile to hang above the changing table. Hopefully, it will add some much needed color to this side of the room. As soon as it’s done, I’ll share it.
Baskets and bins corral baby clothes that currently fit, diapers {cloth and disposable} and swaddling blankets. Three of the bottom baskets are empty. Plenty of room to grow!
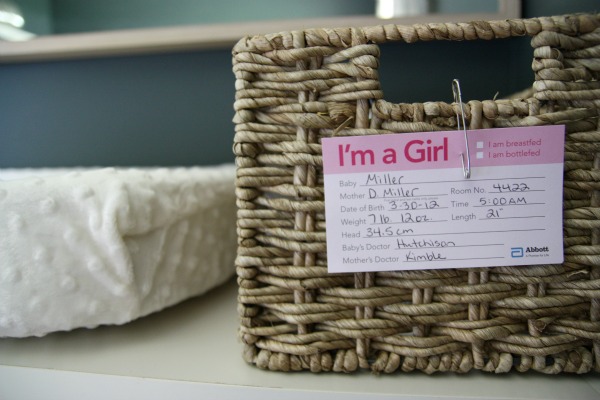
The basket on top of the changer holds wipes, lotion, cornstarch powder and diaper rash ointment. I’m not much of a scrapper {and by scrapper, I mean scrapbooker} so pinning Mabrey’s hospital bassinet tag to the basket is a fun way to show it off.
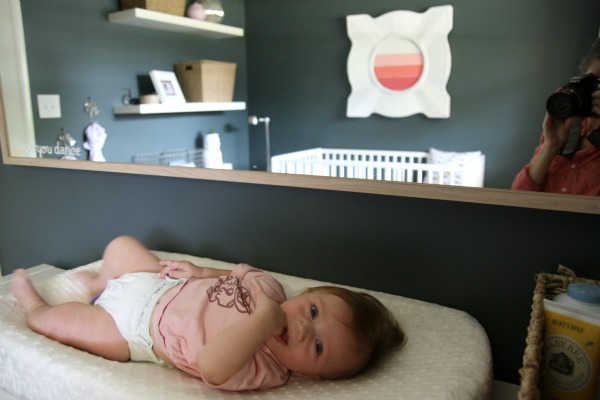
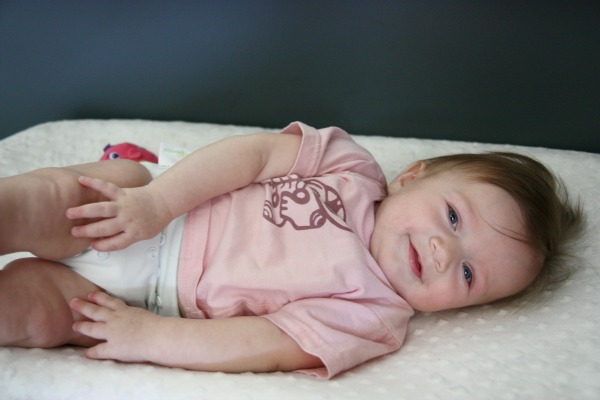
I hung a large mirror above the changing pad to bounce light around the room. Mabrey loves smiling at and talking to her reflection after a diaper change. {Not to worry. Big brother Everett was spotting Mabrey.} This is another piece – like the cradle rocker – that I can see following Mabrey around into her teen years and beyond. At some point, we’ll probably rehang it vertically so she can primp.
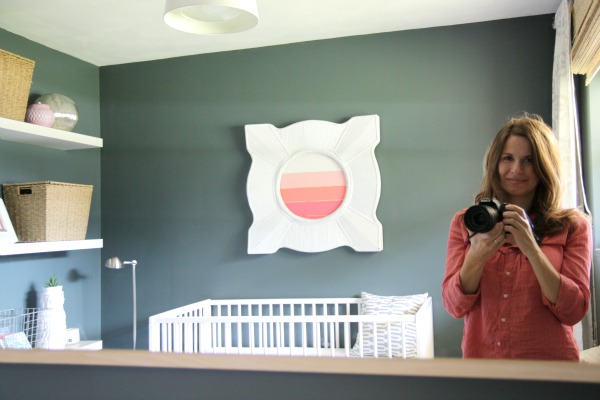
I love looking back into the room. The mirror gives the nursery another dimension and makes it feel bigger than it really is.
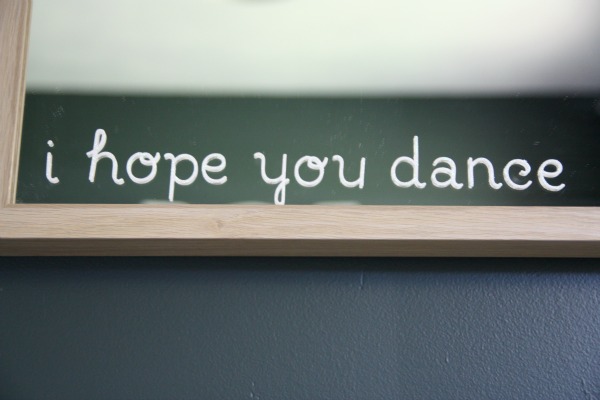
In the bottom corner of the mirror I used stickers to spell out ‘I hope you dance.’ Like I said, I had originally tried painting this phrase on the frame above the crib but it looked awful. Still wanting to incorporate it into the room somehow, I thought adding it to the mirror would be a subtle personal touch. The phrase holds a lot of meaning for me:
*It was the song I danced to with my dad at mine and HH’s wedding reception. I love my dad. We’re really close.
*Literally, I hope Mabrey dances and appreciates her body.
*I studied ballet for 10 years and was really good. Then one year, under peer pressure, I suddenly quit to take on cheerleading. My parents could only afford one activity so I had to choose. I wish I would have stuck with ballet. Cheerleading wasn’t all it was cracked up to be. I hope Mabrey doesn’t crumble under peer pressure and sticks to what she wants and enjoys – whether it’s dancing or conducting science experiments.
*In a broader sense, I hope Mabrey is active in living her life. I hope she tries new things, scary things. I hope she takes chances and risks failing in order to find her passion. I hope she chooses to dance through life instead of sitting it out.
I’m not sure how well the stickers will hold up to regular cleanings but I think the meanings behind them are worth giving it a go.
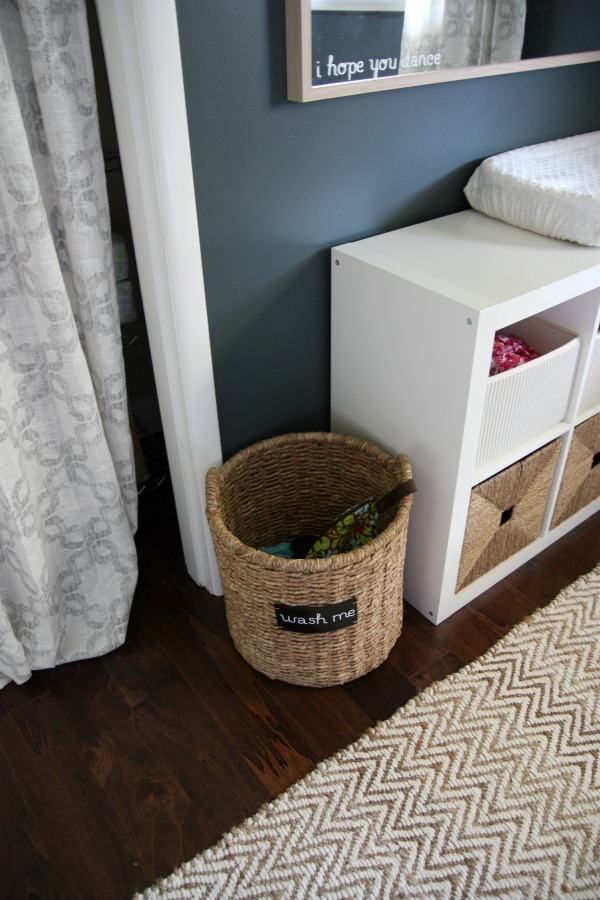
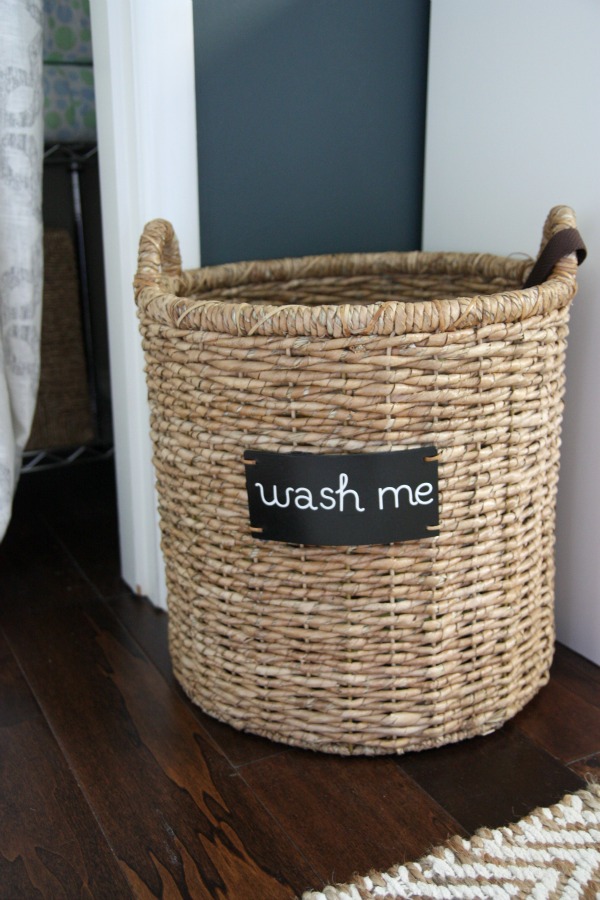
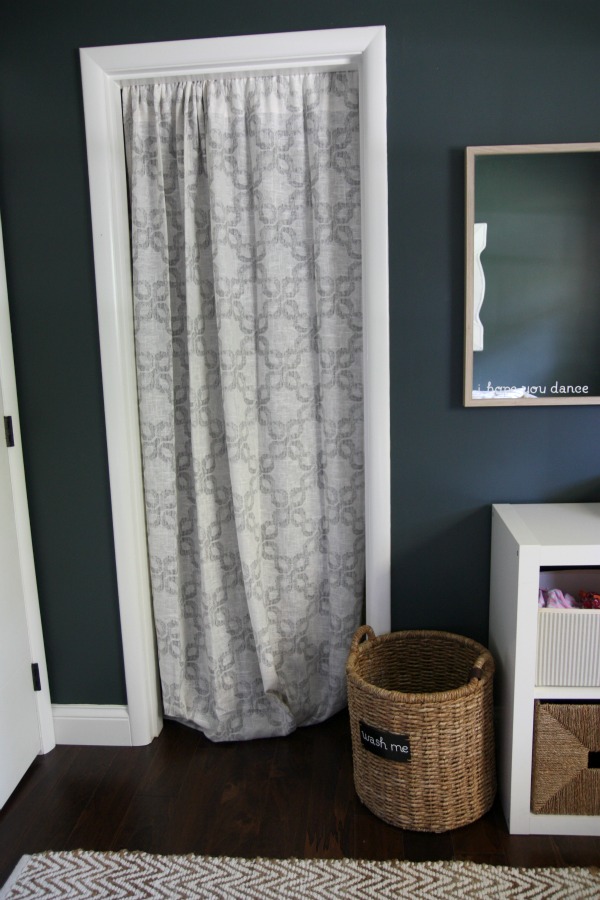
On the floor next to the changing table is a dirty clothes basket. I hang the wet bag for dirty cloth diapers in it too.
I was going to write ‘wash me’ in chalk but I couldn’t find any in the house. {I know it’s here somewhere.} Instead, I used more stickers to spell it out.
The door to Mabrey’s room opens up right onto the closet. We removed the closet door and I hung a curtain to make things less cumbersome. I still need to hem it. The only things in the closet right now are a box of disposable diapers, a babywearing wrap and sleep sacks for winter. Again, room to grow!
The trunk under the window was a wedding gift from my parents. It’s empty but I think it will make a nice toy chest in the future.
For the life of me, I can’t take good pictures of windows so forgive me for reusing the first photo to talk about the window treatments.
One of the first things we did when we moved in was add room darkening roll-up shades to all the bedroom windows. This was purely for function. In Mabrey’s room, I added long white curtain panels with a subtle chain pattern and textured wood blinds. The roll-up shade is still there, mounted within the window frame, for function but you can’t see it unless it’s down. By contrast, the bamboo shade and curtains are purely for aesthetic – although you could close the curtains or lower the shade if you wanted. Hung high and wide, they make the window appear much larger and the ceiling appear much higher.
To soften the wood floor, I bought a jute chenille rug in a chevron pattern. It has color variations throughout – from ivory to beige to tan to brown – and it makes a world of difference against the dark floors and walls. It’s soft, too. I layered a small sheepskin right in front of the crib for added texture. It’s also a good landmark in the dark when I go in to get Mabrey for her night feeding {or feedings, depending on the night}. I don’t have to turn on the light.
I think that just about covers everything. Many items we already had on hand but here’s a source list if you’re interested:
paint – Benjamin Moore dark pewter
ceiling light – IKEA {discontinued}
floor lamp – gift
curtain rod – Target
curtains – West Elm {discontinued}
bamboo shade – Overstock
trunk – gift
jute rug – West Elm
sheepskin rug – IKEA
crib – IKEA
ombre art – DIY’d from a broken mirror
cradle rocking chair – Amazon
wall shelves – IKEA
ceramic owl, wall hooks – Kirkland’s
hanging blankets – gift, Amazon
changing table – IKEA
mirror – IKEA
changing table bins & baskets – IKEA
laundry basket – gift, Target
red stripe pillow – West Elm {discontinued}
other pillows – etsy {discontinued from here, here and here}
stickers – JoAnn Fabric
all other accessories – from our attic!
What do you think? I have to admit…HH isn’t a fan of the wall color. He keeps asking me when I’m going to repaint. He can have his surround sound; I’ll keep the dark nursery thankyouverymuch. ;)
Lauren Liess wrote something that spoke to me when I was decorating Mabrey’s room. I don’t recall her exact words but it was something to the effect of a nursery really being a room for the parents, especially mom, since babies spend most of their time in there sleeping and eating – not paying much attention to the decor. When I’m in Mabrey’s room, it feels right to me. Like a room I would have if I had a house all to myself. I don’t know if Mabrey likes it as much as I do.
But she sure seems happy. Love you babygirl.
images: Dana Miller for House*Tweaking














budget decor, DIY, family life, interior design, kid-friendly, organization