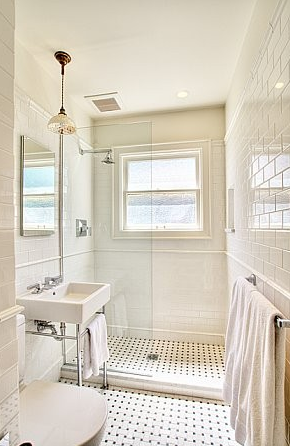
It seems my favorite original element of the Underdog’s master bathroom – the window placement in the shower – isn’t everyone’s favorite. Several readers have brought up concerns about water pooling in the sill and/or possible water damage around the bathroom window.
Since my presence at the Underdog has been lacking due to pregnancy-related issues, last night I asked Handy Hubby to elaborate on the whole ‘window in the shower’ issue and how we, um, he addressed it to prevent water damage. If you don’t know it by now, HH is an engineer so he’s very thorough about any DIY project that we tackle. When I’m contemplating the aesthetics of our projects, HH is always working behind the scenes to bring my vision to life. In that way, we’re a good team.
Sure enough, after I decided that the window placement in the shower was staying because I liked the natural light it let in, HH was quick to research what needed to be done to avoid any water penetration around the window. He found the info here most helpful although he didn’t follow the instructions to T. To waterproof our shower window, we used these guidelines:
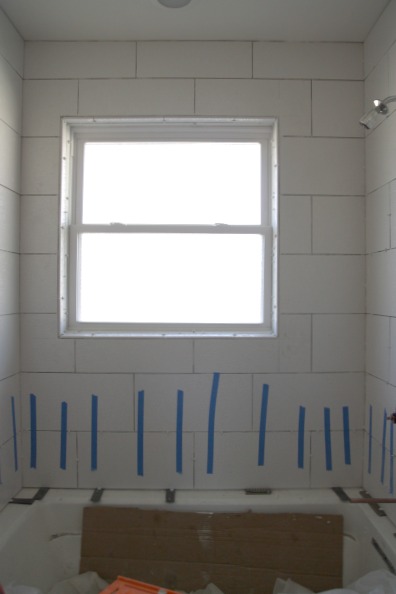
- vinyl window housed in a wooden jamb We replaced the original aluminum window with a vinyl one. HH built a wood inset into the original cinder block jamb with pressure-treated lumber, ideal for wet and/or outdoor conditions.
- locate window outside range of shower spray if possible The original placement of our window is off-center which makes its location closer to the back of the shower as opposed to right under the shower head.
- install cementboard/backerboard right up to the window’s wood jamb then line inset with a waterproof membrane We chose to continue the shower’s backerboard along the entire window inset and forgo the waterproof membrane.
- use a pitched sill to allow water to drain away from the window HH built the bottom ledge of the wood inset so that it sloped towards the shower.
- install tile over the entire area in the same manner as the rest of the shower HH continued the shower tile into the window inset.
- after grouting and sealing, use a high quality silicone caulk anywhere two planes meet HH plans to do this step once grouting and sealing are complete.
- check the area annually for cracked joints and re-grout or re-caulk as needed We’ll be sure to check the window for any signs of expansion or contraction and address them accordingly.
Even with those precautions taken to avoid water damage, it eases our minds more to know that while water had seeped through some of the cracked original tile along the back shower wall, there were no signs of water penetration or water damage along or near the window. {We know this because we gutted the bathroom which allowed us to see behind the walls.}
Fingers crossed that our waterproofing methods will be just as good – if not better – than those put into place 50+ years ago when the original tile was installed. I hope that clears up any questions about how/why we’re okay with a window in a wet space. We didn’t go about it all willy-nilly.
One other reader concern that came up in regards to the shower window was lack of privacy. While we don’t have neighbors or a busy street or passerby right outside the bathroom window {the window actually looks out onto our private backyard}, we don’t feel comfortable with the idea of taking a shower just inside a window at ground level either. If we were the only house on a spread of land with a great view or if the bathroom was located on the second level of our house {which ain’t happenin’ since the Underdog is a single story rancher}, then maybe we’d be more apt to let it all hang out.
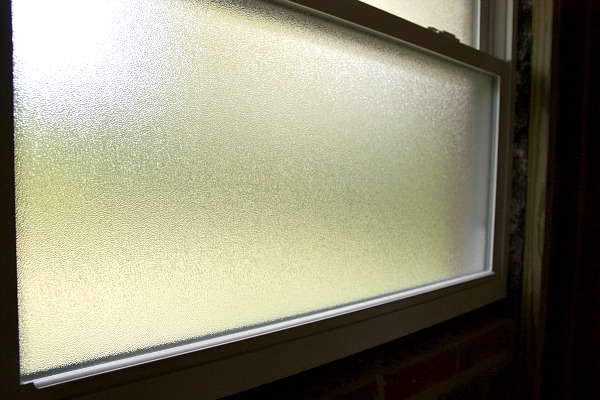
Our solution was to have a window with ‘full privacy’ or ‘obscured’ glass installed. Technically, it’s not frosted glass. It’s more of a textured, opaque glass. Functionally, it’s a lot like glass block – it allows natural light to pass through but provides privacy as well. As much as I enjoy sharing our renovation projects, life goals, family tidbits, design-related mumbo jumbo and even embarrassing images of myself working out, I draw the oversharing line at baring it all for anyone who happens to peep in my shower window!
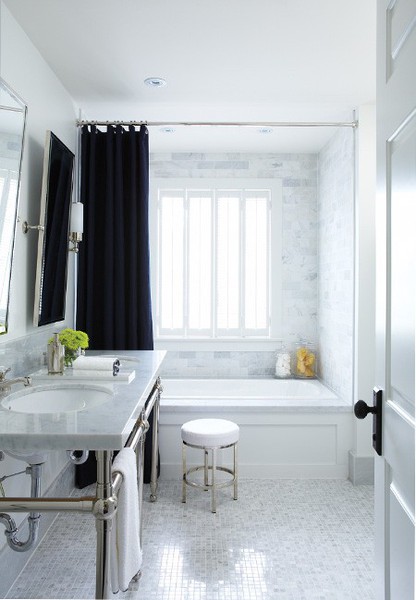
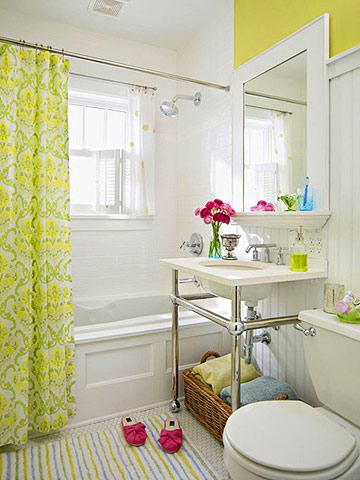
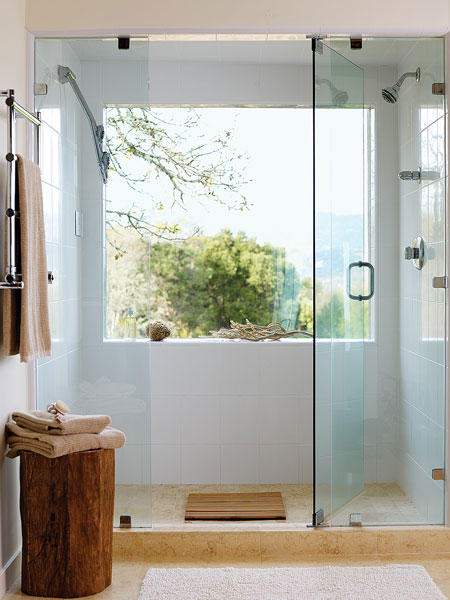
I’m not forcing anyone to put a window in their shower if they aren’t okay with it due to water damage or privacy concerns. But, man, those images of showers with windows are pretty inspiring, aren’t they? I live in Ohio so a window in my shower is the closest I’ll ever get to an outdoor shower…something I’d totally go for if I had a secluded home in a warmer climate.
**FYI – I made Apartment Therapy’s 2012 ‘The Homies’ list. I’ve always found it ironic when bloggers beg readers to vote for them {I mean, if you’re truly the best then why the need to beg?} so I won’t do it. But HH just found out that I made the list and thinks I should at least mention it on the blog in case you guys didn’t know about it. After all, he didn’t. Here’s the link. Voting ends March 2nd, 2012 at 11:59 p.m. EST. If you wanna vote for me, vote for me. If you wanna vote for someone else, vote for someone else. If you don’t wanna vote at all, carry on with your bizness peeps.**
Happy Friday!
images: 1 & 6) Dana Miller for House*Tweaking 2) House & Home via DecorPad 3) unknown – help! 4) Belinda Graham for The Happy Home 5) Thomas Story for Sunset Magazine 7) Bosworth Hoedemaker via DecorPad






DIY, inspiration, renovation