One of you spied a minor new addition to our bathroom in this as-is house tour post. Do you see it?

Hint: it’s not the lone toilet paper roll. Or the baby bath seat.
Yep. The towels. You may remember that we were having trouble with our regular ol’ bath towels drying out completely since we’re all sharing the same bathroom and, um Ihatetoadmitit, the same towels. Not ideal, I know. But it’s what we’re doing until we can find a good chunk of time to attack the other {currently gutted} bathroom.
Adding a few more towel hooks to another wall or the door would have been another solution but, since the kids will eventually have their own bathroom, we decided to try something that would work now and in the future when extra towels aren’t necessary.
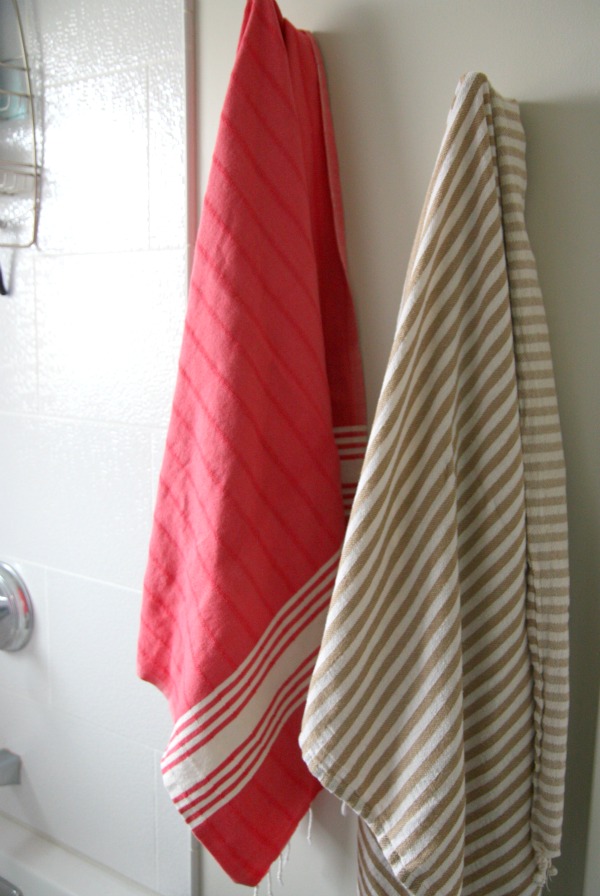
Luckily, the rise of the peshtemal coincided with our bath towel conundrum. If you haven’t heard of the peshtemal {where have you been?} it’s actually one of those ‘what’s old is new again’ comebacks. Peshtemals have been used for centuries in Anatolian steam baths. They’re made of 100% cotton and known to be highly absorbent, lightweight and fast-drying. These properties make them ideal for bathrooms, traveling, the gym and the beach.
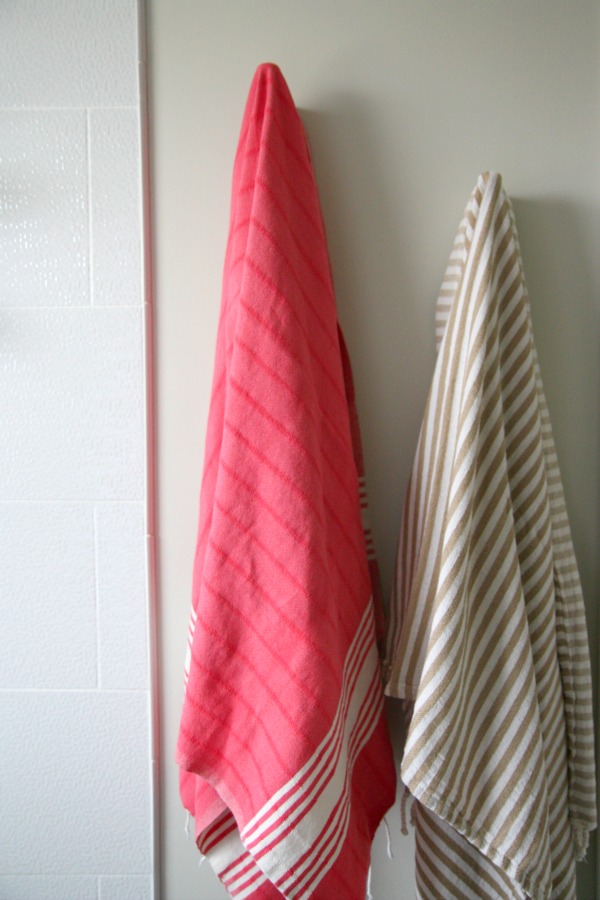
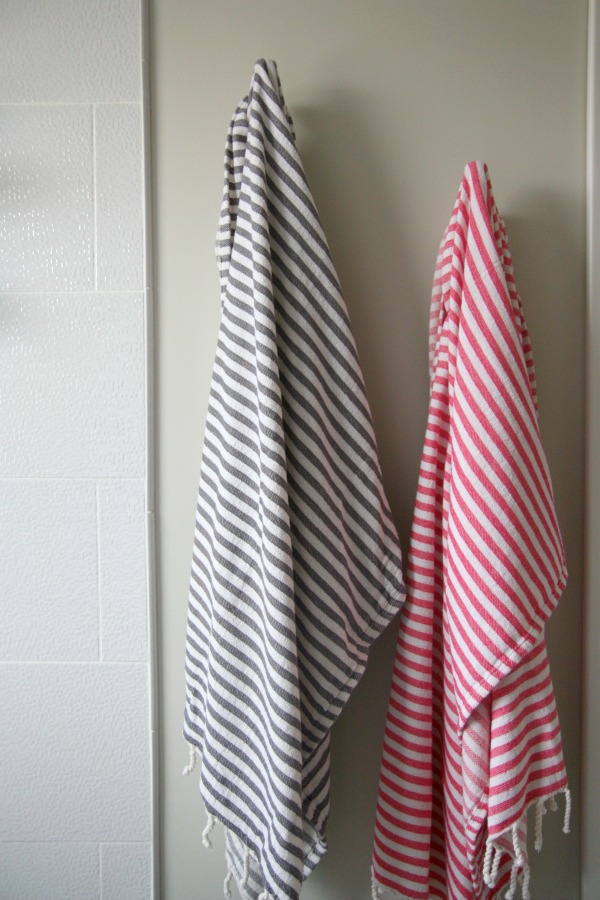
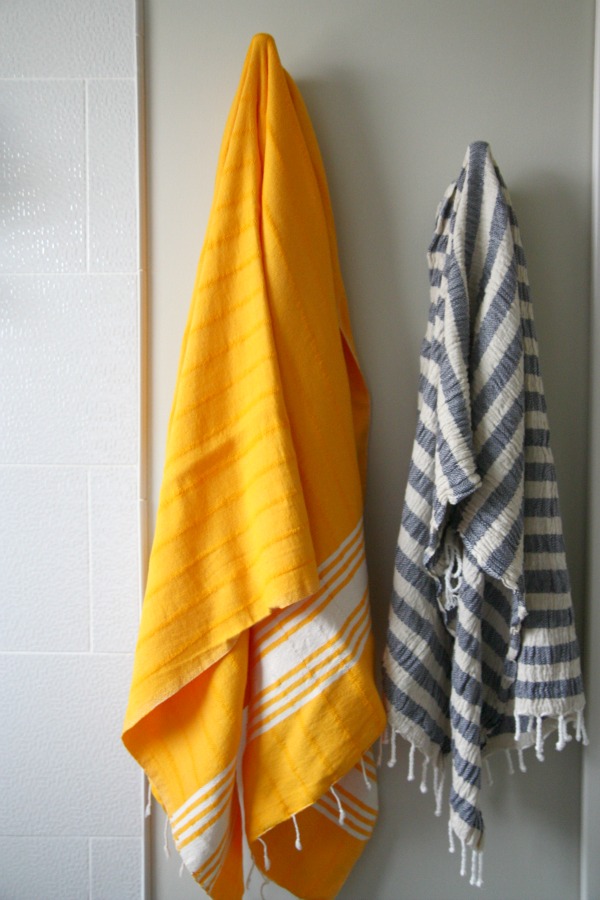
I decided to give them a try. I bought two from this etsy shop to start. We liked them so much and they worked so well {i.e., they dry out completely in a short amount of time so no more mildewy-smelling towels!} that I ordered another five during a sale the shop was running a few weeks ago. I bought all different colors and patterns. I like mixing the towels. They add a little fun to our otherwise neutral bathroom. I get way too excited about them.

HH wasn’t sure about them the first time he tried one. I think his exact words were “I feel like I’m drying off with a bed sheet.” But much to his disbelief, the thin little towels do a better job of drying him off than our regular bath towels. They’re like the ShamWow of the bath towel world. They’re that good. Not to mention they look pretty darn amazing too.
As far as washing them goes, I just throw them in a cold wash cycle and dry them in the dryer on low-medium heat. Easy. Once warmer weather rolls around, I’ll probably hang them outside to dry. They just get better and softer with each wash.
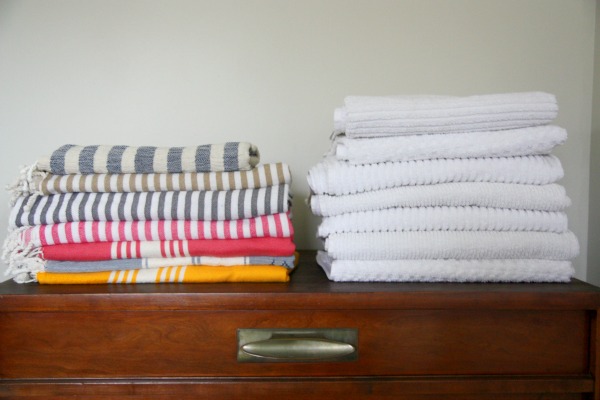
The other advantage of the peshmetal is its petite size. They are thinner and smaller than your typical bath towel. The image above shows our seven peshtemals folded and stacked next to a pile of seven of our regular store bought bath towels. This space-saving characteristic is great for our downsized linen closet! All I have to do is donate our old towels. Oh yes, the Great Purge of 2013 is almost here.
Do you own a peshtemal? What’s been your experience with it? I was surprised to learn that peshtemals can also be worn as clothing. {Haven’t tried it yet.} Now isn’t that one multifunctional piece of cotton?!
images: Dana Miller for House*Tweaking
(shouted) WE HAVE TWO FULLY FUNCTIONING BATHROOMS AND I FEEL LIKE I WON THE LOTTERY. Let’s do this.
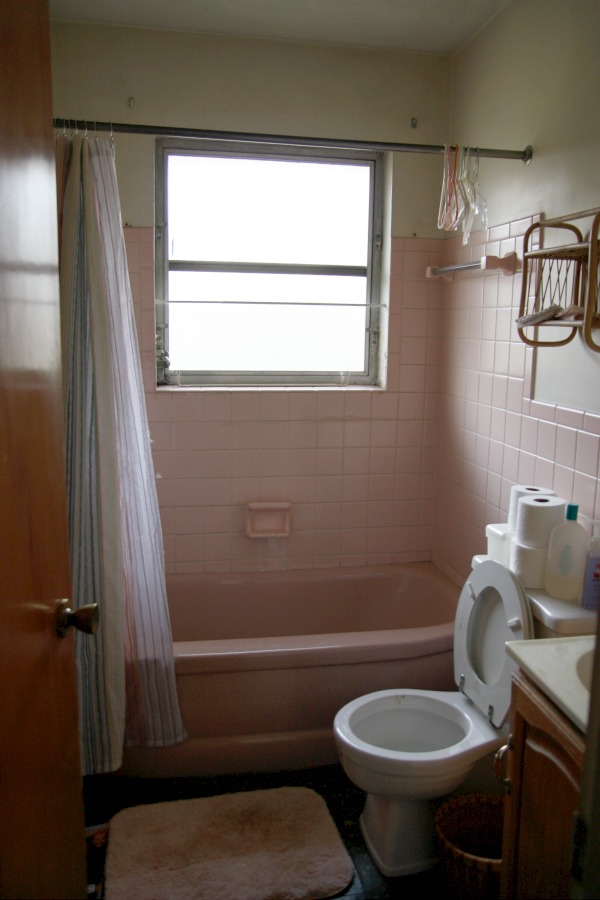
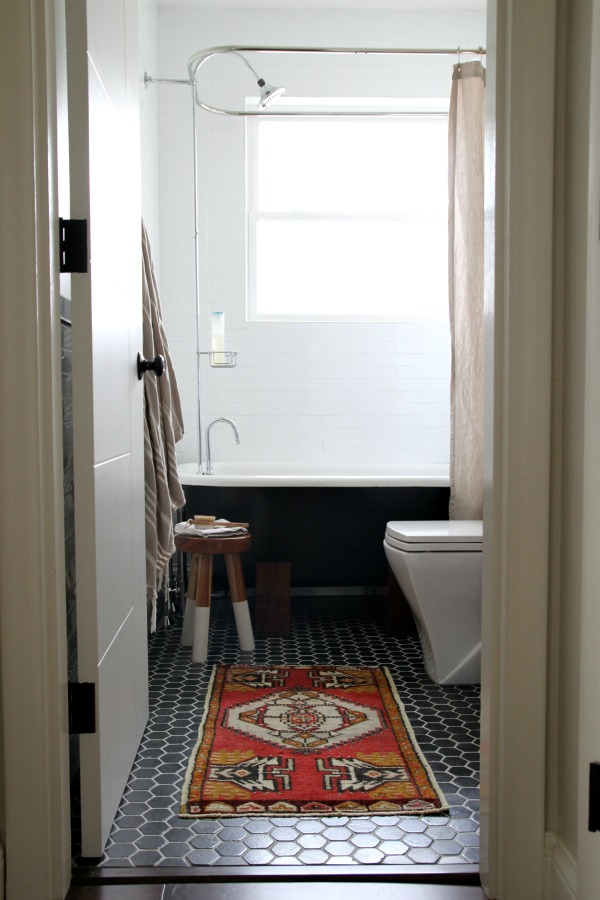
The main bathroom is located in a small hallway just off the open kitchen-living room. The original fixtures were outdated and in disrepair. There was no overhead lighting or ventilation fan. The one thing it had going for it was a window which let in a good amount of natural light. Before renovations started, we had planned on living with the bathroom as-is for a while. But when we demo’d the other (kitchen) side of the wall on the left, we discovered black mold. A few of the shower tiles were cracked, allowing water to seep into the wall.
We ended up gutting the entire room, updating the electrical, installing ventilation to the outside, replacing the window, adding foam insulation to the exterior wall & a can light above the shower / tub area. We lived with the unfinished, non-functional bathroom for over two years while all five of us shared the master bathroom. It was such an eyesore and we hated that we weren’t using usable space. We finished the bathroom at the end of 2014 after working on it off and on for almost a year. It mainly serves as the kid / guest bathroom.
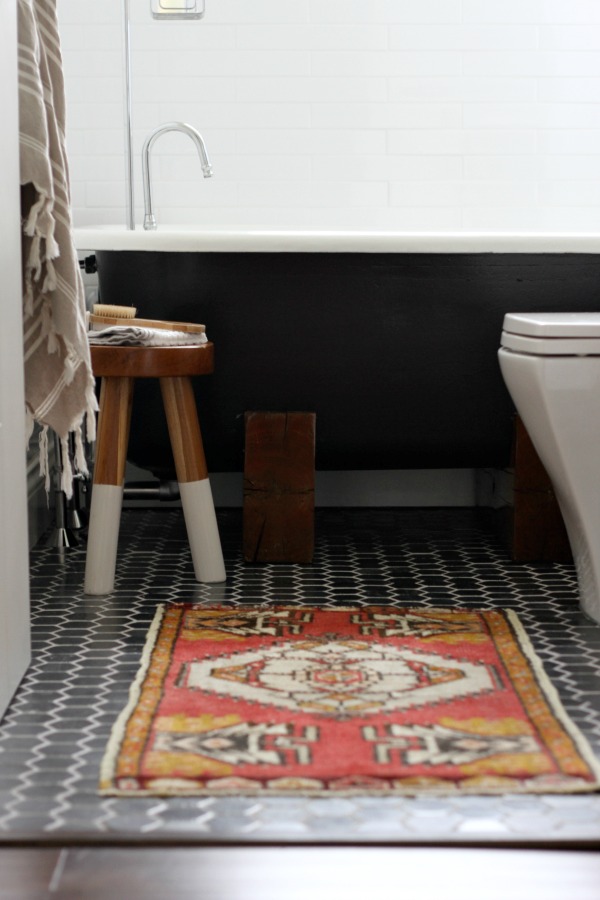
To keep costs down, we worked with the original layout and brought in new materials and fixtures. We chose elongated subway tile for the walls. It reaches to the ceiling at the shower and is 36″ high around the rest of the room. It’s the same tile we used for the kitchen backsplash but here we paired it with white grout. I didn’t think the small bathroom (it’s ~5′ x 7′) could handle the busyness of contrasting grout lines. At the last minute, I added a black pencil liner to the design to tie in to the floor which is a tumbled travertine hexagon. I chose a light gray grout for the floor. The black travertine and dirt-colored grout are super kid-friendly.
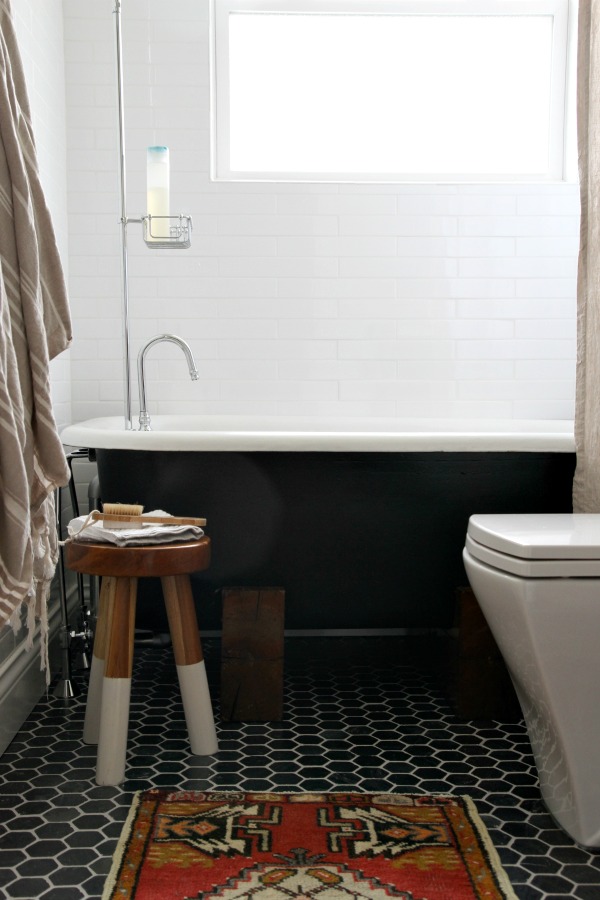
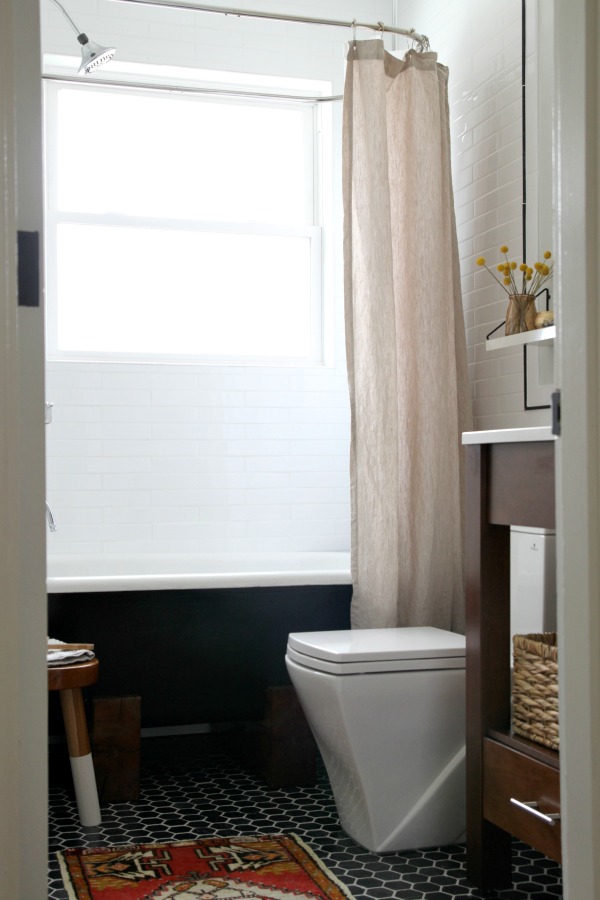
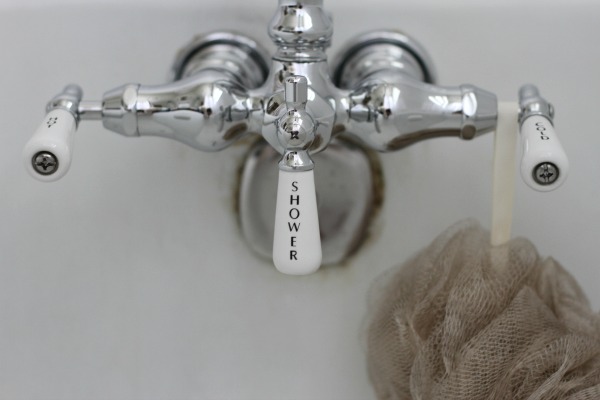
In the early stages of planning, I got stuck on the idea of a clawfoot tub resting on a wood base. We found a 4½’ vintage clawfoot tub on craigslist. The interior was in good condition but two of the feet had broken off and the exterior needed a fresh coat of paint. We DIYed two wood saddles from a reclaimed beam to support the tub and painted the exterior black. The chrome plumbing fixtures are new but have a vintage look. We went through two matching shower heads but each of them leaked so, for now, we’re living with an inexpensive one that I picked up at Lowe’s. It doesn’t pivot and we wish it did.
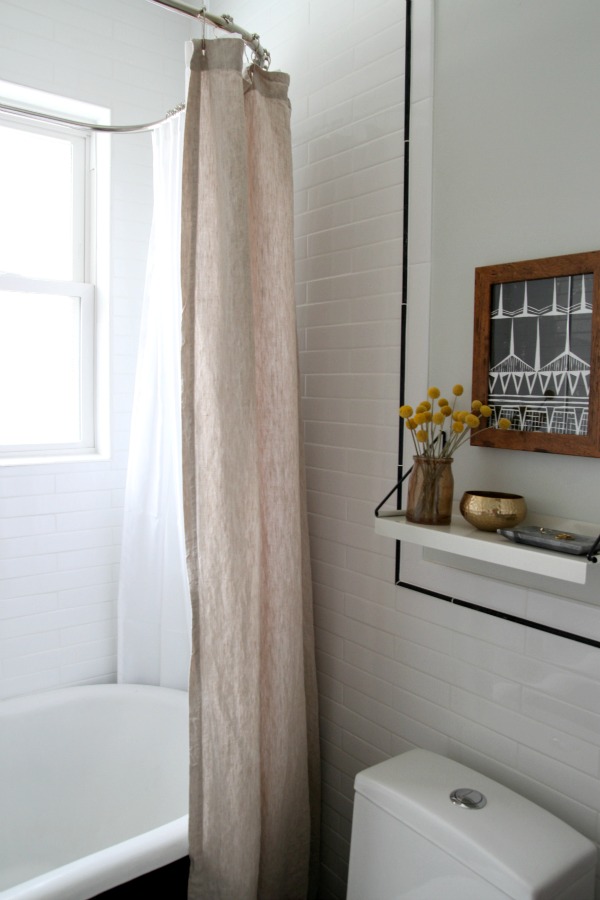

I hung a white fabric shower curtain liner on either side of the ceiling support (two liners total) to enclose the shower when necessary. The liners hang outside the tub for baths and inside the tub for showers. On the side visible from the door, I hung a single linen curtain in front of the liner. I love the natural texture it adds to the space. The curtains hang from rolling rings.
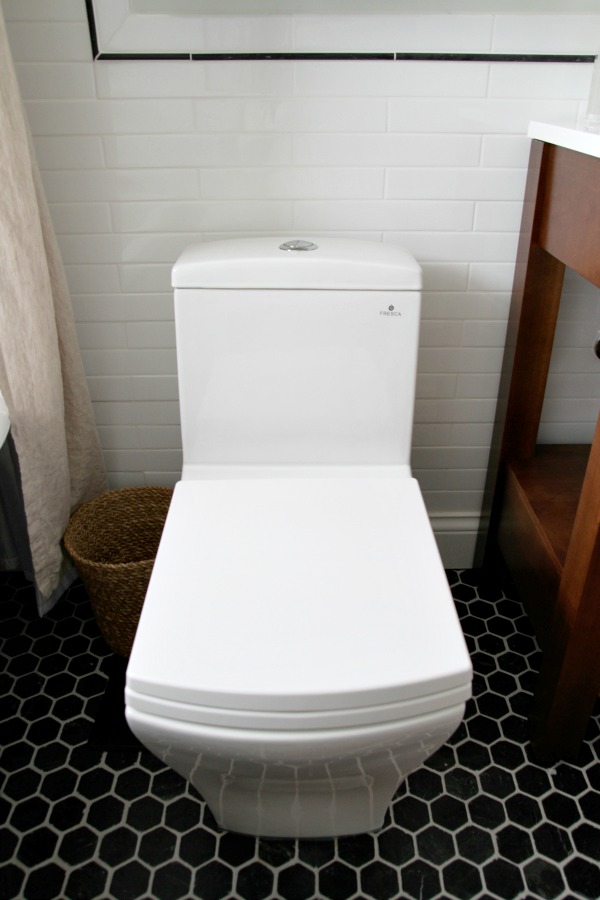
We had planned on using the original toilet but it was accidentally broken during renovations. Oops. Steve had always wanted a sleek, modern toilet (#mandreams) and this seemed like the perfect excuse to try one. He chose a dual flush model with clean lines. The kids have a ball showing off the toilet and its buttons to guests.
The angle of the camera stretches the appearance. In real life, the toilet takes up significantly less floor space than the toilet in the master bathroom due to: 1) the small tank and 2) the ability to install it closer to the wall. The exterior is much easier to clean, too, but it takes a little elbow grease to clean the corners of the bowl (do bowls have corners?) inside. And it isn’t exactly easy to plunge. TMI? It’s worth noting that I don’t know what we’ll do if the seat or lid needs replaced. Special order from the manufacturer?
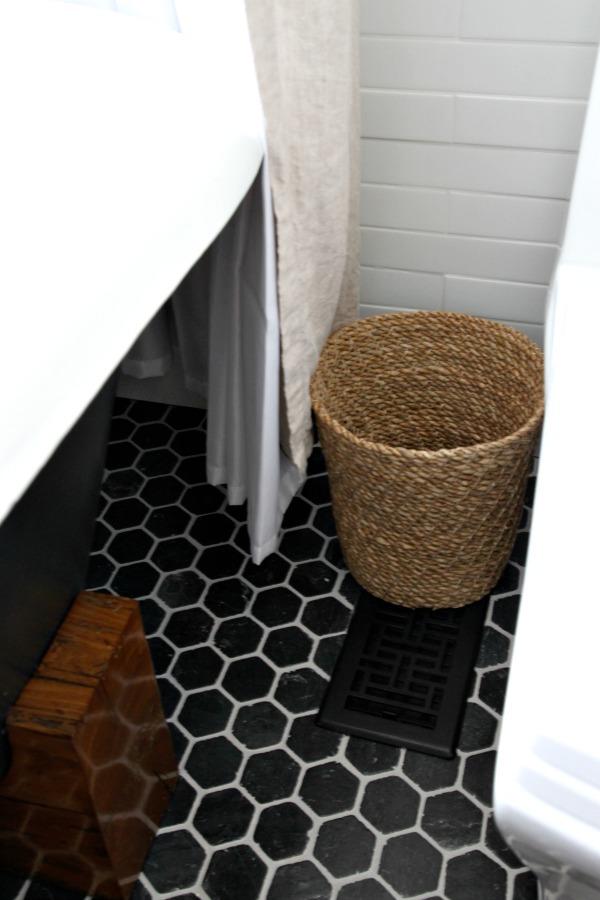
I snuck in a seagrass trash bin between the tub and toilet. FYI – For bathrooms, I use a textured bin and place a smaller plastic trash can, lined with a plastic bag, inside. I removed the plastic can + bag for this shot because I didn’t think anyone would want to see our bathroom trash. I couldn’t find a black register cover so I bought an oil-rubbed bronze one and spray painted it matte black to blend in with the floor.
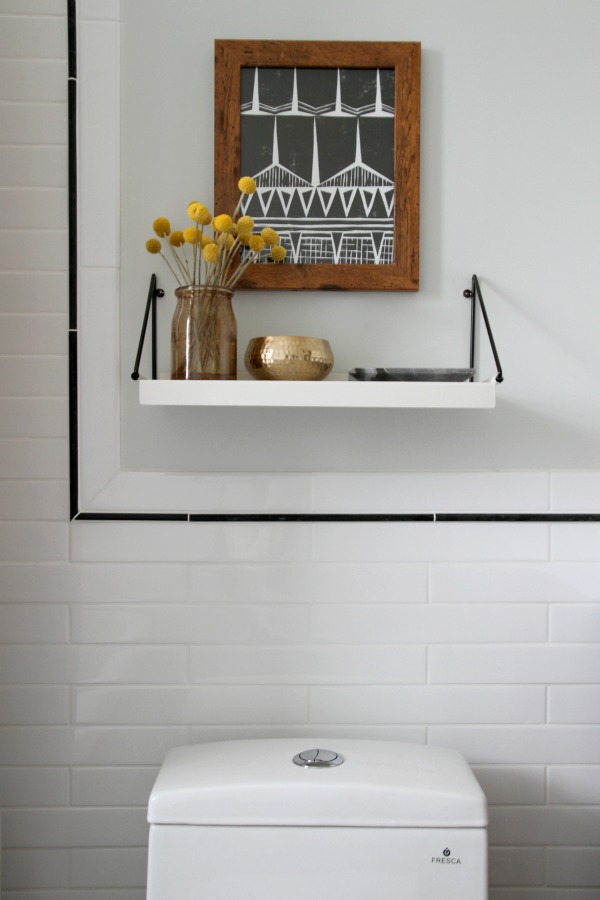
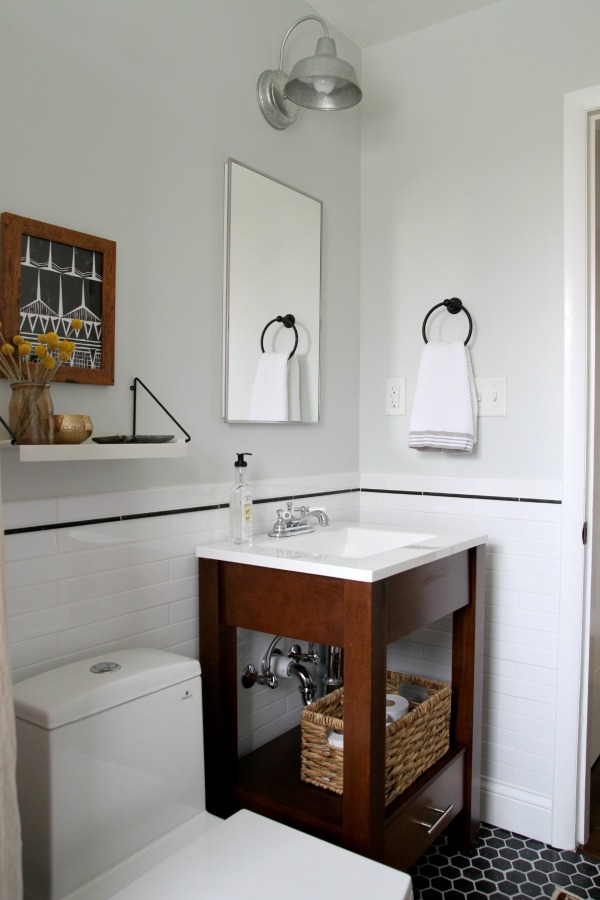
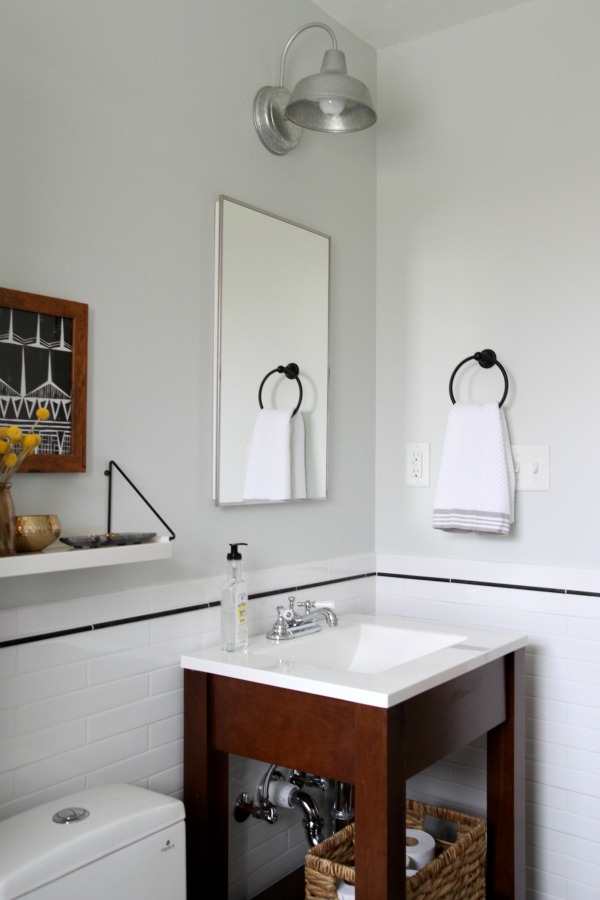
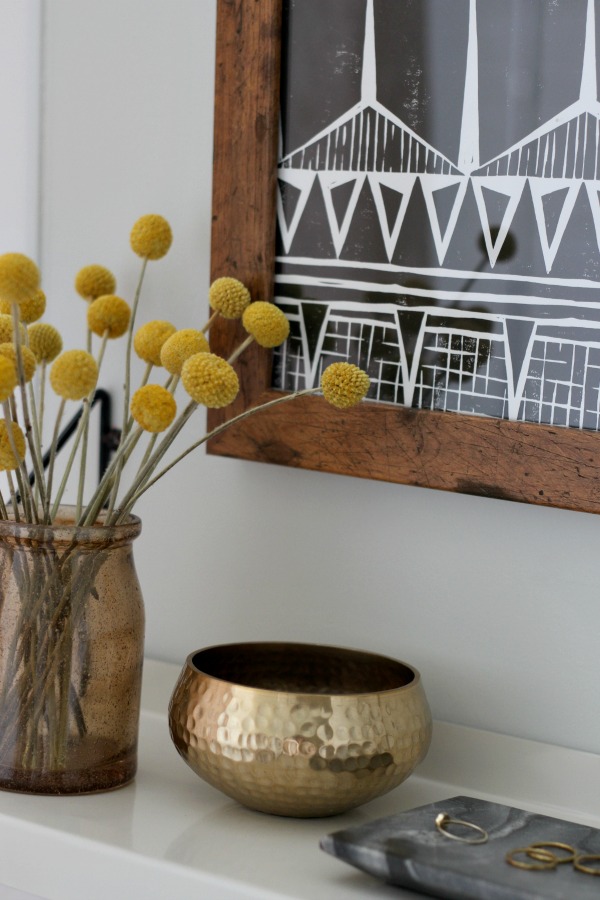
We installed a simple metal shelf above the toilet. It’s a great spot for artwork, flowers and jewelry catchalls. (The vase is actually a bathroom tumbler.) The shelf isn’t the highest quality but I like the way the metal brackets pick up on the pencil liner. I painted the heads of the screws black so they would be less conspicuous.
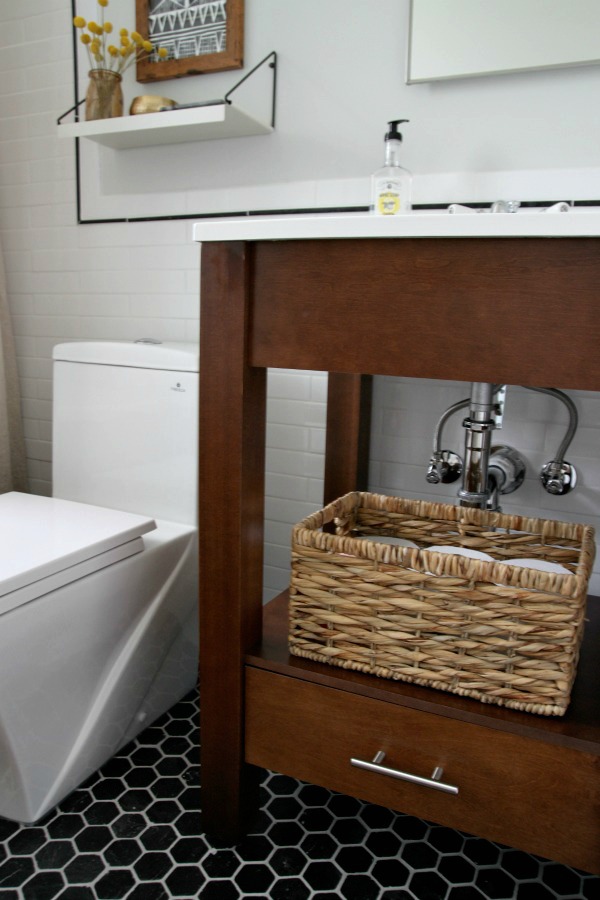
To keep things light visually, we chose an open vanity that stands up off the floor. I stash trash bags and a microfiber cloth in the bottom drawer. A woven basket holds toilet paper and a cup for rinsing the kids at bathtime. We couldn’t bear to drill into the vanity or wall tile to hang a toilet paper holder.
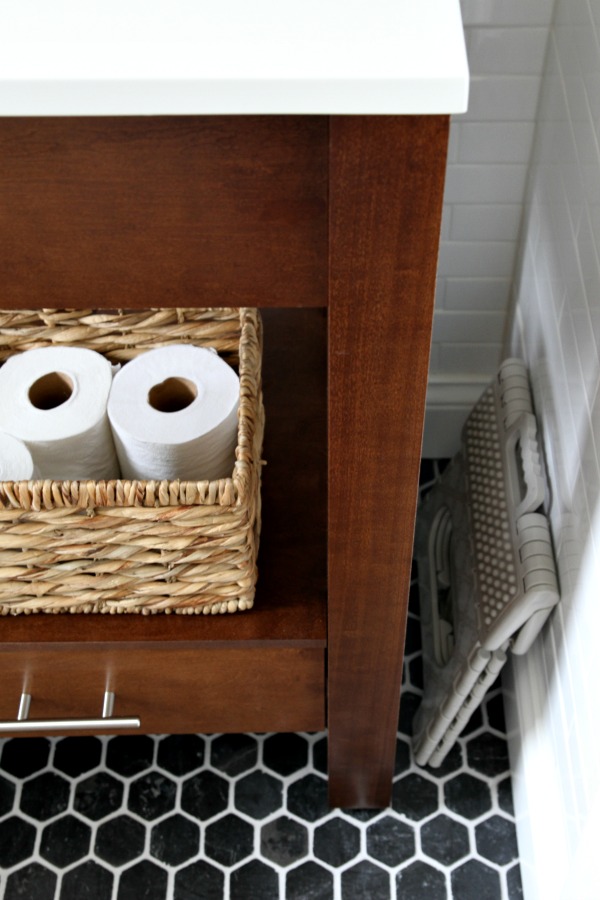
The door to the bathroom opens up into the room in front of the vanity. We needed a stool for our toddler to reach the sink but I didn’t want it to impede the opening / closing of the door. I found a small folding stool at HomeGoods that fit the bill. It isn’t much to look at but, thankfully, it folds up and slides in next to the vanity so we don’t have to look at it all the time.
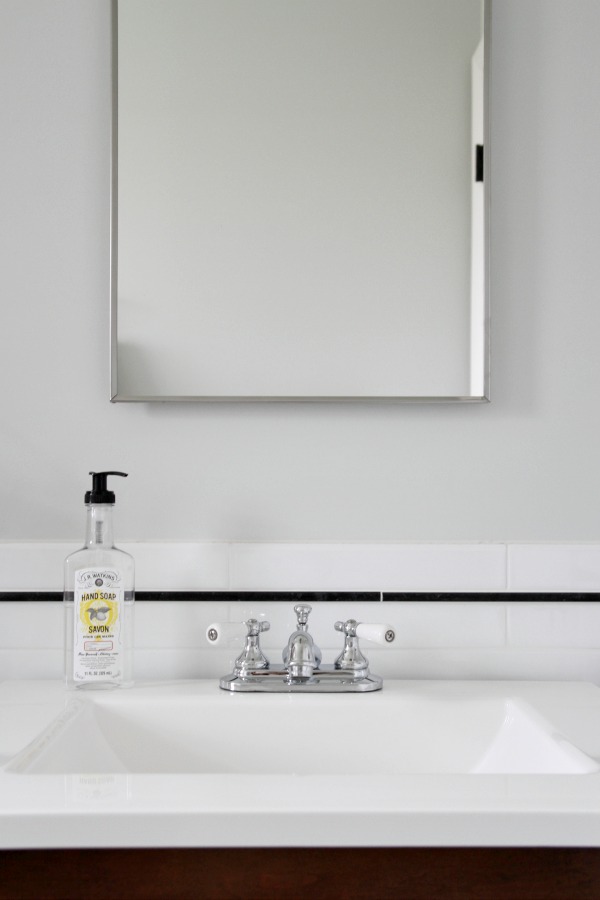
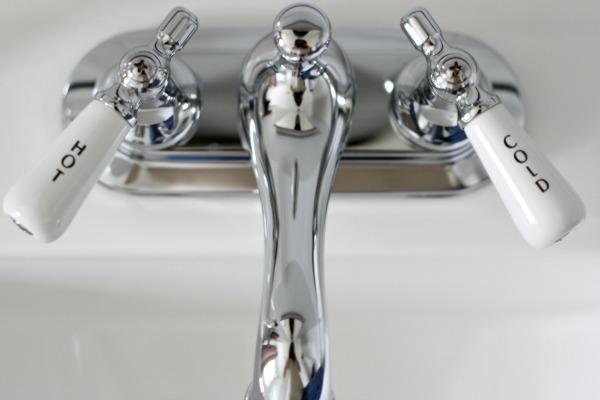
My only issue with the vanity is that the solid surface top is creamier than the bright white subway tile. I think it’s probably one of those things that no one else really notices but it stands out to me. The faucet matches the tub fixture. I adore the labeled porcelain handles.
We chose a simple, recessed mirror / medicine cabinet for the sink area. It has a narrow stainless steel frame. This is where the microfiber cloth in the vanity drawer comes in handy. I use it for quick once-overs to remove the kids’ fingerprints from the mirror.
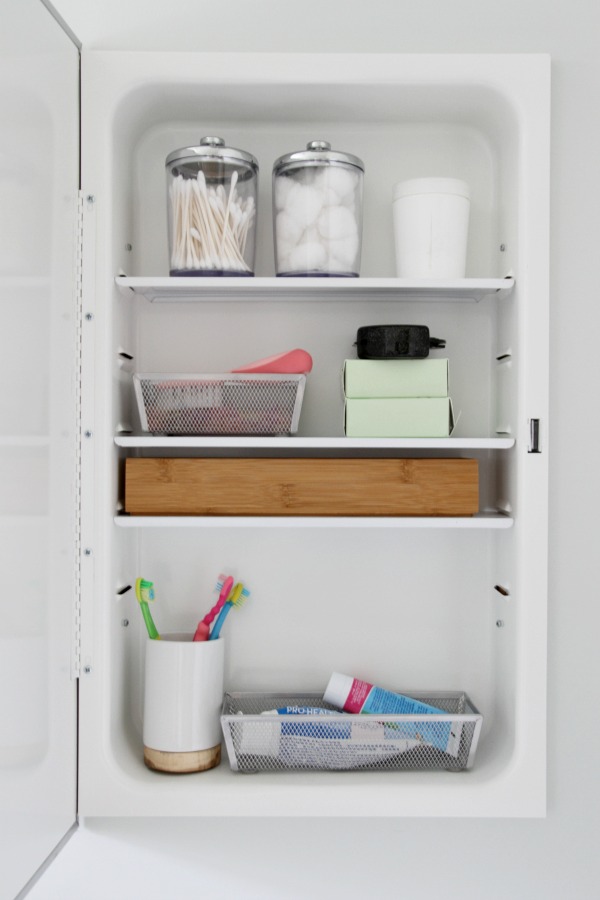
The mirrored door opens to reveal hidden storage. The shelves are adjustable. I used several small organizers to corral the kids’ toiletries.
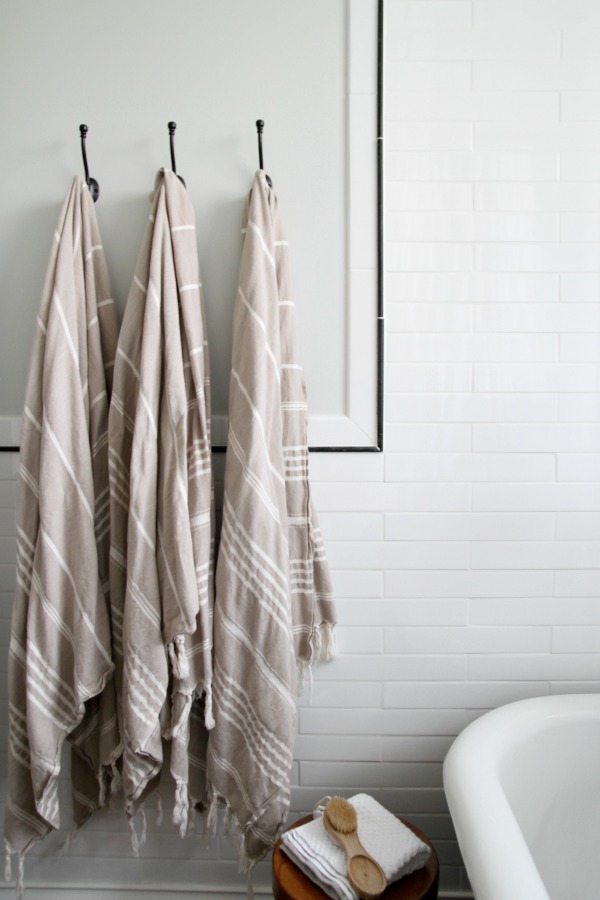
On the opposite side of the room, we installed a trio of wall hooks. There’s one hook for each kid. I found peshtemal towels that mimic the linen shower curtain.
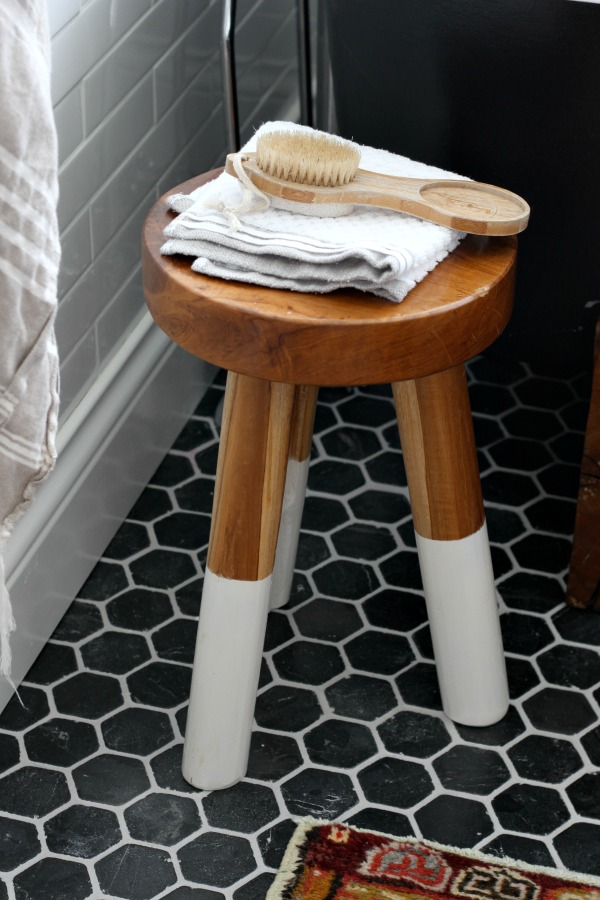
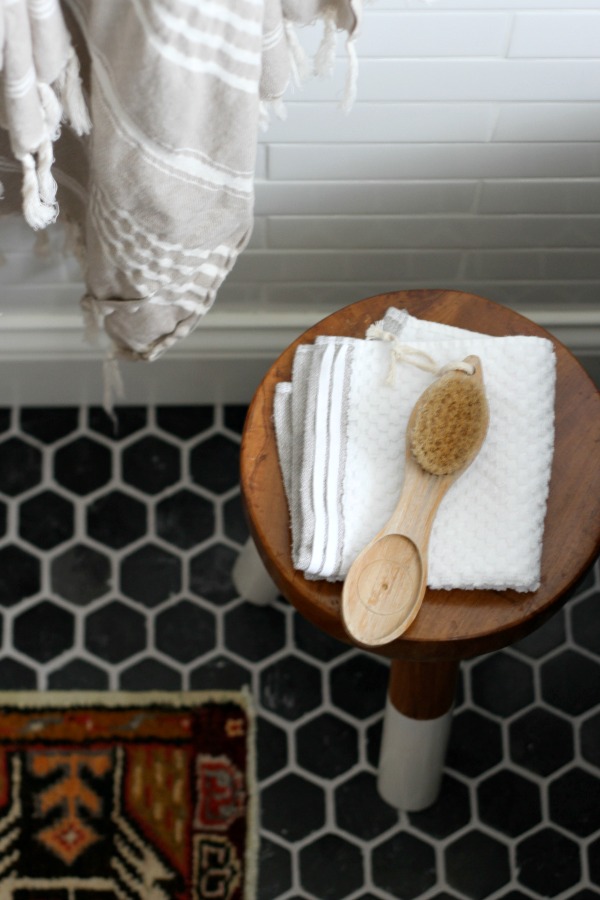
This stool was the missing piece of the bathroom reno puzzle! It finally arrived last week. Not only is it pretty cute, it’s functional too. It saves my back when I bathe the younger kids. And, I haven’t tried it yet, but I think it will be the perfect spot for a lit candle and a glass of wine when I give the tub a spin myself.
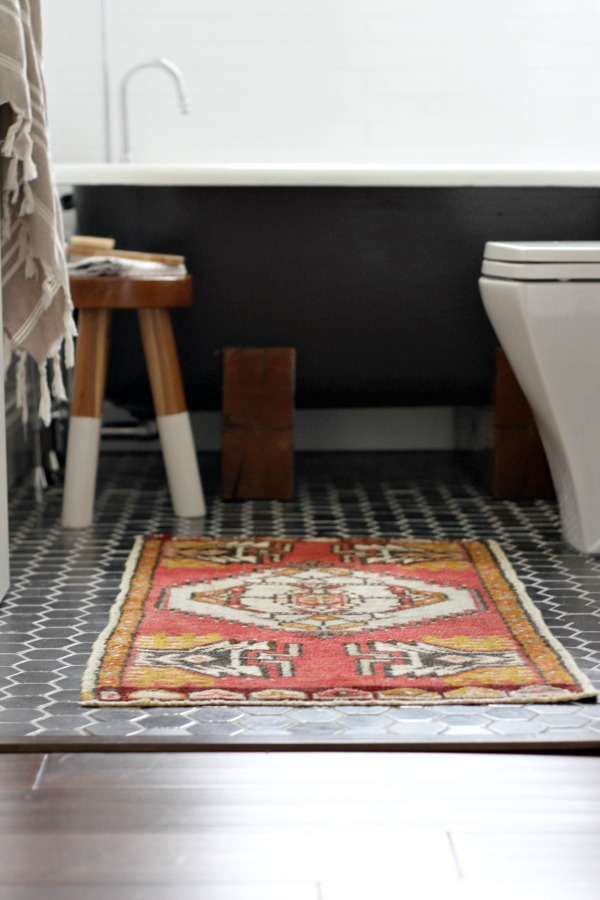
I bought a vintage rug to add some color and pattern to the room. The low profile allows the door to swing open without getting hung up on the rug.
And that’s it! Since the bathroom is near the main living space, I wanted it to feel like a continuation of the great room. I repeated certain elements (subway tile, black & white contrast, rich wood tones, woven textures, vintage rug, etc.) for a cohesive look. The room really feels like a part of the house – not a separate, themed kids’ bathroom. Incorporating larger pieces (tub, vanity) that stand up off the floor visually lightens the tiny room and makes cleaning a breeze.
After sharing one bathroom for the last 2+ years, we feel completely spoiled now that we have TWO functioning bathrooms. No one is waiting for a turn. Everyone has their own towel hook. We’re able to give the two younger kids a bath while our oldest takes a shower in our bathroom to speed up the bathtime routine. Guests no longer have to walk through our bedroom to use the bathroom and they have their own shower, too. It’s nice having a bathroom so close to the main living space. You know, because walking down the hallway, through the master bedroom and into the master bath is just too much work. Like I said, spoiled. But our favorite thing is that we’re finally using previously wasted space. I don’t know how many times I apologized to guests about the state of the main bathroom during its gutted life.
We have two bathrooms. Life is good :)
Resources of note:
2″ x 12″ subway tile – imperial bianco gloss white from The Tile Shop*
black pencil liner – noir honed somerset from The Tile Shop*
wall grout – standard white unsanded from The Tile Shop*
floor tile – noir hex from The Tile Shop*
floor grout – whisper grey sanded from The Tile Shop*
wall paint – Ace Paints lost spur mixed in Clark + Kensington paint + primer in one
trim paint – Benjamin Moore super white
tub – vintage, craigslist
tub base – DIY
tub exterior paint – Sherwin Williams enamel latex color-matched to Benjamin Moore black jack
plumbing fixtures – Randolph Morris from Vintage Tub & Bath
fabric shower curtain liners – Wayfair
linen shower curtain – Restoration Hardware
shower curtain rings – Amazon
toilet – Fresca salerno dual flush square toilet from TradeWinds Imports
trash bin – Target
floor register cover – Lowe’s, spray painted matte black
wall shelf – Urban Outfitters
amber vase – Target (it’s actually a bathroom tumbler!)
dried craspedia – FayeMarie etsy shop
art print – Printwork etsy shop
frame – Amazon
vanity – Home Depot, discontinued
basket – HomeGoods
folding stool – HomeGoods
towel ring – Lowe’s, spray painted matte black
hand towel, washcloth – HomeGoods
recessed mirror / medicine cabinet – Wayfair*
wall sconce – Barn Light Electric Co.
rug – vintage from etsy
dip-dyed stool – Serena and Lily
wall hooks – Amazon
peshtemal towels – Amazon
*Denotes items from brands that kindly sponsored this project. We selected and installed the products on our own.
Interested in seeing how this bathroom came to be? More bathroom-related links…
RENOVATION
*https://www.housetweaking.com/2011/08/18/the-underdog-sans-scaffolding/
*https://www.housetweaking.com/2011/08/30/a-few-new-things/
*https://www.housetweaking.com/2011/09/13/behind-the-walls-i-mean-scenes/
*https://www.housetweaking.com/2011/10/11/new-windows-doors/
*https://www.housetweaking.com/2011/11/01/in-case-youve-never-seen-foam-insulation/
*https://www.housetweaking.com/2011/11/06/we-have-walls/
*https://www.housetweaking.com/2012/02/03/let-there-be-light-and-some-cabinets/
*https://www.housetweaking.com/2012/03/20/a-clawfoot-tub-declawed/
*https://www.housetweaking.com/2013/02/07/scratching-an-itch/
*https://www.housetweaking.com/2014/03/04/baby-steps-in-the-unfinished-bathroom/
*https://www.housetweaking.com/2014/03/13/tile-prep-thinking-ahead/
*https://www.housetweaking.com/2014/03/24/sometimes-diy-sucks/
*https://www.housetweaking.com/2014/04/02/the-noir-hex-is-in-tips-for-laying-pesky-sheets-of-tile/
*https://www.housetweaking.com/2014/08/25/the-bathroom-tiled-grouted/
FIXTURES & DECOR
*https://www.housetweaking.com/2011/09/07/thinking-about-a-bathroom/
*https://www.housetweaking.com/2011/09/14/splash-and-crash/
*https://www.housetweaking.com/2012/12/19/the-peshtemal-plunge/
*https://www.housetweaking.com/2014/06/26/black-pencil-liner-in-the-bathroom/
*https://www.housetweaking.com/2014/09/26/bathroom-update-baseboards-paint/
*https://www.housetweaking.com/2014/10/31/putting-the-bath-in-bathroom/
*https://www.housetweaking.com/2014/11/18/tub-cradle-base-how-we-did-it/
*https://www.housetweaking.com/2015/11/16/the-main-bathroom-a-year-later/
For ease, you can access this bathroom tour under the “see my house” tab in the sidebar along with a general house tour and individual room tours. Thanks for reading!
images: Dana Miller for House*Tweaking


budget decor