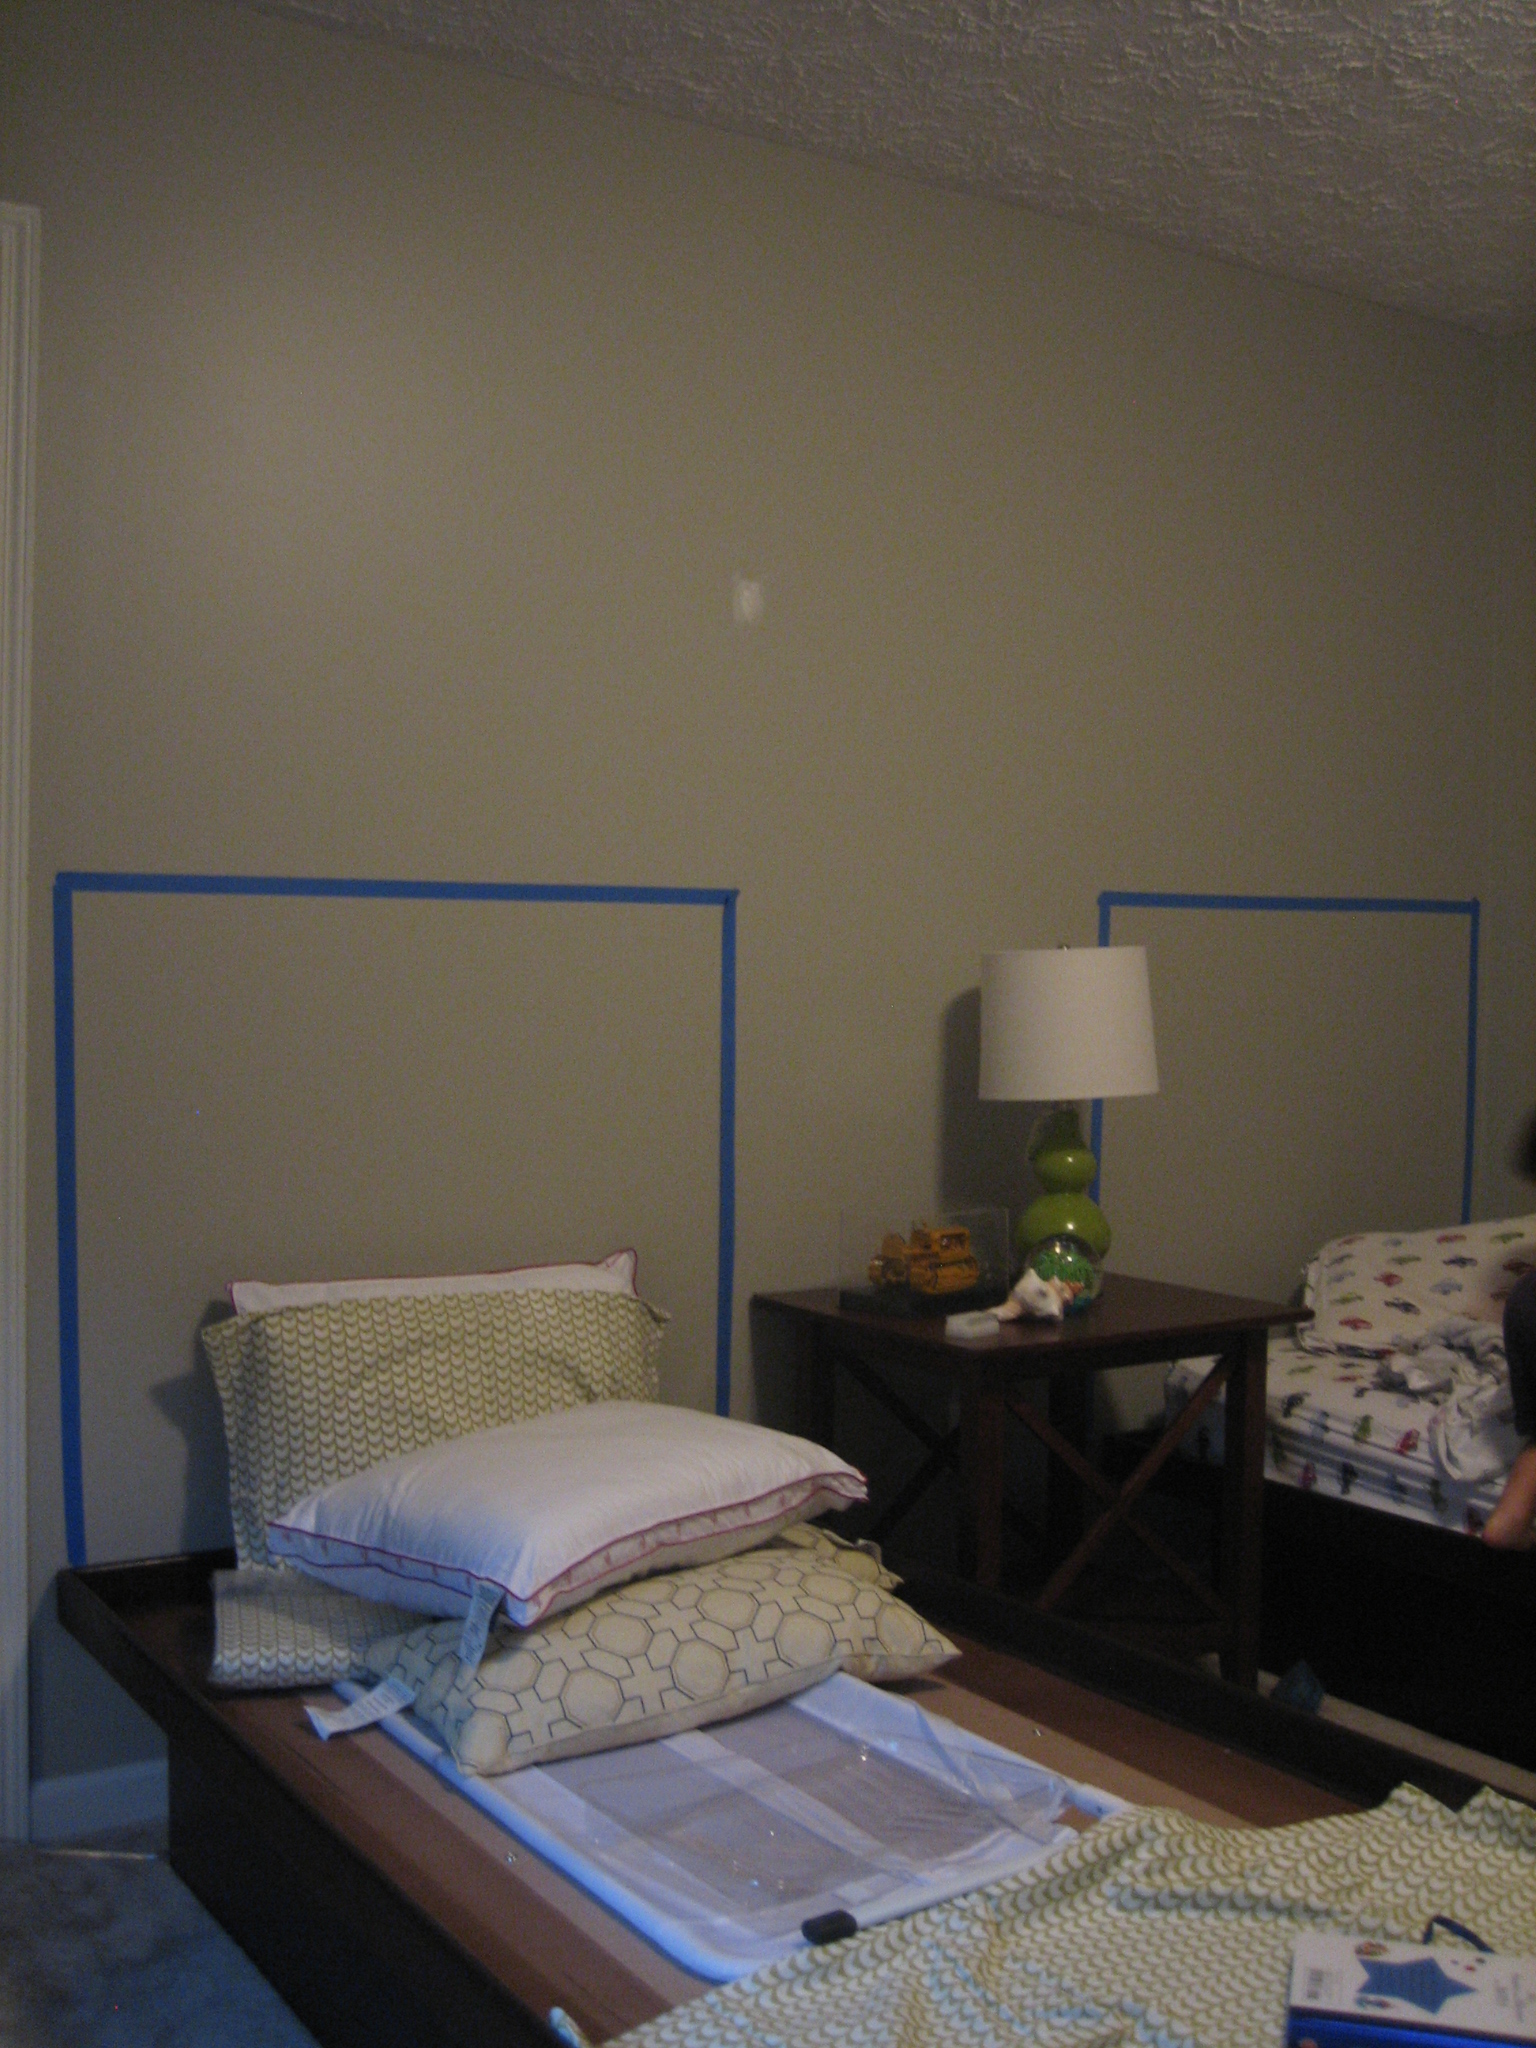
Ya’ll know that I’m working ever so sloooowly on (what will be) the boys’ shared bedroom. And I’m doing it on a budget. A few key elements (i.e., a twin platform bed, a twin mattress and a reading chair) have pretty much eaten up the budget, so everything else (i.e., textiles, storage and artwork) will be done on the cheap. From the get-go, I wanted to DIY matching upholstered headboards for the boys’ beds. While picking up a few painting supplies from Lowe’s (for a project to come!), I happened to pull a double take in the dropcloth section. I was struck by how much the dropcloth material resembled linen fabric. And then it dawned on me! For less than $10, I could use a canvas dropcloth as my headboard fabric. I quickly added a 6’x9′ dropcloth to my shopping cart. A few days later, I picked up some batting from JoAnn Fabric and the stars were aligned that day. All packaged batting was 50% off. I bought 1 bag of batting for $7. I had Handy Hubby cut 2 identical pieces of OSB from a leftover stash we had on hand. But how, do you ask, did I determine what size to make them? Good question. I have a good answer. I stuck painter’s tape up on the wall above the twin beds until I found the height and width I liked. Then I simply measured ’em and gave the numbers to Handy Hubby who cranked out 2 headboard bases in 10 minutes.

With my supplies in tow (and my boys at the pool with Handy Hubby), I set to work bringing new life to a canvas dropcloth.

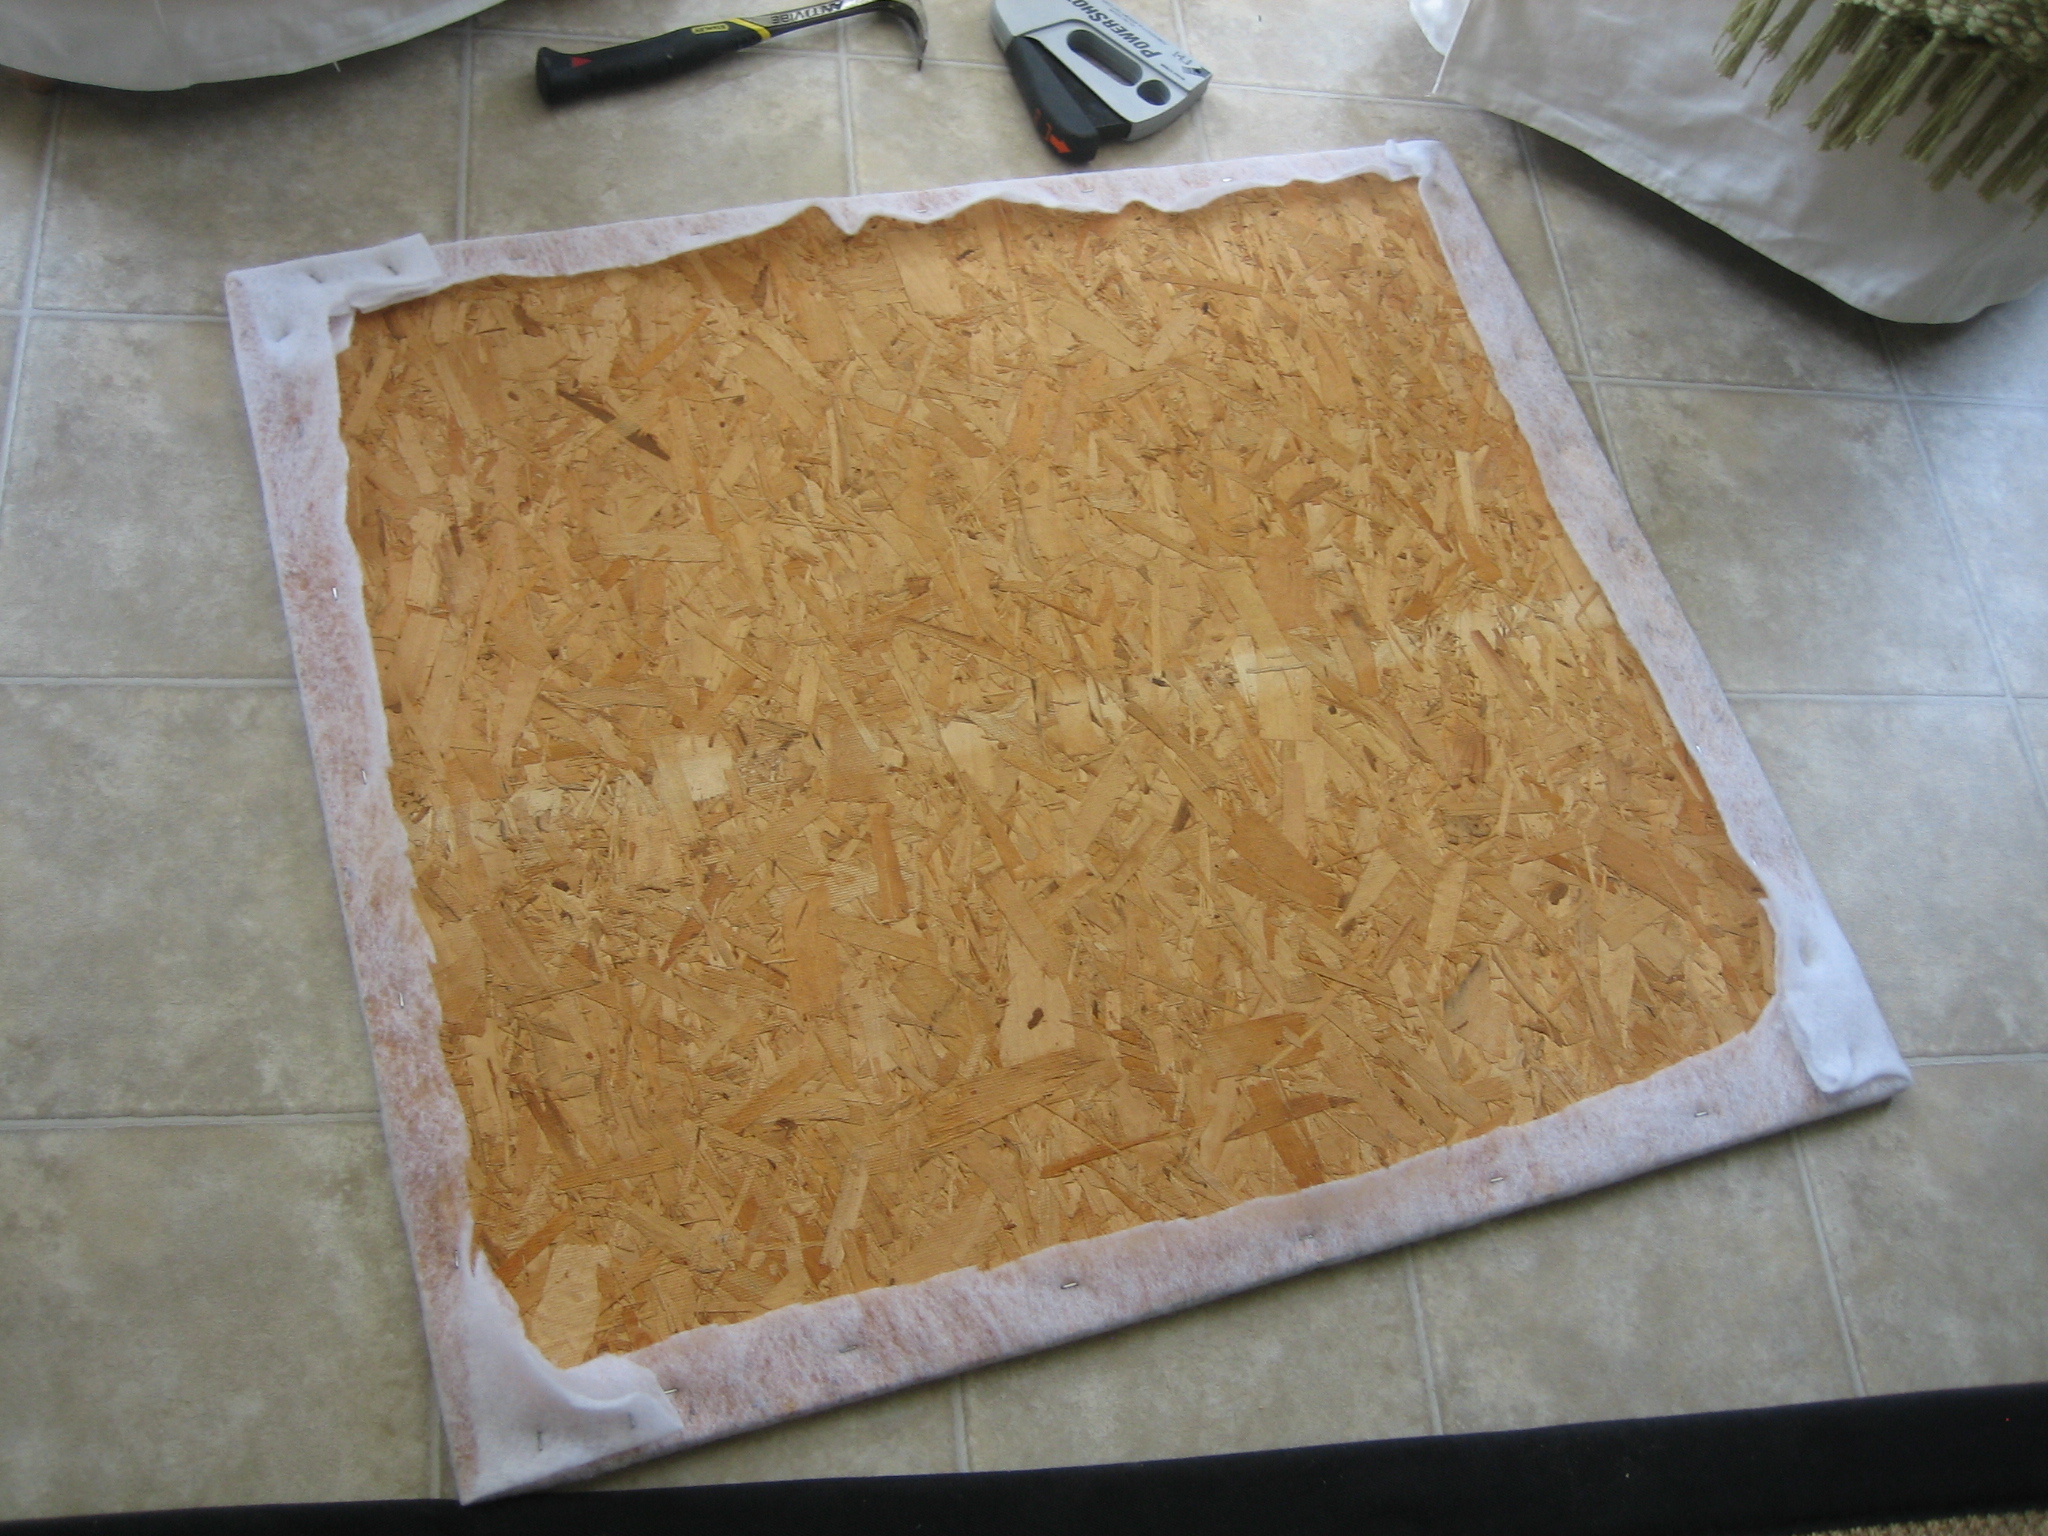
My supplies included: a washed canvas dropcloth (mine was 6’x9′ but shrunk to a little larger than 5’x8′ after washing it), 1 bag of batting, a heavy duty stapler, staples, fabric scissors and my OSB headboard bases. First, I laid the OSB on top of the batting and cut the batting along the perimeter leaving several inches on all sides.

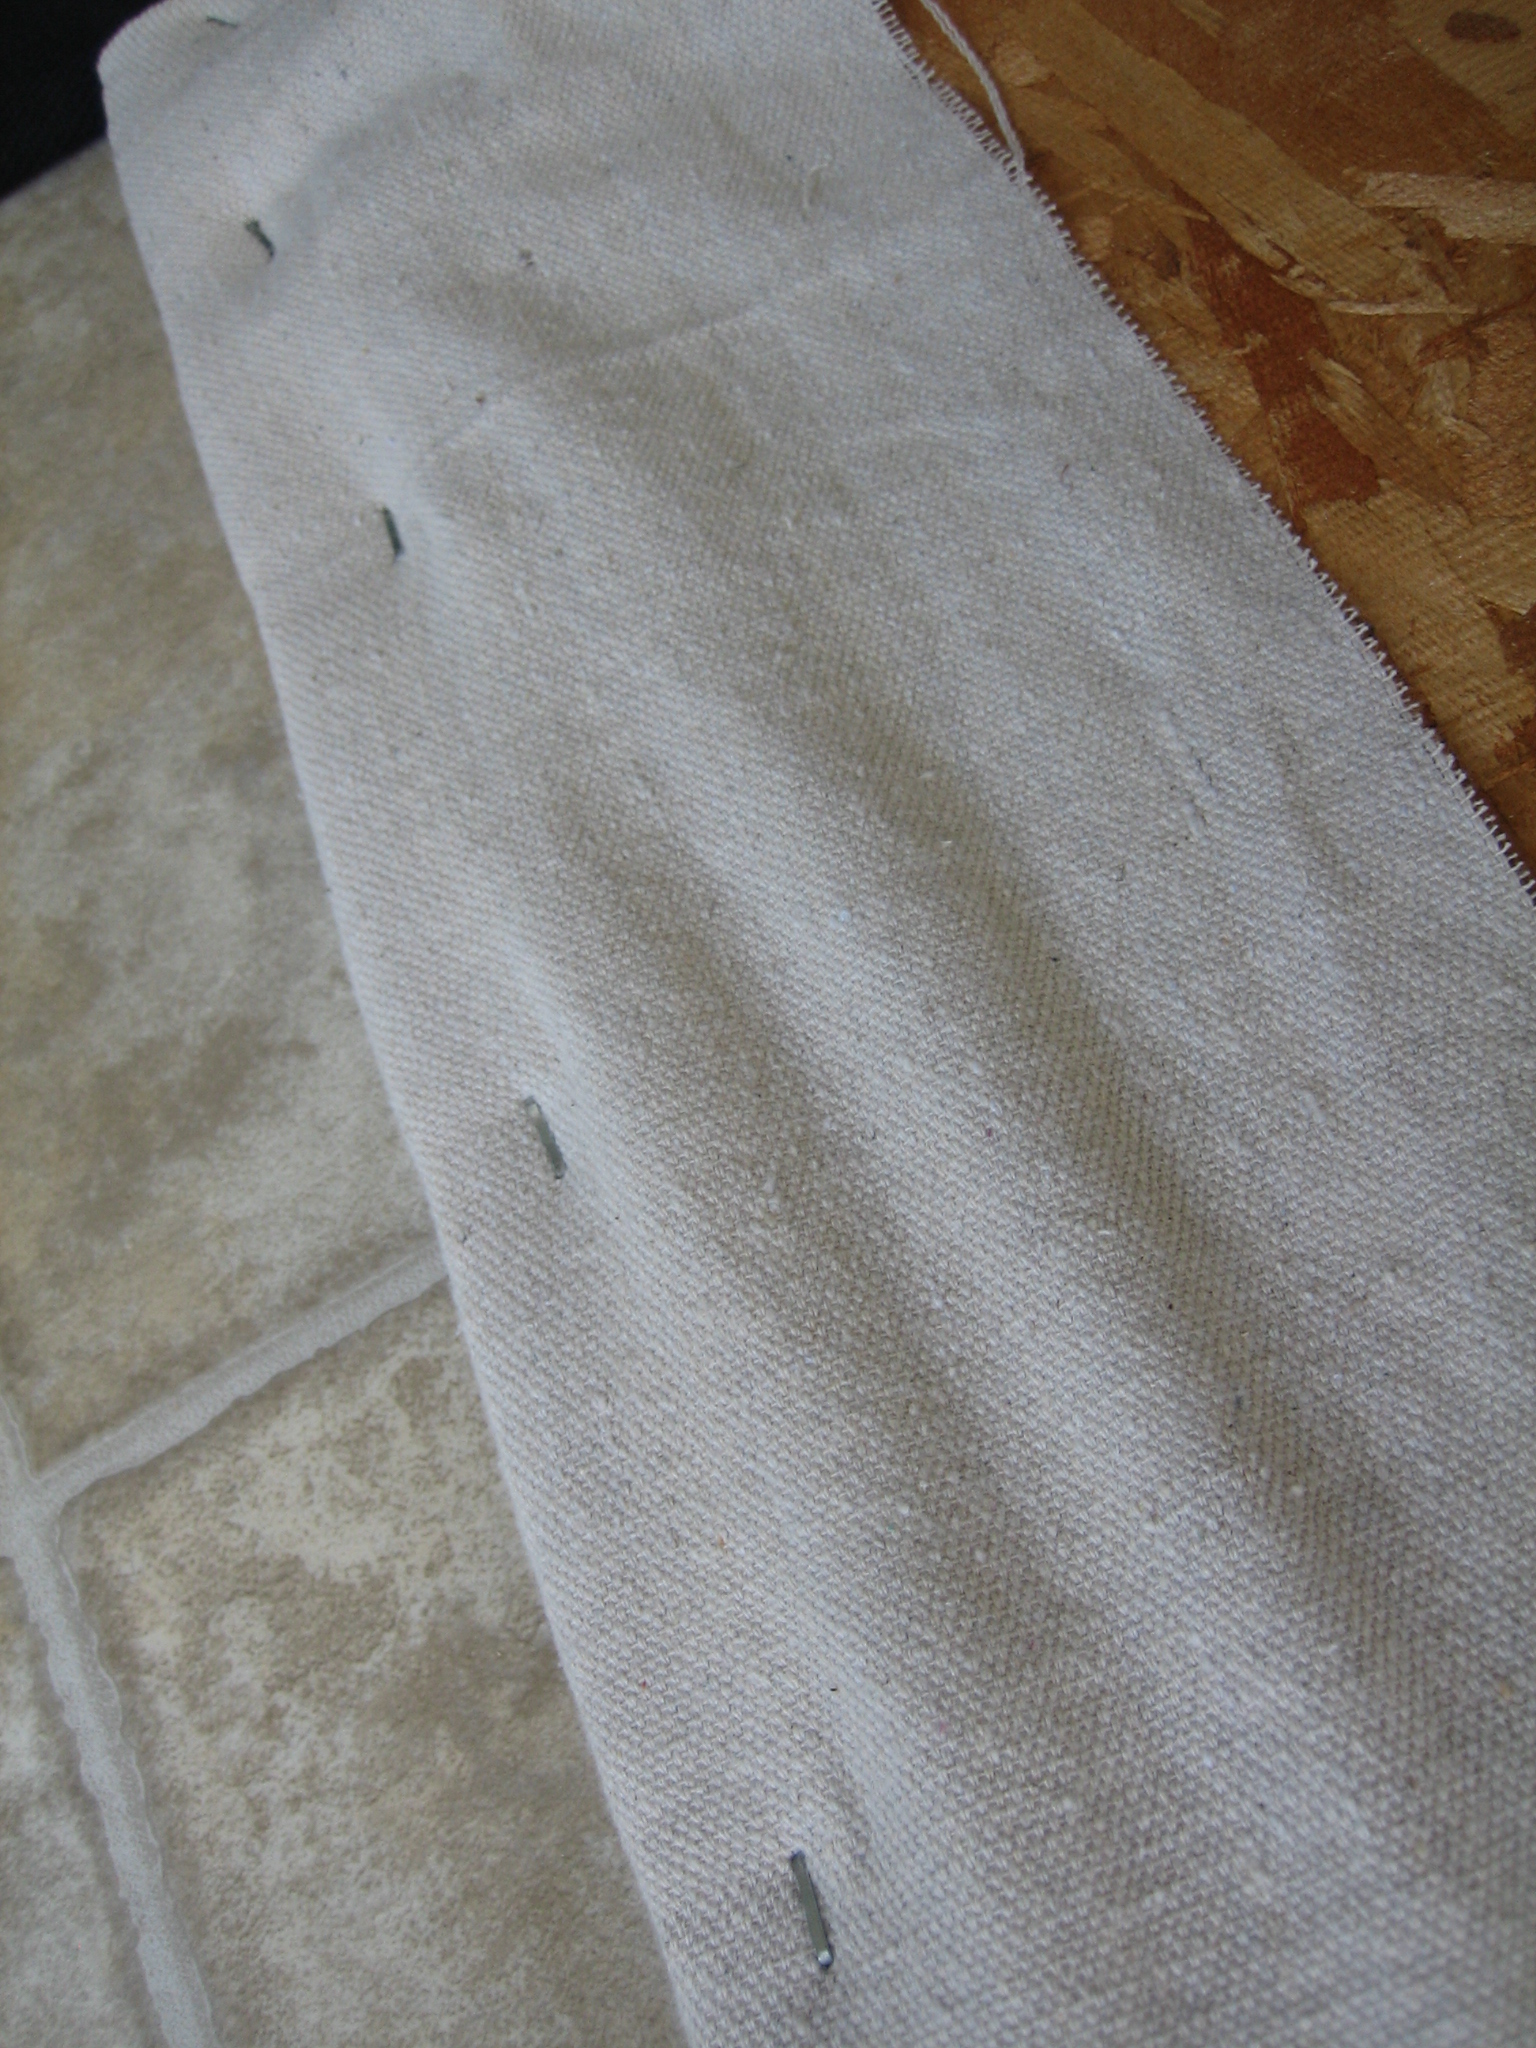
I pulled the batting taut – working back and forth on opposite sides – all the way around and stapled it to the back of the OSB. I would like to see a video of me doing this in fast forward. I’m pretty sure I’d look like an amateur wrestler on the mat. It makes for a lot of squatting and hopping.

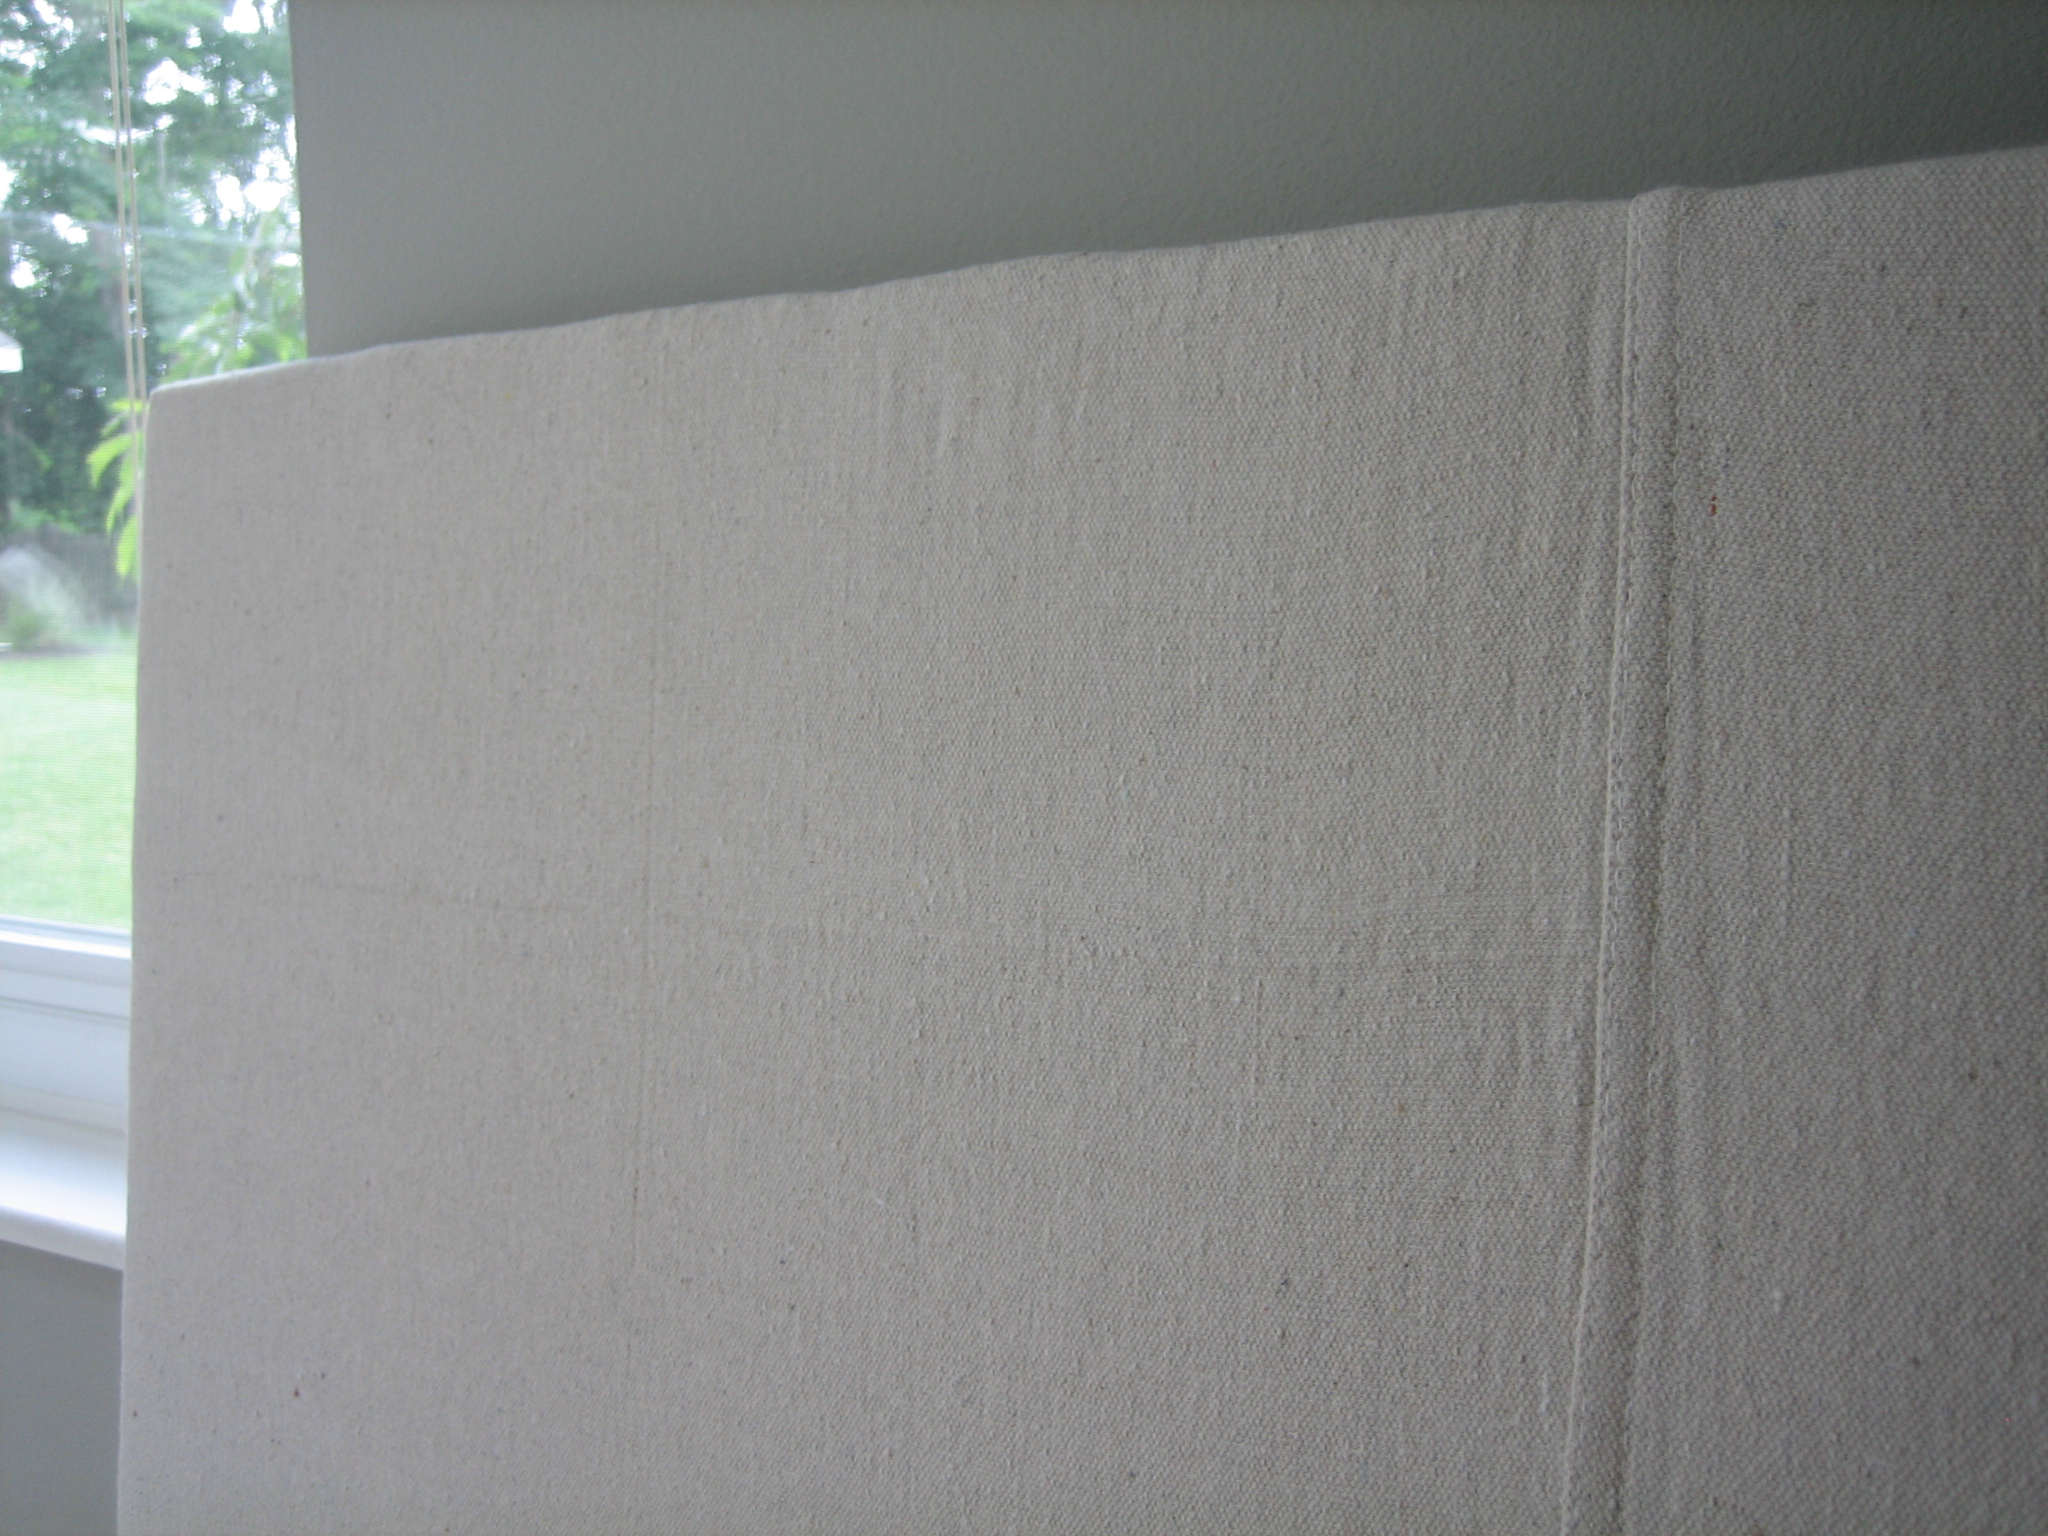
Then it was time to add my fabric (a.k.a. dropcloth) on top of the batting using the same procedure. The dropcloth I used had a seam straight down the middle of it. I decided to make that the center of each headboard and measured accordingly. (My headboards were 40″ wide, so I made sure the center seams fell at the 20″ mark on both the tops and bottoms of the headboards.)


I simply cut off the excess batting and dropcloth material.

I turned the whole thing over and VOILA!

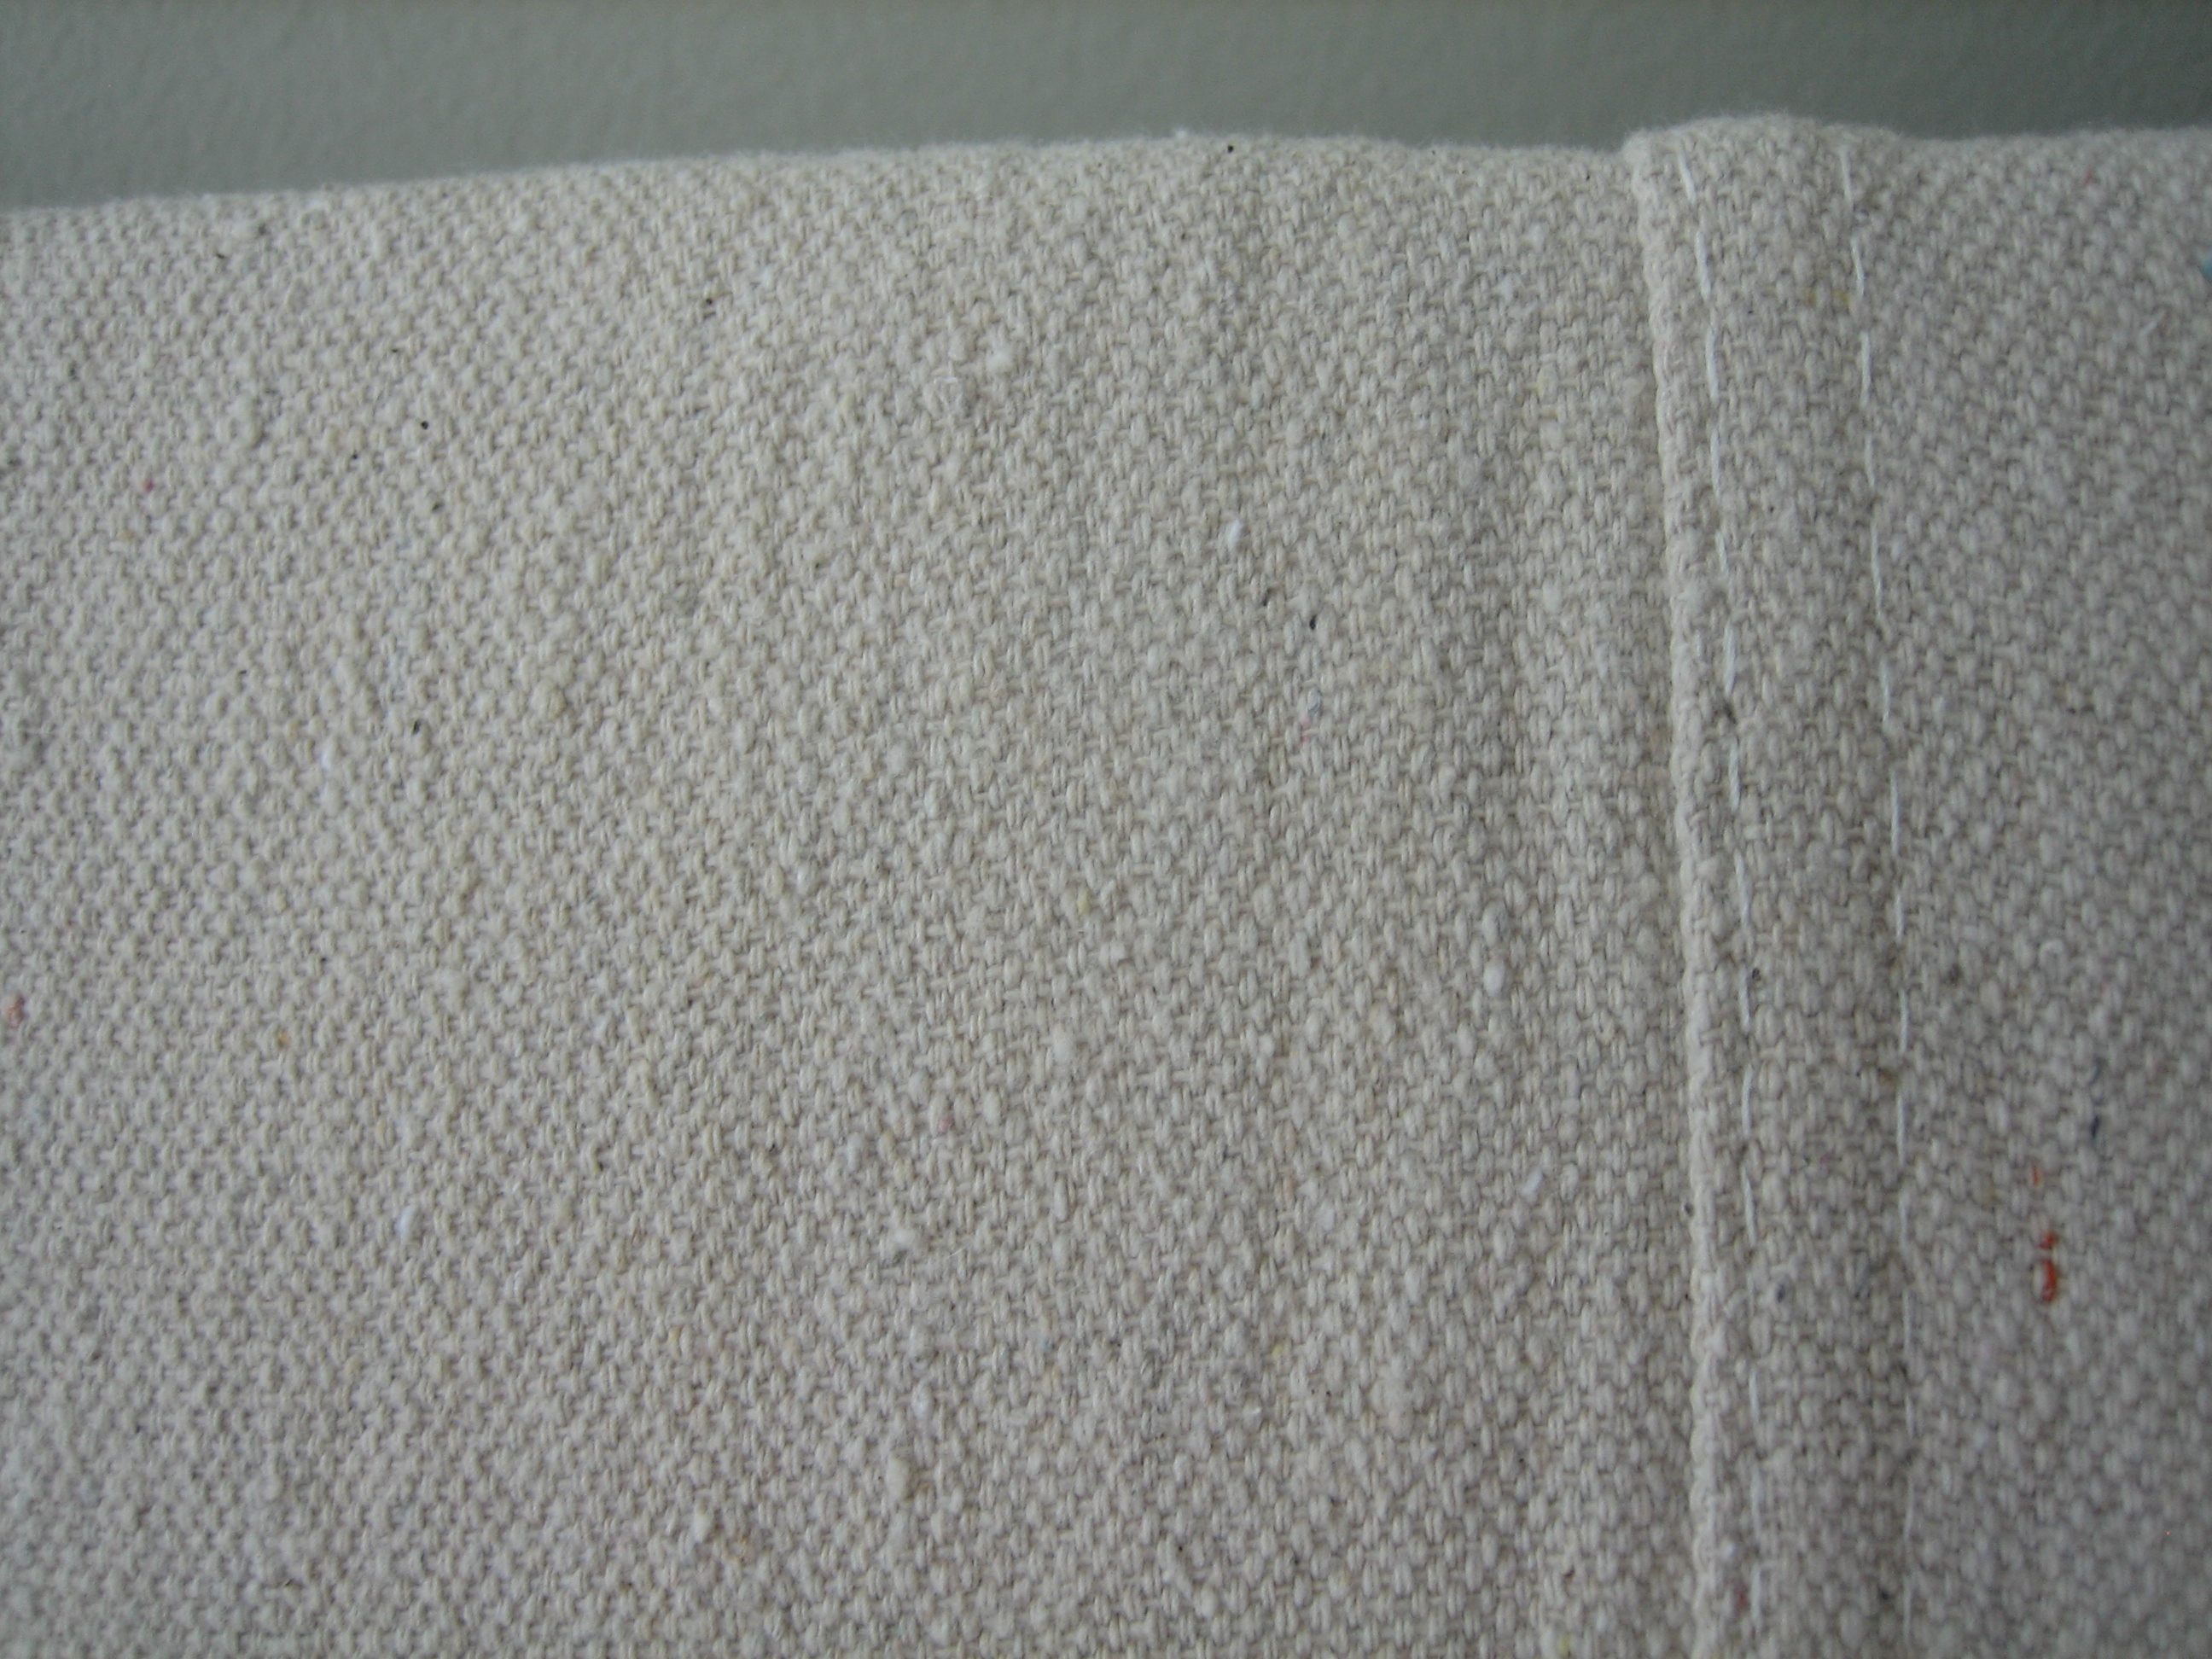
A totally easy, cheap and kid-friendly headboard. Or, shall I say, headboardS. I just repeated the whole process over for my second headboard. A few close ups…


Sorry, but you’ll have to wait to see them hung in the boys’ bedroom…I’m getting there! I just love the way this project turned out. I’ve never made a headboard before but have always wanted to try. On a scale of 1-10, 10 being the most difficult, this was probably a 2 or 3. It’s easy, I’m telling you. I like the way the canvas has a worn linen look to it. If I were to do an adult’s bedroom (say, our master bedroom for example), I probably would have used more layers of batting to get a plusher look. The single layer is perfect for a kid’s room though and perfect for my dwindling budget. My favorite part is the seam…which was a total surprise! I couldn’t tell from the packaging that the dropcloth would have a seam smack dab in the middle. But it worked out in the end. All for $16…for 2 headboards.
Stay tuned for Part 2 of The Ugly Duckling where I rescue another dropcloth (or 2) from becoming a painter’s catchall.


budget decor, DIY, kid-friendly