I’ve been meaning to paint the mudroom doors black since the day we moved in over three years ago. I finally got around to it. Why do I put off little things like this for so long??!!

During renovation we had pre-primed french doors installed to replace original sliders out to the backyard. This is our main entrance / exit in real life. It’s where we put on and take off shoes, bring in groceries and mail, hang up jackets and unload backpacks and lunch boxes. Needless to say, the white was never white. It showed every dirty fingerprint and was impossible to keep clean.
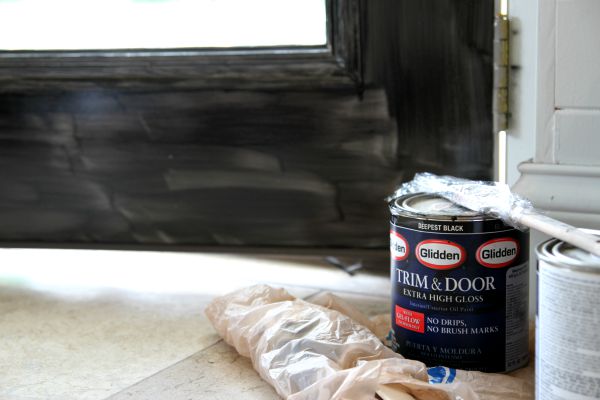
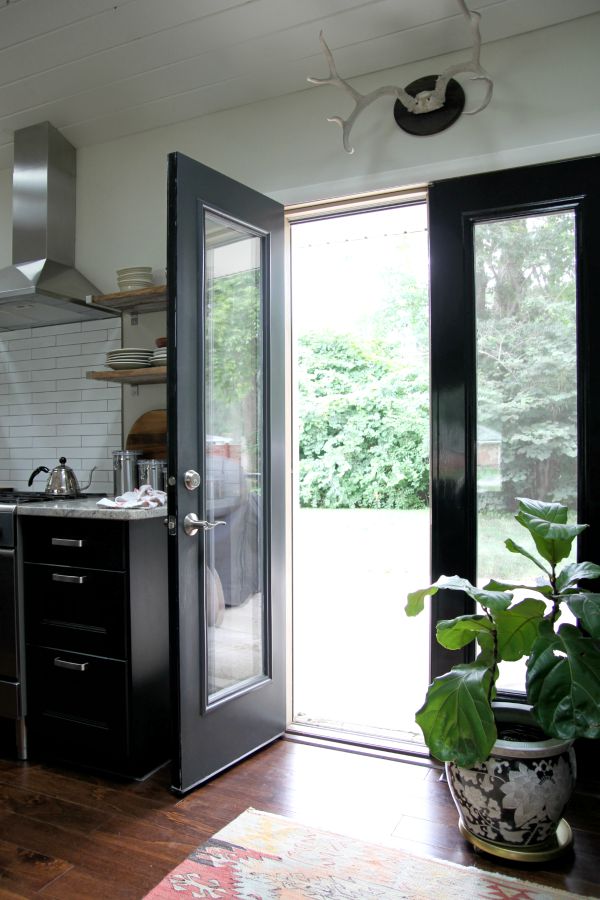
I used Glidden’s trim & door paint in deepest black. It’s the same paint I used on the french doors in the kitchen. (Which begs the question, why didn’t I paint the mudroom doors at the same time?) It was leftover which was nice because it’s a little pricey. The oil “paint” is more like a gel. It has the consistency of finger paint but, please, don’t apply it with your fingers ;) You don’t stir it and it has a strong odor. Cure time is longer, too. It took three coats to cover the white. Keeping the kids and kitty at bay was probably the hardest part.
The black hides fingerprints and the extra high gloss finish is super easy to wipe down. I love that this paint is dramatic AND practical.
It irks me that the doors in the mudroom are recessed while the ones in the kitchen are flush with trim surrounding them. This stems from the fact the mudroom doors were once sliders and the kitchen doors were once a window. I don’t really prefer one design over the other; I just wish they were the same for consistency’s sake. It’s one of those minor details we overlooked during renovation. Ah, live and learn. Catch you next time french doors.
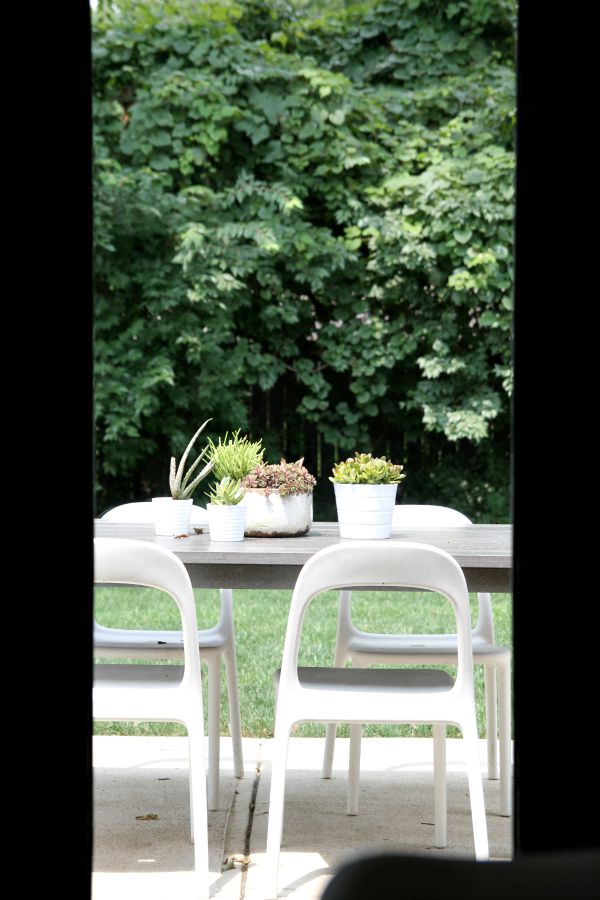
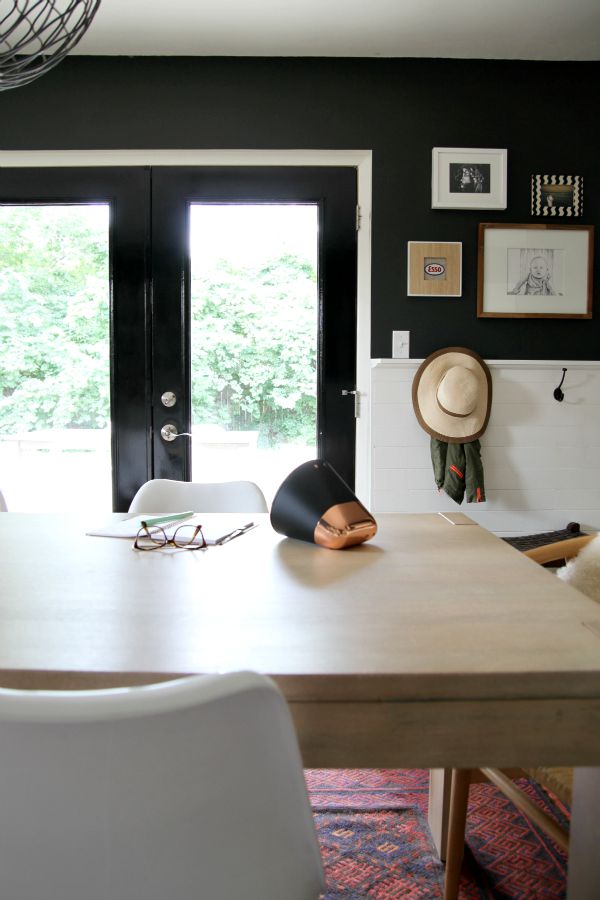
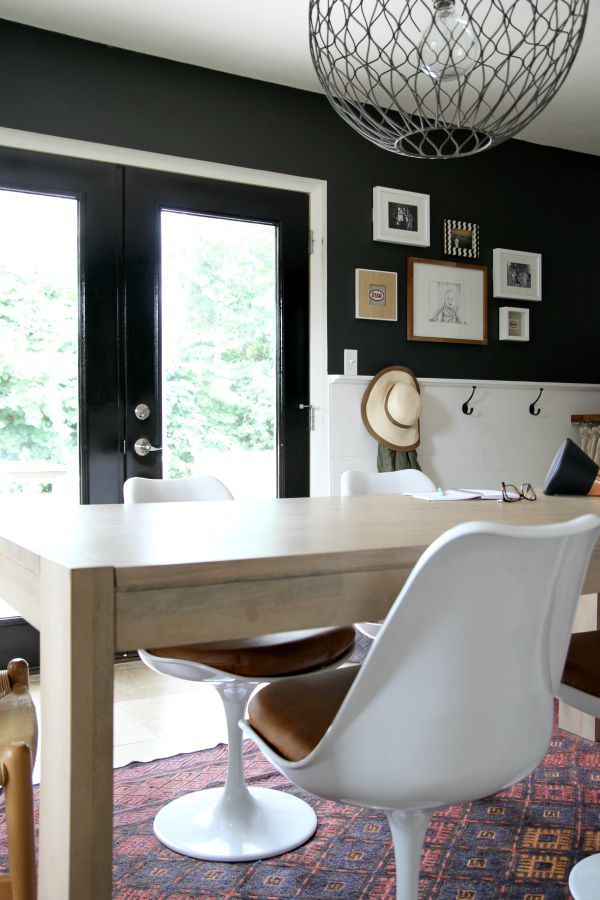
The way the newly painted doors frame the view out back is icing on the cake.
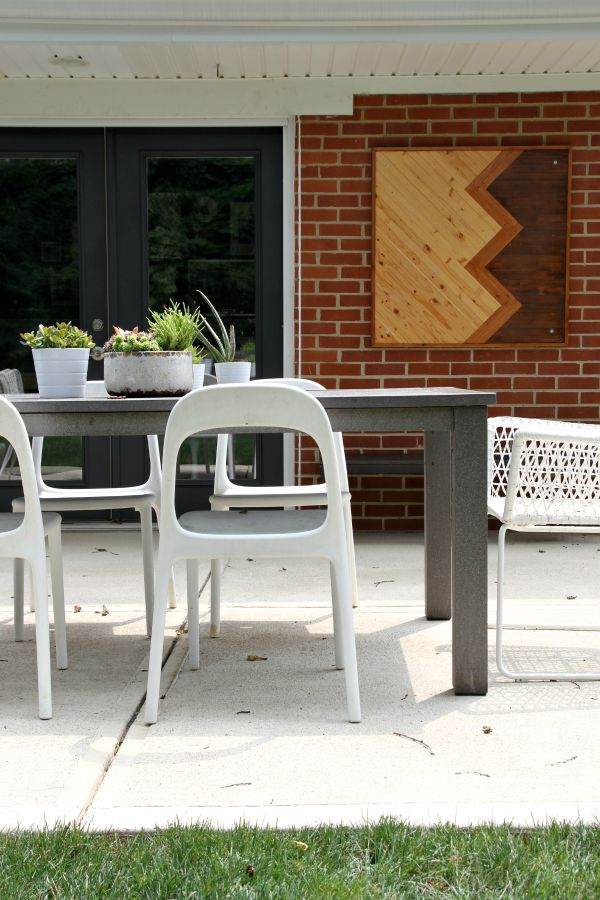
While I was at it, I went ahead and touched up the paint on the exterior side of the doors, too. (It’s evening hush by Behr in a satin finish, and it matches the front door.) It was nicked up from keys and such, and it really stood out to me once the interior sides were freshly painted.
Btw, the DIY outdoor art still looks great two years later!
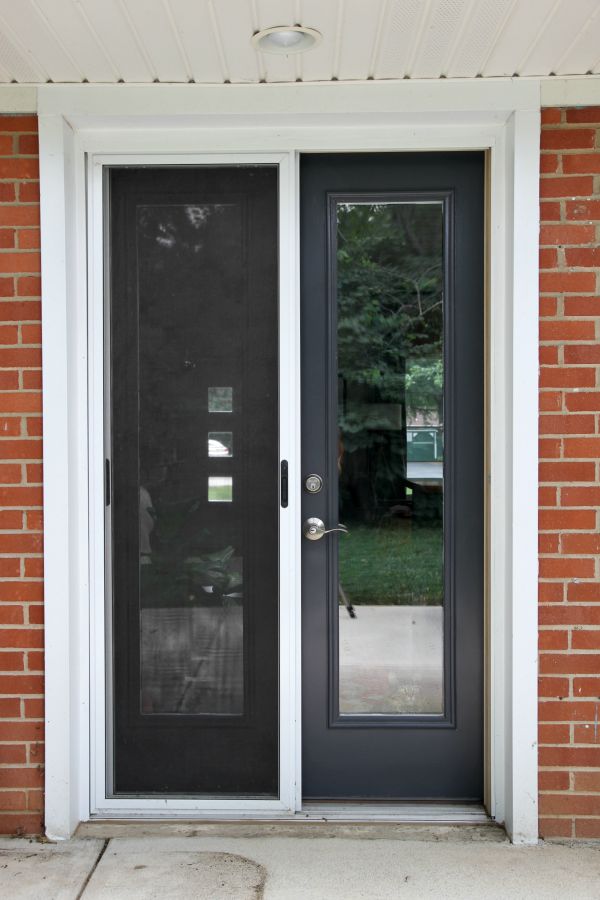
My painting streak didn’t stop there. I painted the exterior side of the french doors off the kitchen as well. (Again, it’s evening hush by Behr.) They’re Cheetah’s doors.
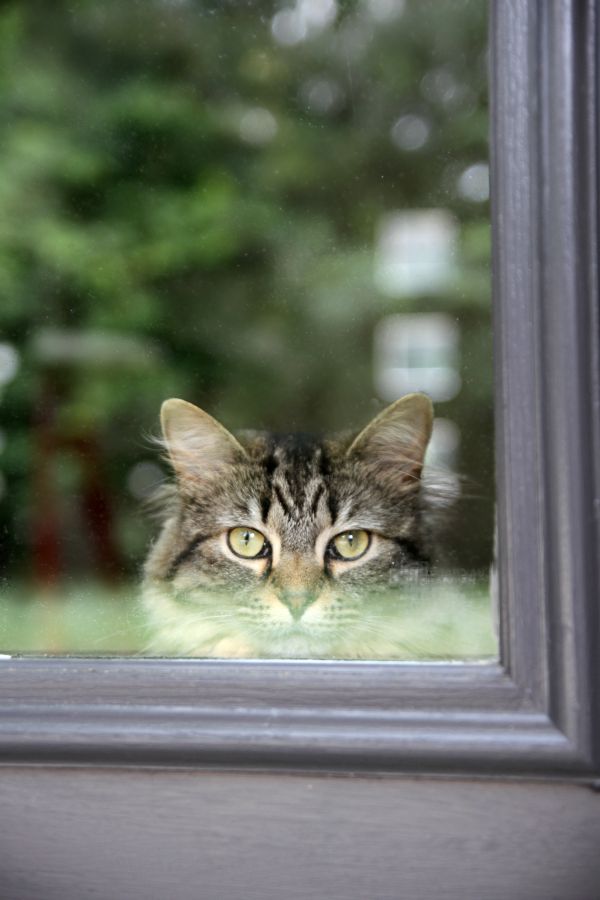
Every morning she meows at the doors until we open one so she can closely watch the birds, rabbits, neighborhood cats and deer frolicking in our backyard. As you can see in the photo two images up, we keep sliding screens on the doors so Cheetah can’t escape. (We have screens for the mudroom doors, too, but they’re a little cumbersome to open and close numerous times per day so we don’t use them all that much.)
I sorta fret over the doors being painted two different colors, inside and out. But it really isn’t a big deal. I think it helps that they’re both dark colors.
It feels good to finally cross all those painted doors off the list. What tedious projects are you putting off / tackling these days?
images: Dana Miller for House*Tweaking
I hope you enjoyed the exterior tour of our front entry. Now on to the interior!
This corner of our home has come a long way. Again, rehabbing the original front door was the biggest project in this space and you can read more about that here. In addition, we added weatherstripping around the door jamb to prevent drafts. The mortise handset looks just as good from the inside!

Our house doesn’t boast a foyer. The front door opens up into our living room. To carve out an “entry” I placed an oversized chair perpendicular to the door which visually separated the living room from the entryway. DIY wood shelves line one wall but don’t take up precious floor space. A durable sisal rug designates the area as an entry. I didn’t want the door to stand out in the living room so I painted it the same white as the trim.
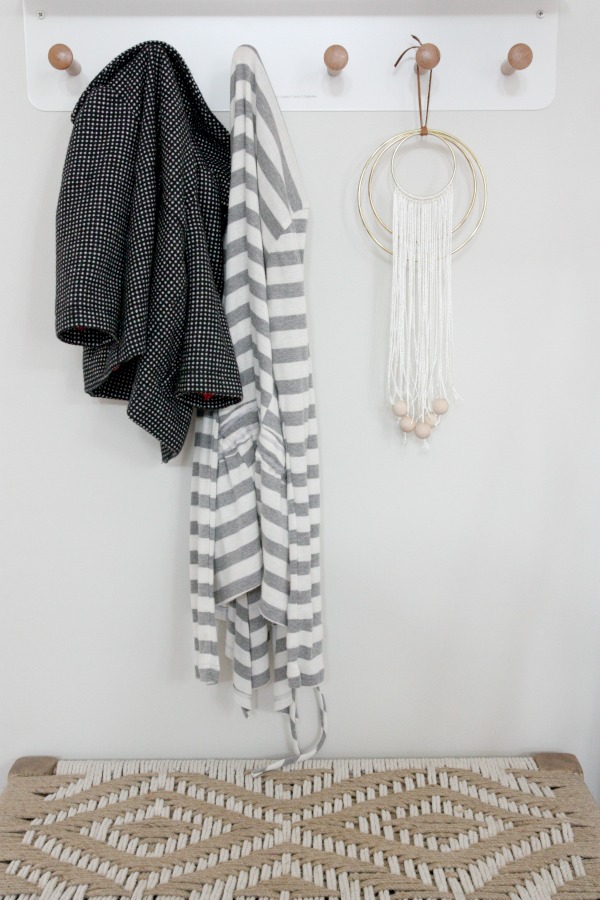
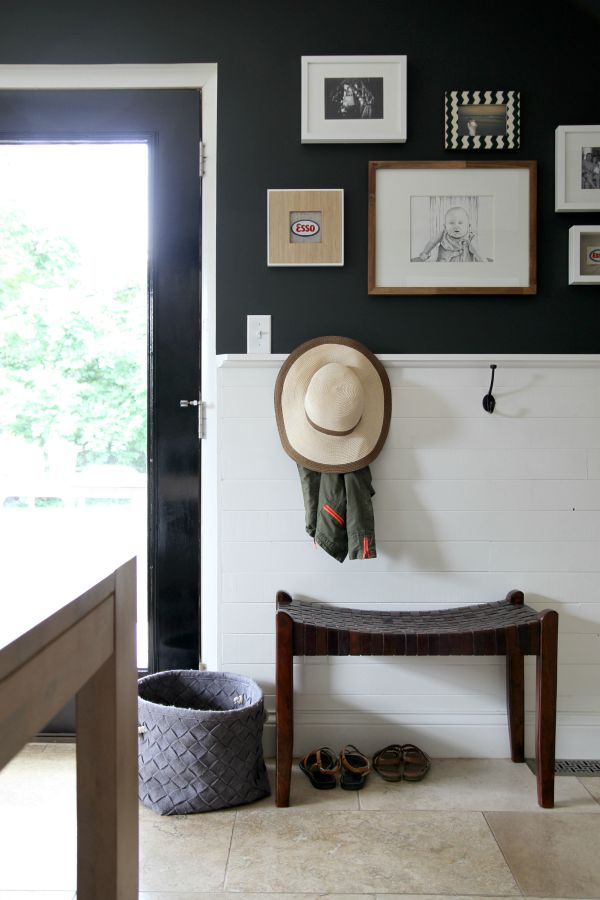
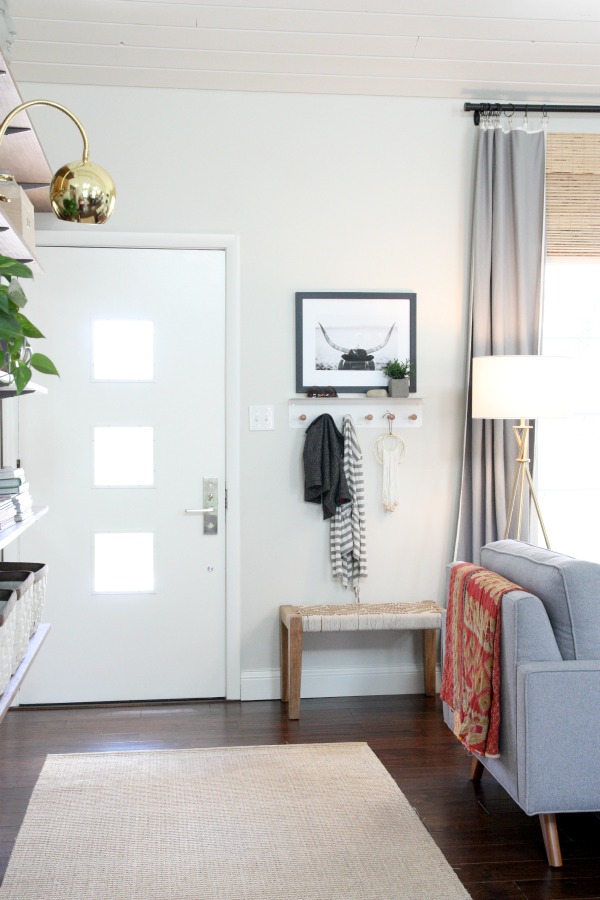
A woven bench, petite in size, sits next to the door. It’s the perfect spot for slipping shoes on or off. It also comes in handy for boxed deliveries. The design is simple but the woven top is a nod to patterns and textures found elsewhere in our home. The wooden knobs provide a place for jackets and bags. I keep a sweater wrap here to throw on on chilly mornings. The hanging brass and string art is a fun touch.
I should point out that we typically enter our home through the mudroom at the back of the house. We keep outerwear, backpacks, shoes and other outdoor gear in there. This setup by the front door is mainly for guests or quick trips outside to grab the mail or get a kid on / off the bus.

The great thing about the coat hooks is that they have a built-in shelf which is ideal for stashing a pair of sunglasses, a set of keys or incoming mail. I couldn’t help displaying a rock Mabrey gave me and some live greenery. A framed photography print picks up on an antler theme that runs throughout the house.
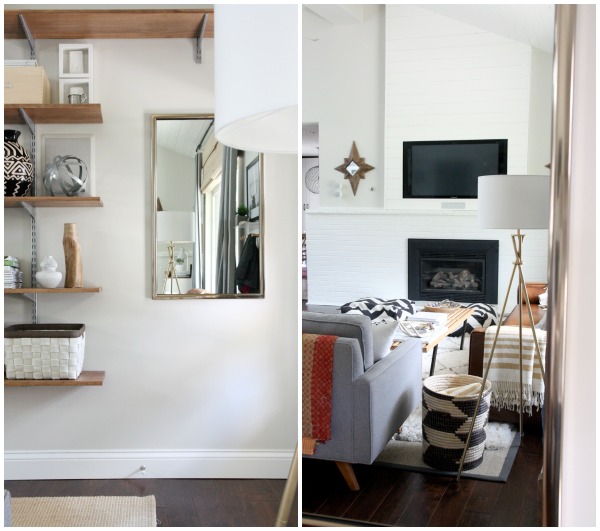
A major drawback to the original entry was that it was extremely dark. Removing light-filtering screens from the trio of windows in the door let light pour in and I hung a mirror to reflect the natural light even more. It’s nice for quick once-overs, too, before heading out or answering the doorbell. I love looking into the mirror and seeing our living room from a completely different perspective. It’s kind of amusing to see our open kitchen-living space flipped around! (Sorry, I’m a visual nerd.)
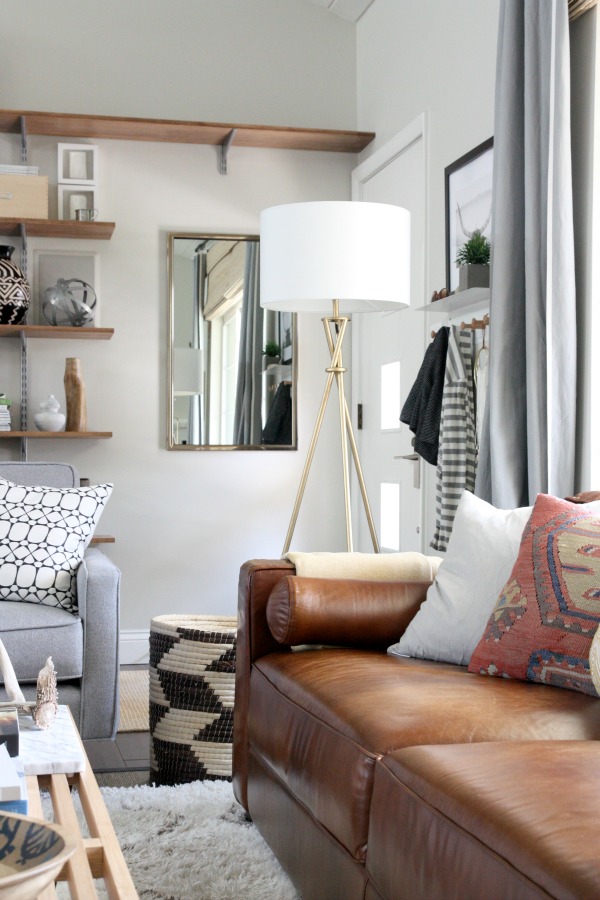
The gold frame of the mirror ties in with other brass and gold elements in the room. My goal was to make the entry function with style but I didn’t want it to be a focal point. I kinda just wanted it to fall to the background.
I hope you enjoyed the tours of our little entry! It’s nothing to write home about but it works for us. Here are a few tips to keep in mind when decorating a nearly nonexistent entryway:
*Optimize floor space. Keep as much furniture up off the ground as possible to provide a clear path for traffic.
*Create a dropzone. A modest bench, some coat hooks and a shallow wall shelf do the trick!
*Less is more. Don’t go overboard with the decorating. One really good art piece is sufficient. Do add personality with one or two meaningful objects that you’ve made or found.
*Hang a mirror. It doesn’t have to be huge. A dainty round mirror suspended from a leather strap achieves the same effect as a larger, framed mirror. They both bounce around light and provide a spot for checkin’ yourself out.
*Blend well. If your “entry” is part of a larger space, decor choices should jive with the rest of the room. Repeat materials found elsewhere in the room.
Sources:
door – original, vintage
door paint – Benjamin Moore White Dove in semi-gloss
entryset – Emtek*
framed print – Minted*
wall hooks – West Elm
small concrete planter – JoAnn’s
brass and string art – DIY
bench – Target
mirror – Wayfair*
*This post was sponsored in part by Wayfair, Minted and Emtek. Items marked with an asterisk were chosen by me and kindly donated by these companies. All opinions and images are my own. See more of my entry over on Wayfair. Thank you for supporting the brands that support this blog!
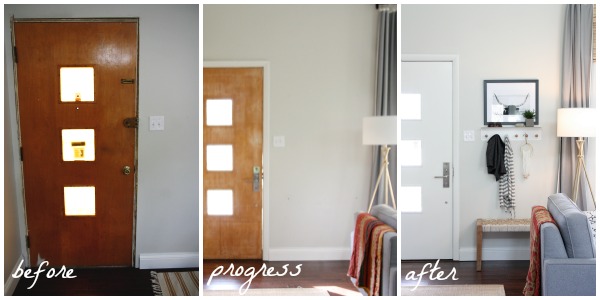
For fun, a little before-and-after action…
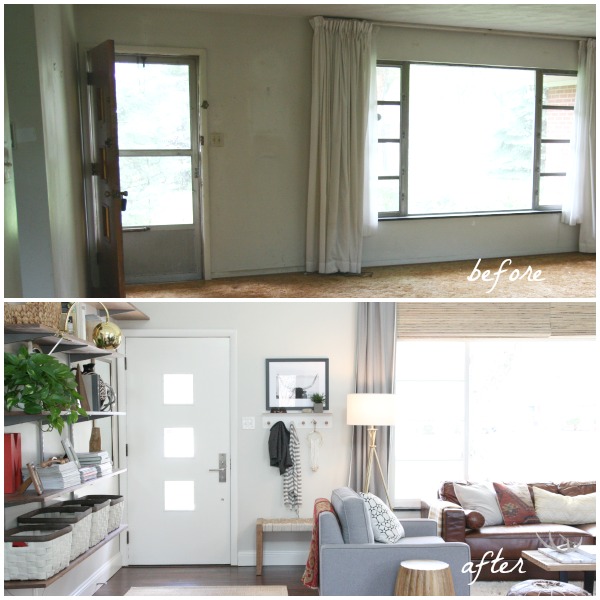
The top photo was taken the day we closed on the house. Really, any “after” would look amazing compared to that!
images: Dana Miller for House*Tweaking


budget decor, DIY, renovation