
So something funny happened. I used to strongly dislike cooking, but now I don’t. I still wouldn’t call it my passion (there are no plans for Food*Tweaking, ha!) but sometimes I actually find myself enjoying it.
What happened? I’m not exactly sure, but it didn’t happen overnight. I think a few things came in to play. I have more time to cook now that I stay at / work from home. My kids have become little foodies, critiquing my skills and offering to help out with meal prep. When I went dairy free, out of desperation I tried new recipes and ingredients and it exposed me to a whole new world of cooking. FYI – We aren’t completely dairy free anymore, but I haven’t bought cow’s milk in years. Now, Steve eats a mostly paleo diet and I try to accommodate him when I can.
I’ve also been using Blue Apron regularly for almost a year after our friends recommended the service. It’s helped me get out of the dinner rut of spaghetti and tacos – both of which I love but they aren’t very adventurous. I’m giddy every time the refrigerated box of fresh ingredients shows up at my doorstep. Especially when it’s the FIFTH snow day in a row and we’re low on food and I have no desire to brave the cold for groceries. I really like the new family plan which feeds our family of two adults + three children and then some. The new family meals are meant to be served family-style and are more affordable.
I’m so grateful for recipes shared online that I started sprinkling my favorite quick & easy go-tos in with other home-related content on the blog. Obviously, that forced me to take photos of food. All of a sudden cooking became yet another fun, creative outlet when viewed through my camera lens. *BONUS* – I get to eat the subject matter!
I’m definitely not a food styling expert by any means but I thought it might be fun to share a few of my food photography secrets. Kind of a behind-the-scenes look at recipe posts.
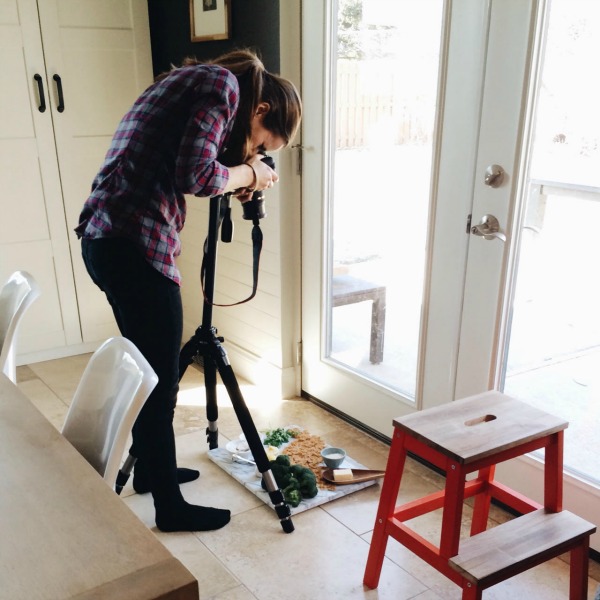
*I always photograph food in natural light. (But not always in black socks. No judgments! It was, like, -20°F!!) After some trial and error, I discovered that the best spot to shoot food in my house is on the floor just inside the french doors in our mudroom / dining room. The doors are north-facing and the bright, indirect light is perfect. Placing the food on some sort of backdrop on the floor makes it easy for me to get overhead shots. I’m not naming names because it isn’t my secret to tell but I know one highly regarded food blogger who styles and shoots food in her garage with the door partially raised because that’s where the best light is in her house. Whatever works! I also consider the mood of the dish when contemplating lighting. In general, for brighter, lighter foods I’ll shoot in the late morning on sunny days. For richer, more comforting foods, I’ll shoot on cloudy days or in the early evening.
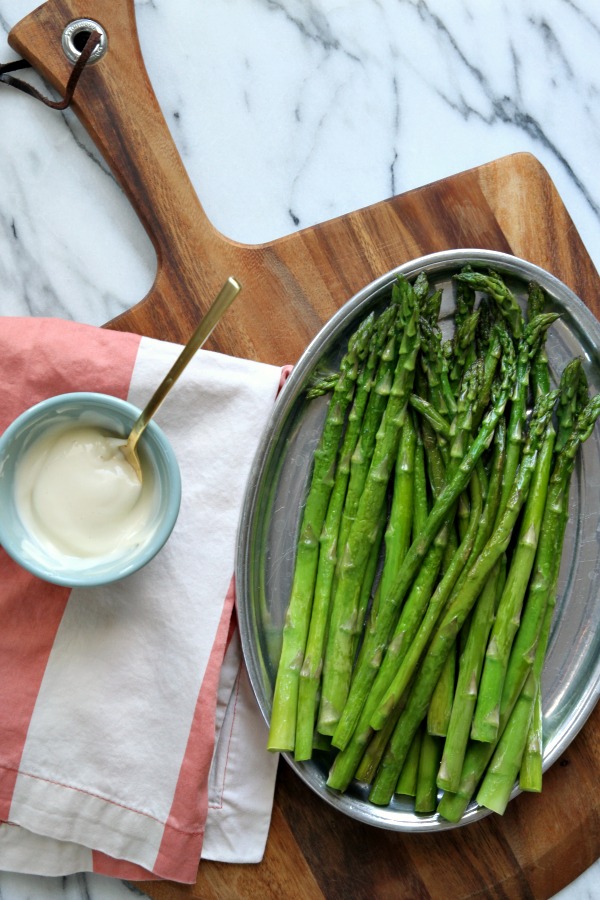
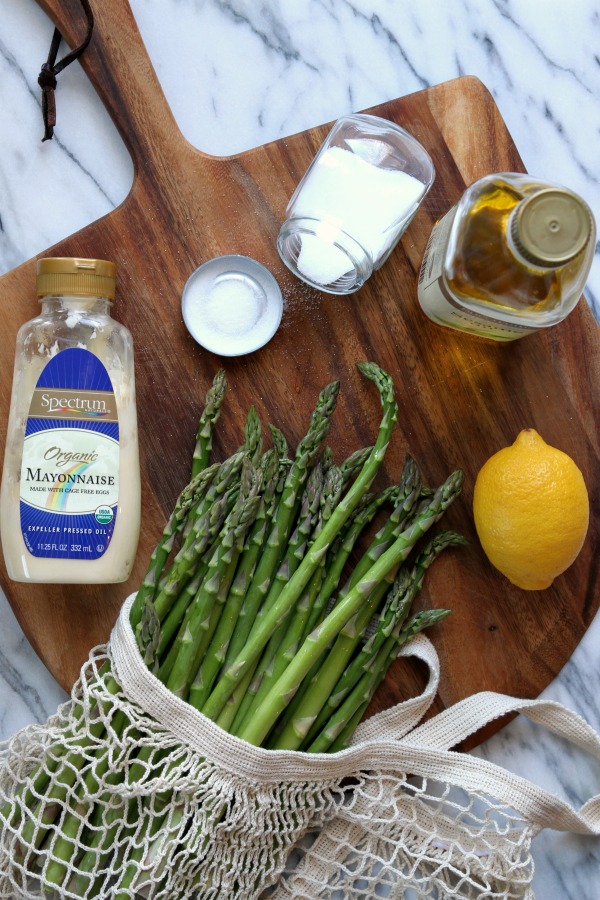
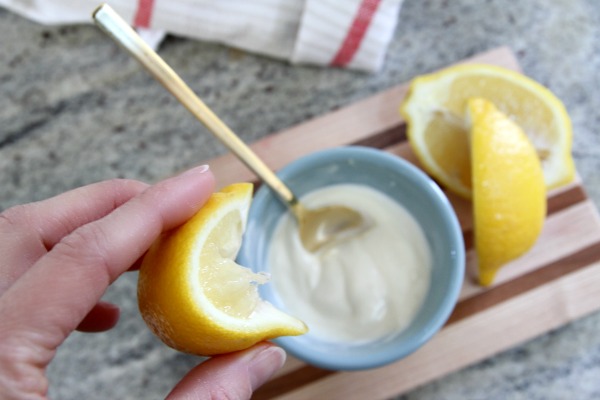
*I always consider composition. It’s almost like decorating a room but on a much smaller scale. Sorta like creating a mood board but with food. A food board? Instead of lining up all the ingredients, I’ll arrange them organically. I try to balance colors and textures within the frame. My goal is for it to look pretty but imperfect and real. I’ll cut lemon slices, peel garlic, “spill” a little salt or crumble cheese. A little mess is okay! I add practical props. Measuring spoons and small bowls work well. I’m itching to add more props to my bag o’ tricks because my current inventory is lacking.
*I leave out raw meat and raw fish if possible. The same with labels unless they’re particularly helpful. They just don’t look all that appealing to me.
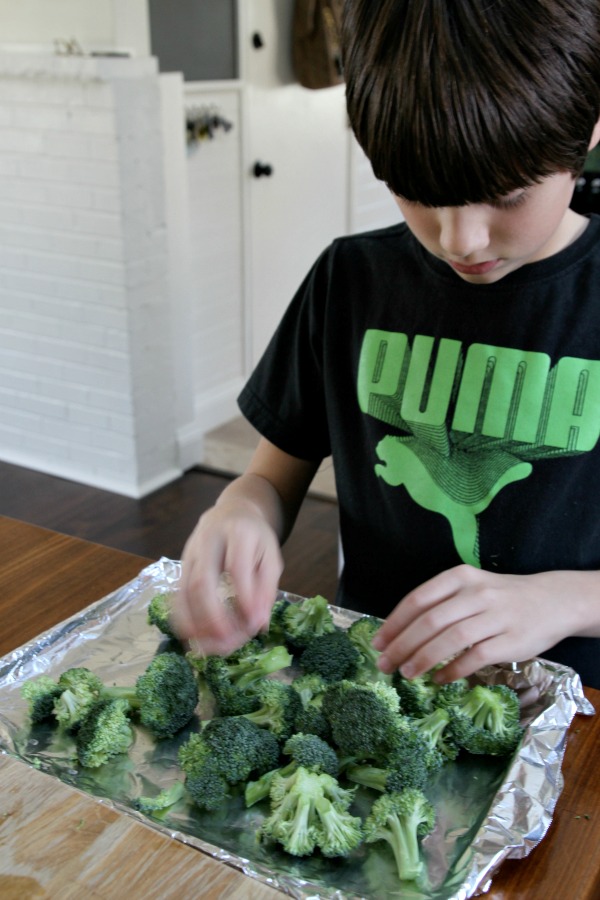
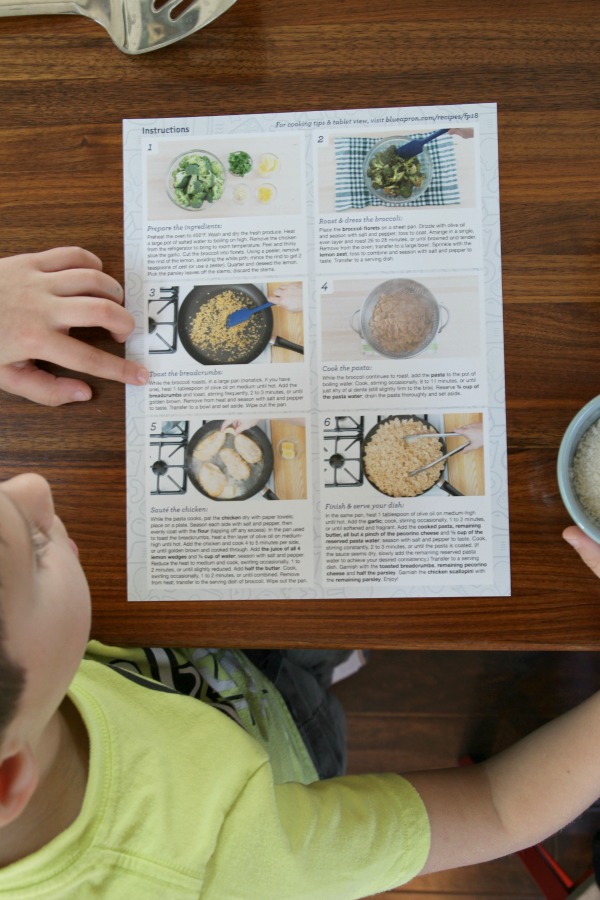
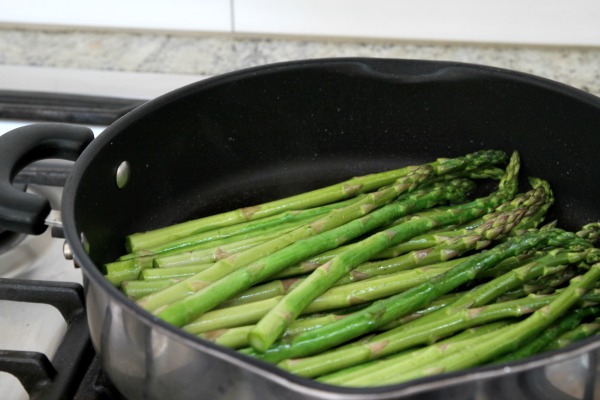
*I include one or two significant, in-progress shots. Again, I’m no chef and the recipes I share aren’t crazy complex so images of every step usually aren’t necessary. My kids really enjoy prepping so I’ll usually snap a few shots of them. (When we prepare a Blue Apron meal, Everett’s job is to read the instructions to me step-by-step. It knocks out his reading homework for the day. Win-win.) Needless to say, it’s difficult to supervise the kids, photograph and cook at the same time!
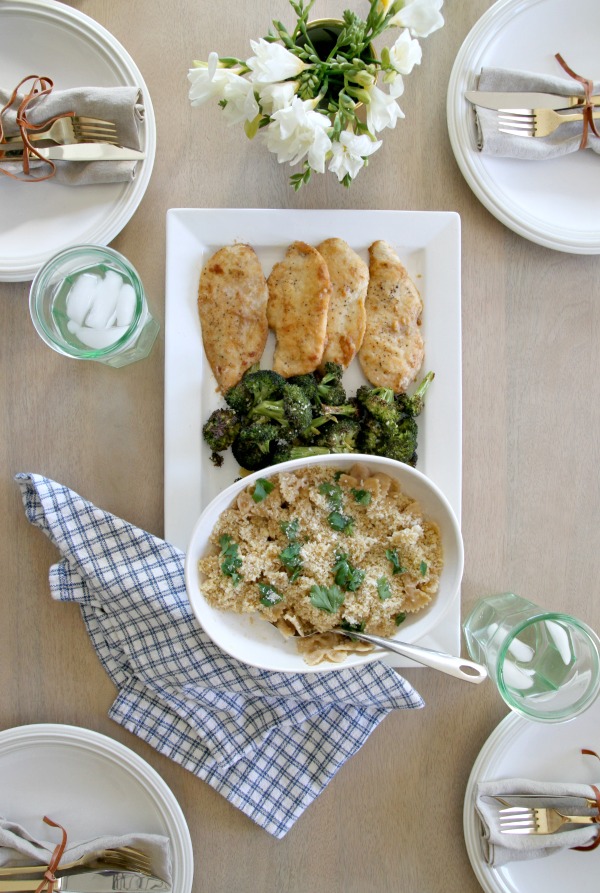
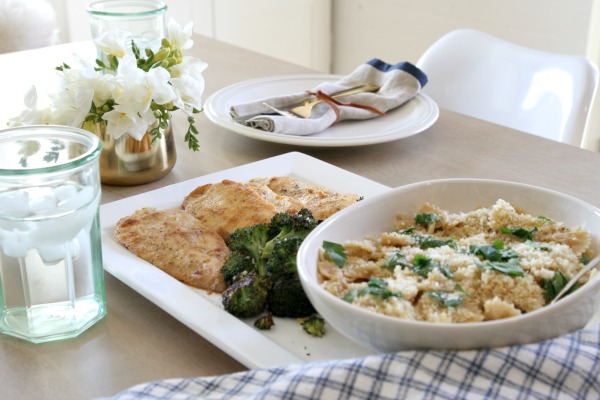
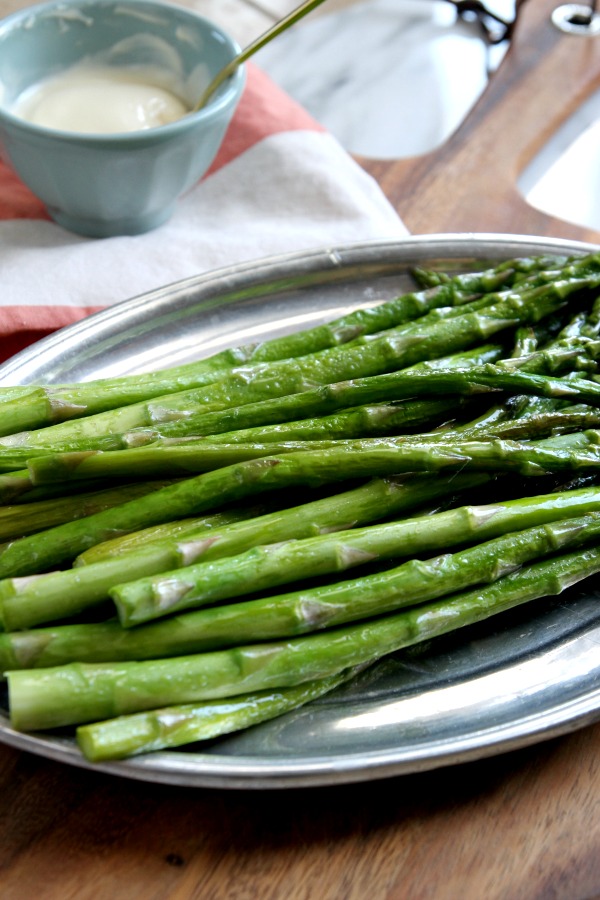
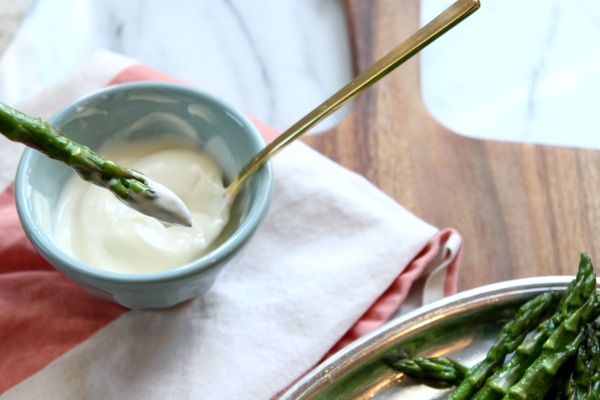
*I shoot several different angles of the finished product. That’s mostly for fun. I never know which angles are going to make the cut until I edit the photos. If the kids are cooperating, I’ll set the table quickly. If not, it might be just a few close-ups. If the dish is especially decadent, I like to include a half-eaten or empty plate, too. It’s a good “the end” image.
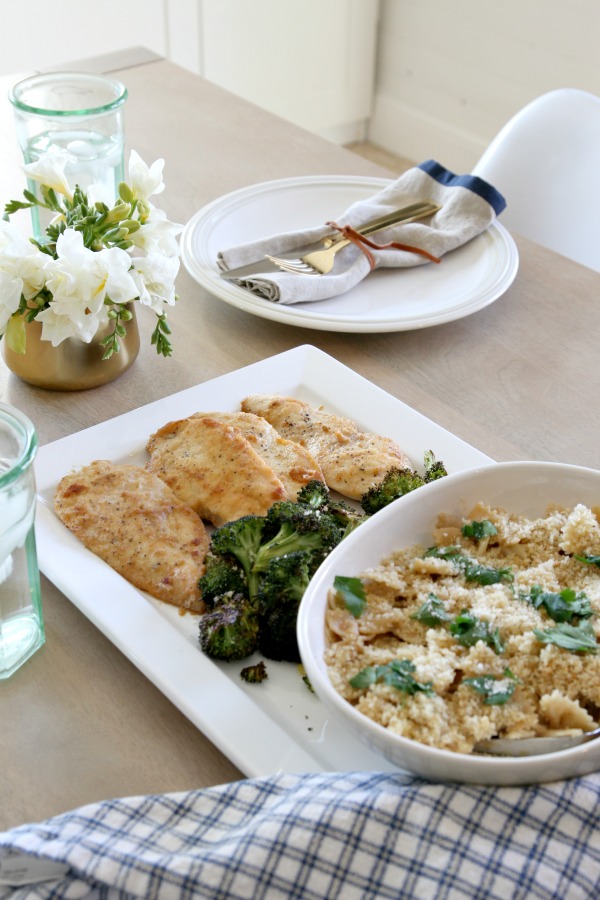
The recipe shown here is one of the new family meals offered by Blue Apron. It’s the chicken scallopini with roasted broccoli & whole wheat farfelle. Paleo Steve ate only the chicken (I left one breast free of flour) and broccoli. The kids and I loved it all! The roasted poblano chilaquiles with sunny side-up eggs and avocado sound pretty amazing, and the filipino-style beef picadillo with chayote squash & jasmine rice is a family favorite that I keep on standby.
If you have been wanting to try Blue Apron, now’s your chance. The first 100 readers will get two meals free-of-charge when they place their first order! Just click here. And, as always, shipping is free.
![]()
Do you have any tips for food styling or photography? Any great food stylists I should check out for inspiration? Were you surprised by the food on the floor in the mudroom? My black socks? Ha!
*This post sponsored in part by Blue Apron. Thank you for supporting the brands that support this blog.
P.S. – The evolution of my photography.
images: Dana Miller for House*Tweaking


DIY, family life, food, giveaway, kid-friendly