It’s Feature Friday! On Fridays, I’ll be featuring one room in my house in its current condition even if there are some things I’d like to change about it. If I do happen to improve something later, I can always revisit it when the time comes. Plus, I’d kinda feel dishonest if I only focused on “finished” rooms in my house. And if what they (the professionals) say is true, a room is never really finished anyways…you’re always tweaking it. Concentrating on just one room weekly should give me some time to tidy it up a bit, too. At least, I can throw all the toys into another room! So, without further ado, let’s tour my family room.
Last week, you saw my living room. It’s at the front of our home and you walk through it to get to the back of our house. At the back of our house is the main living area. It’s where we spend most of our time and it includes a family room, sunroom, dining area, pantry, kitchen, mini-mudroom and powder room. This week we’re gonna tour my family room but, not to worry, you’ll see the other rooms soon enough in future Feature Fridays. Let’s get started…
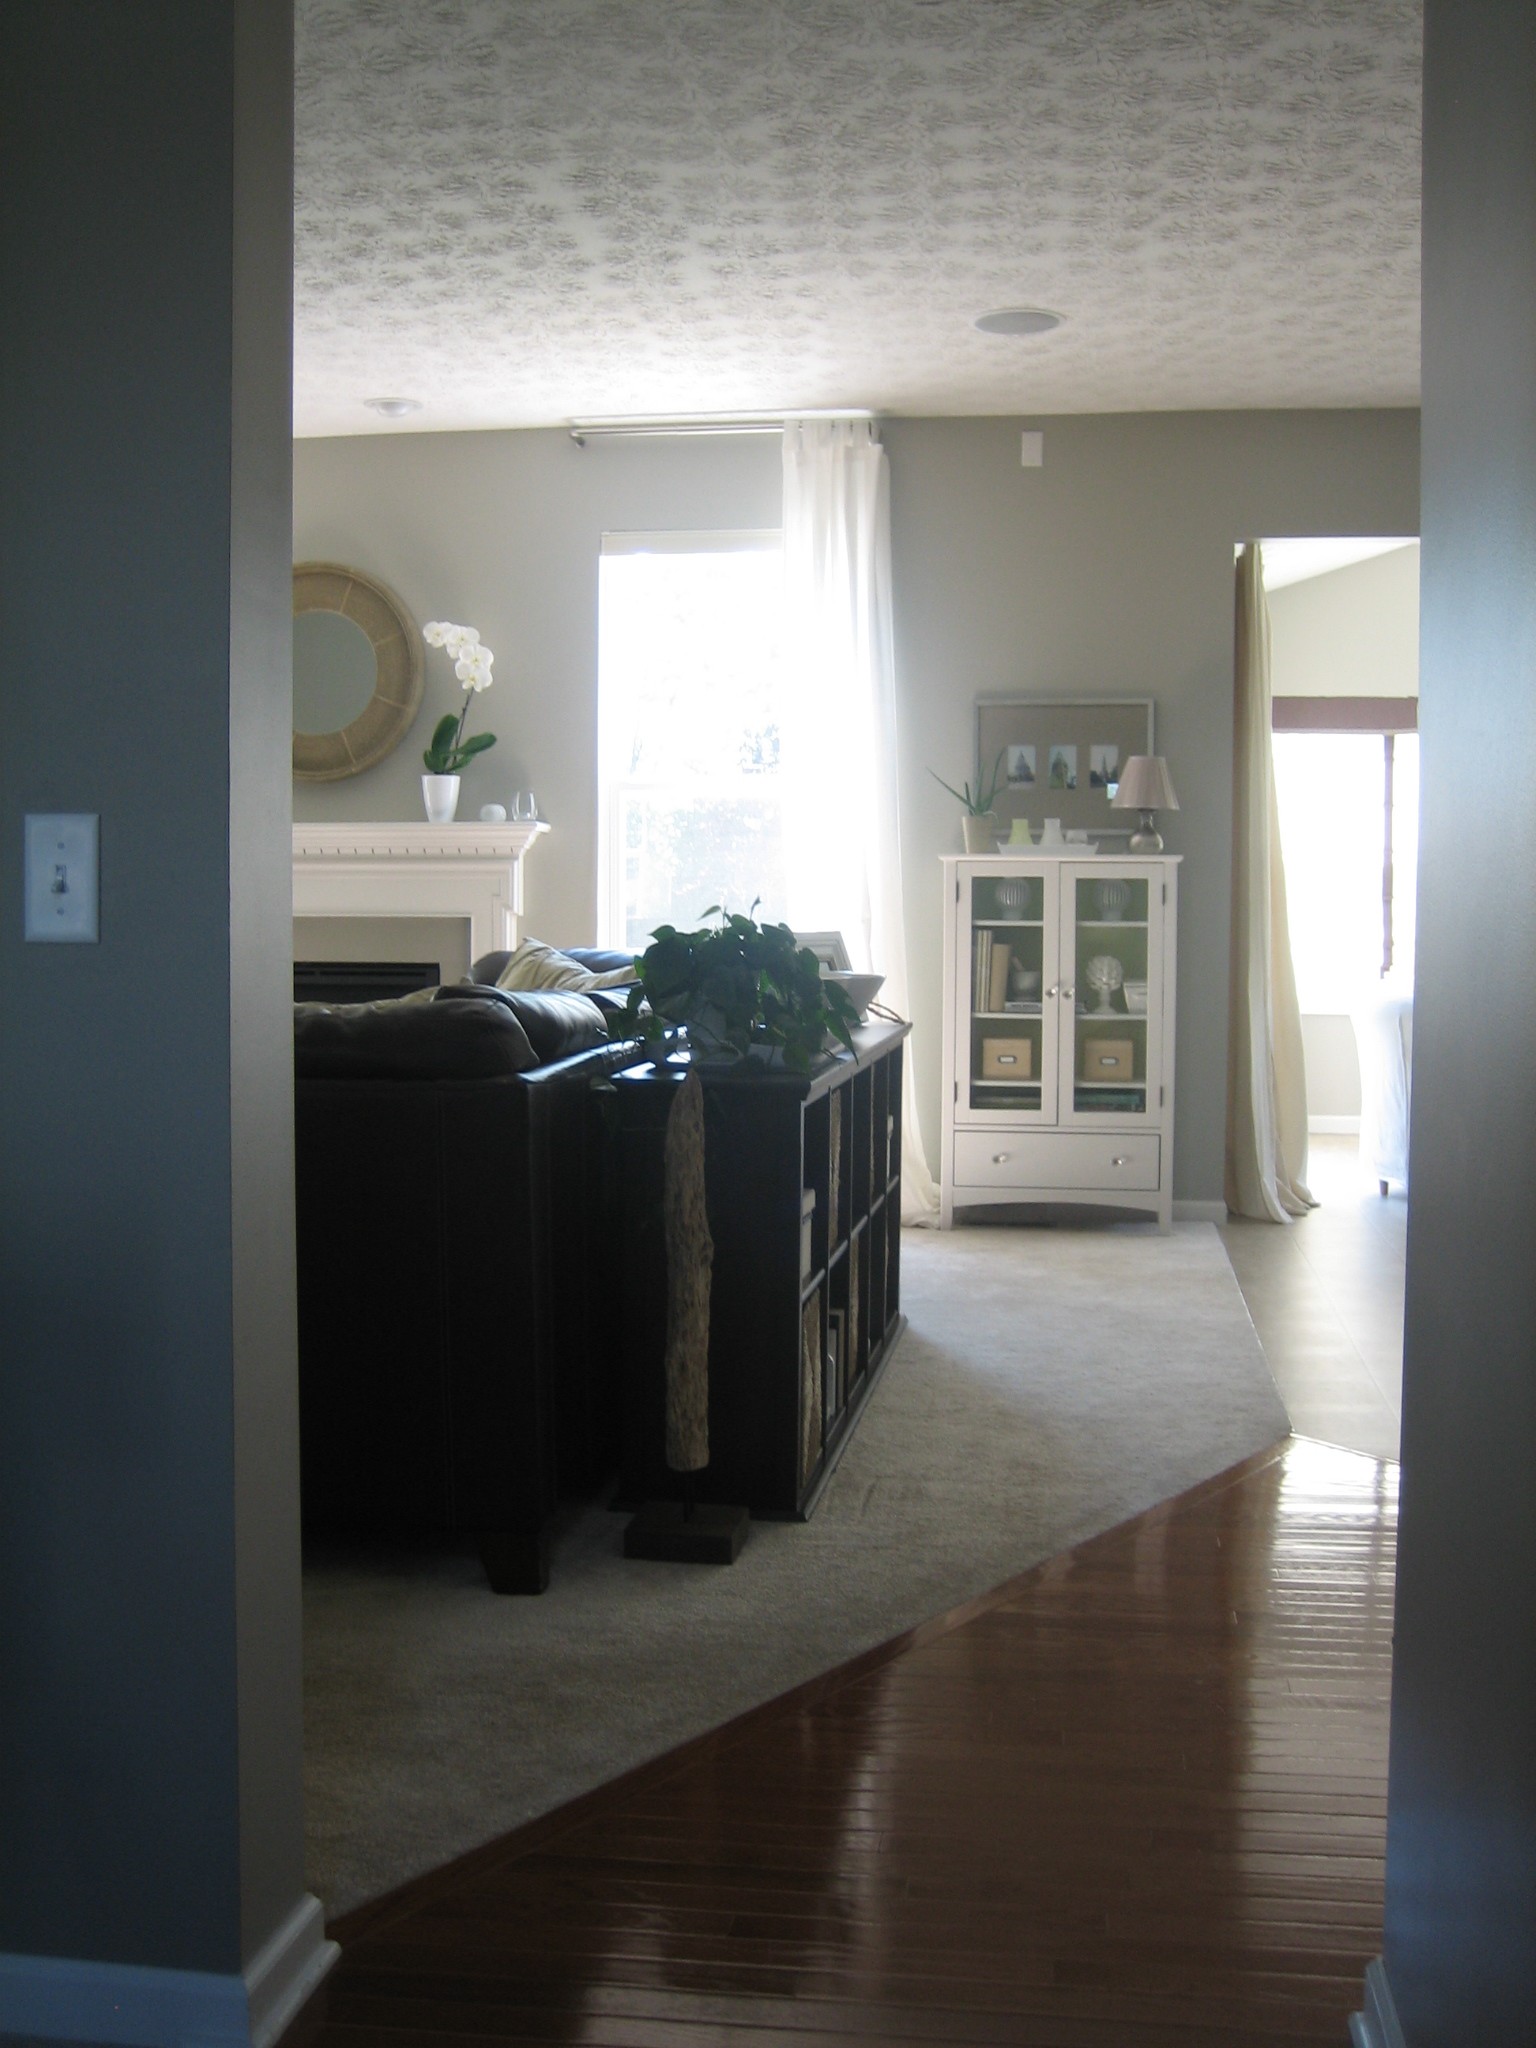
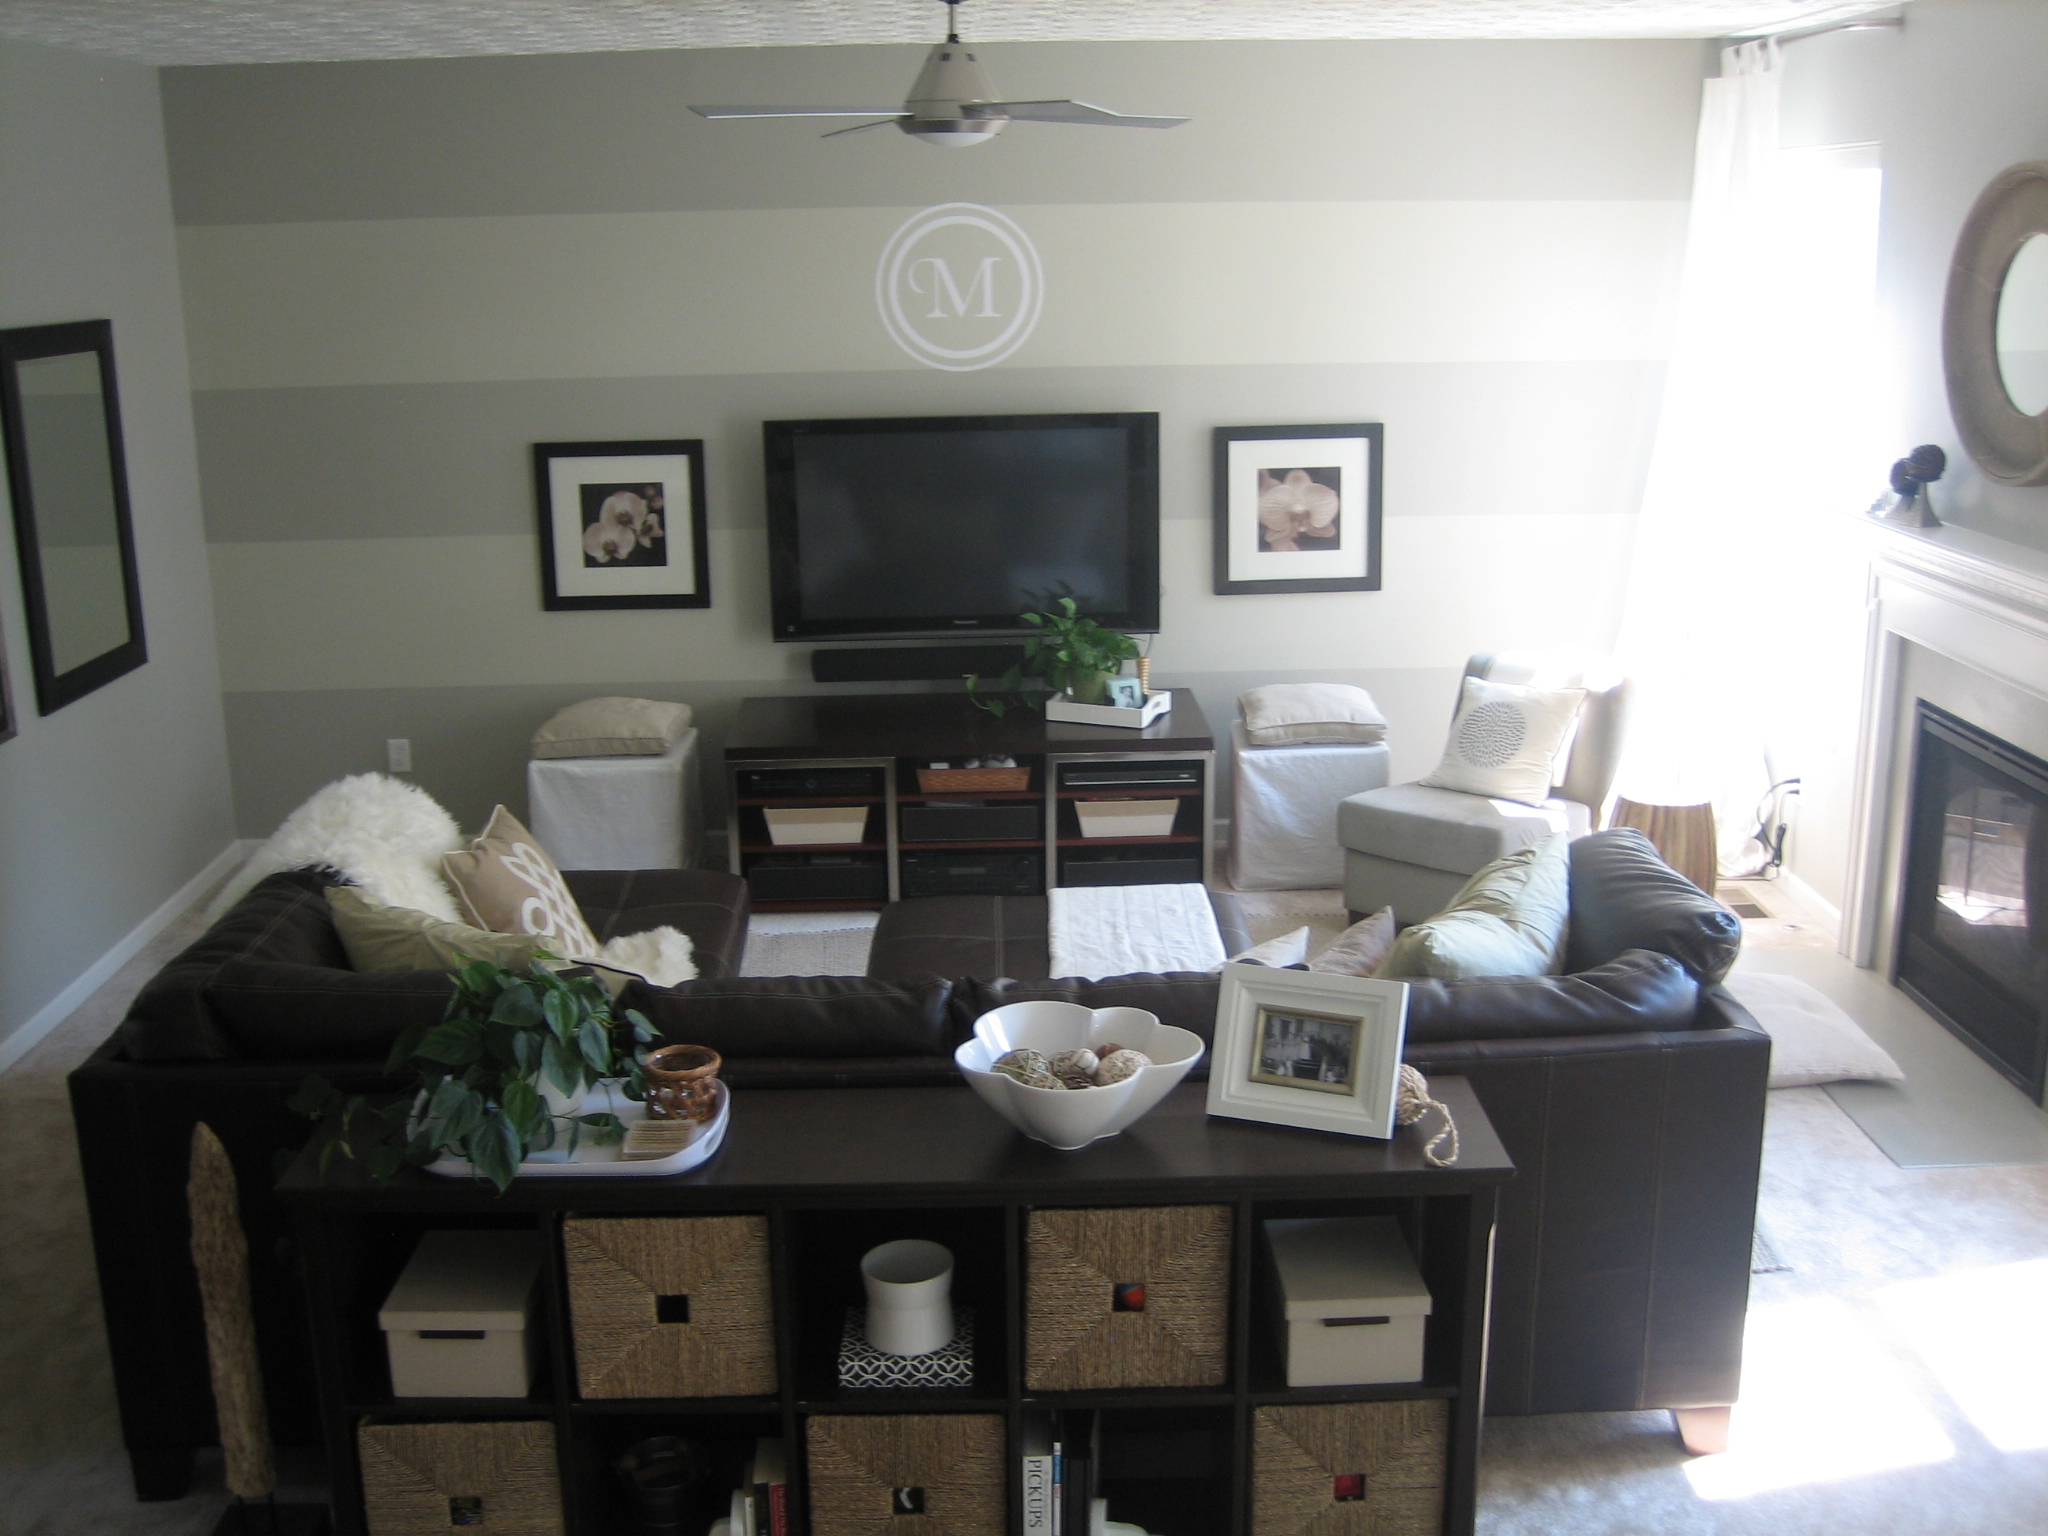
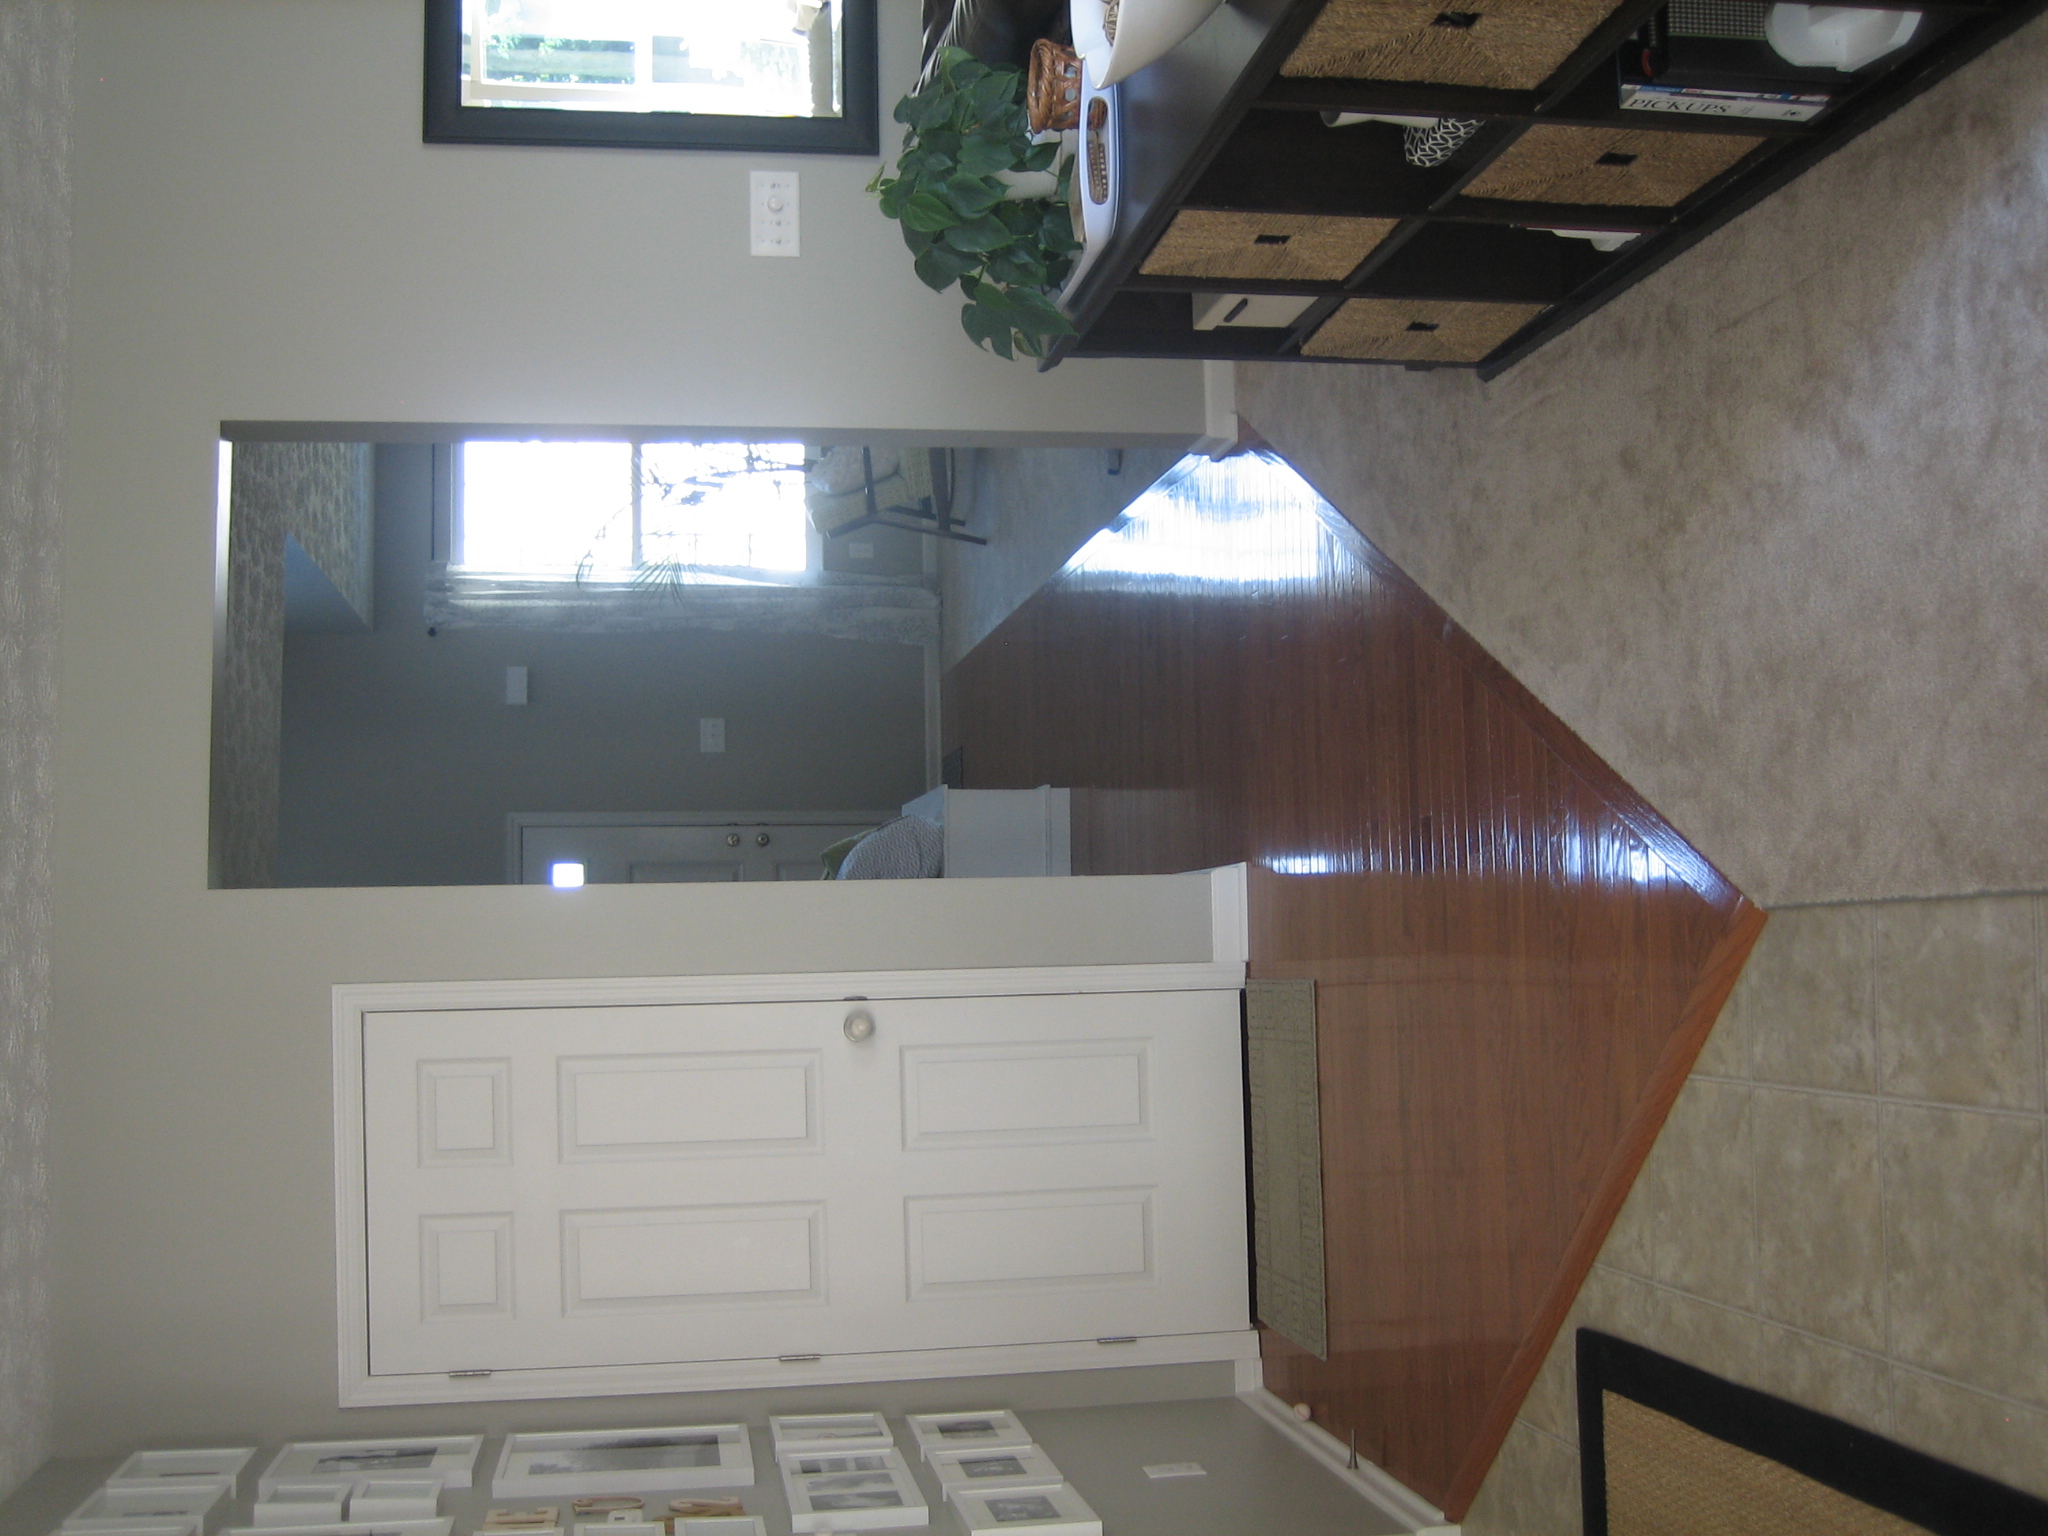
View of the family room walking in from the living room

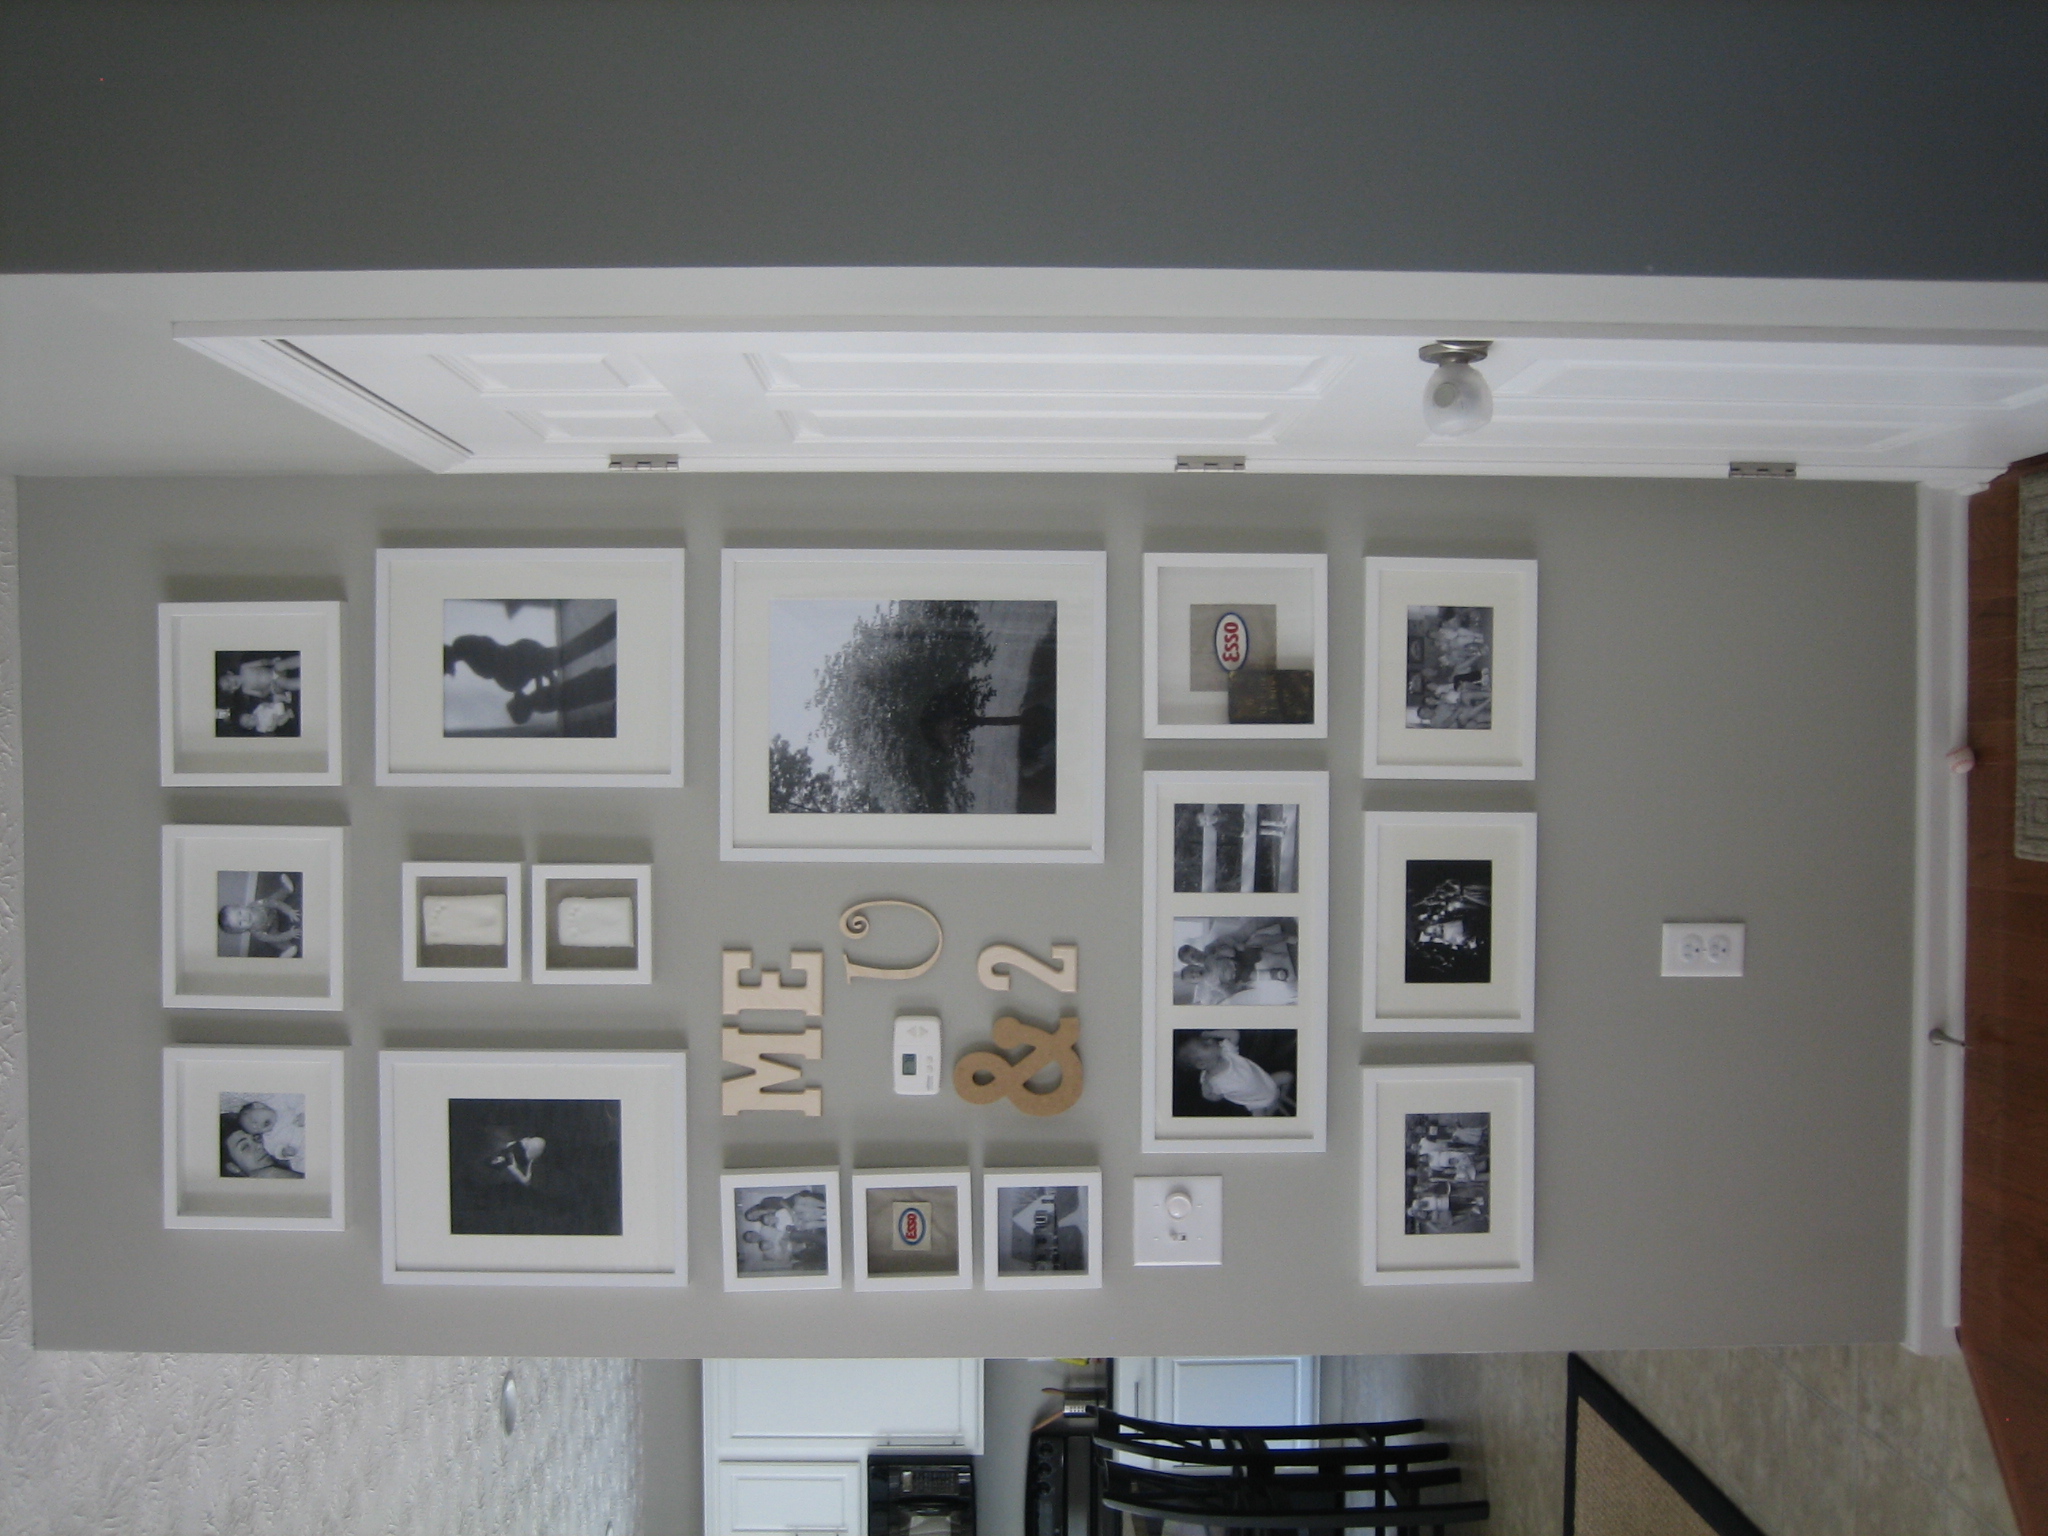
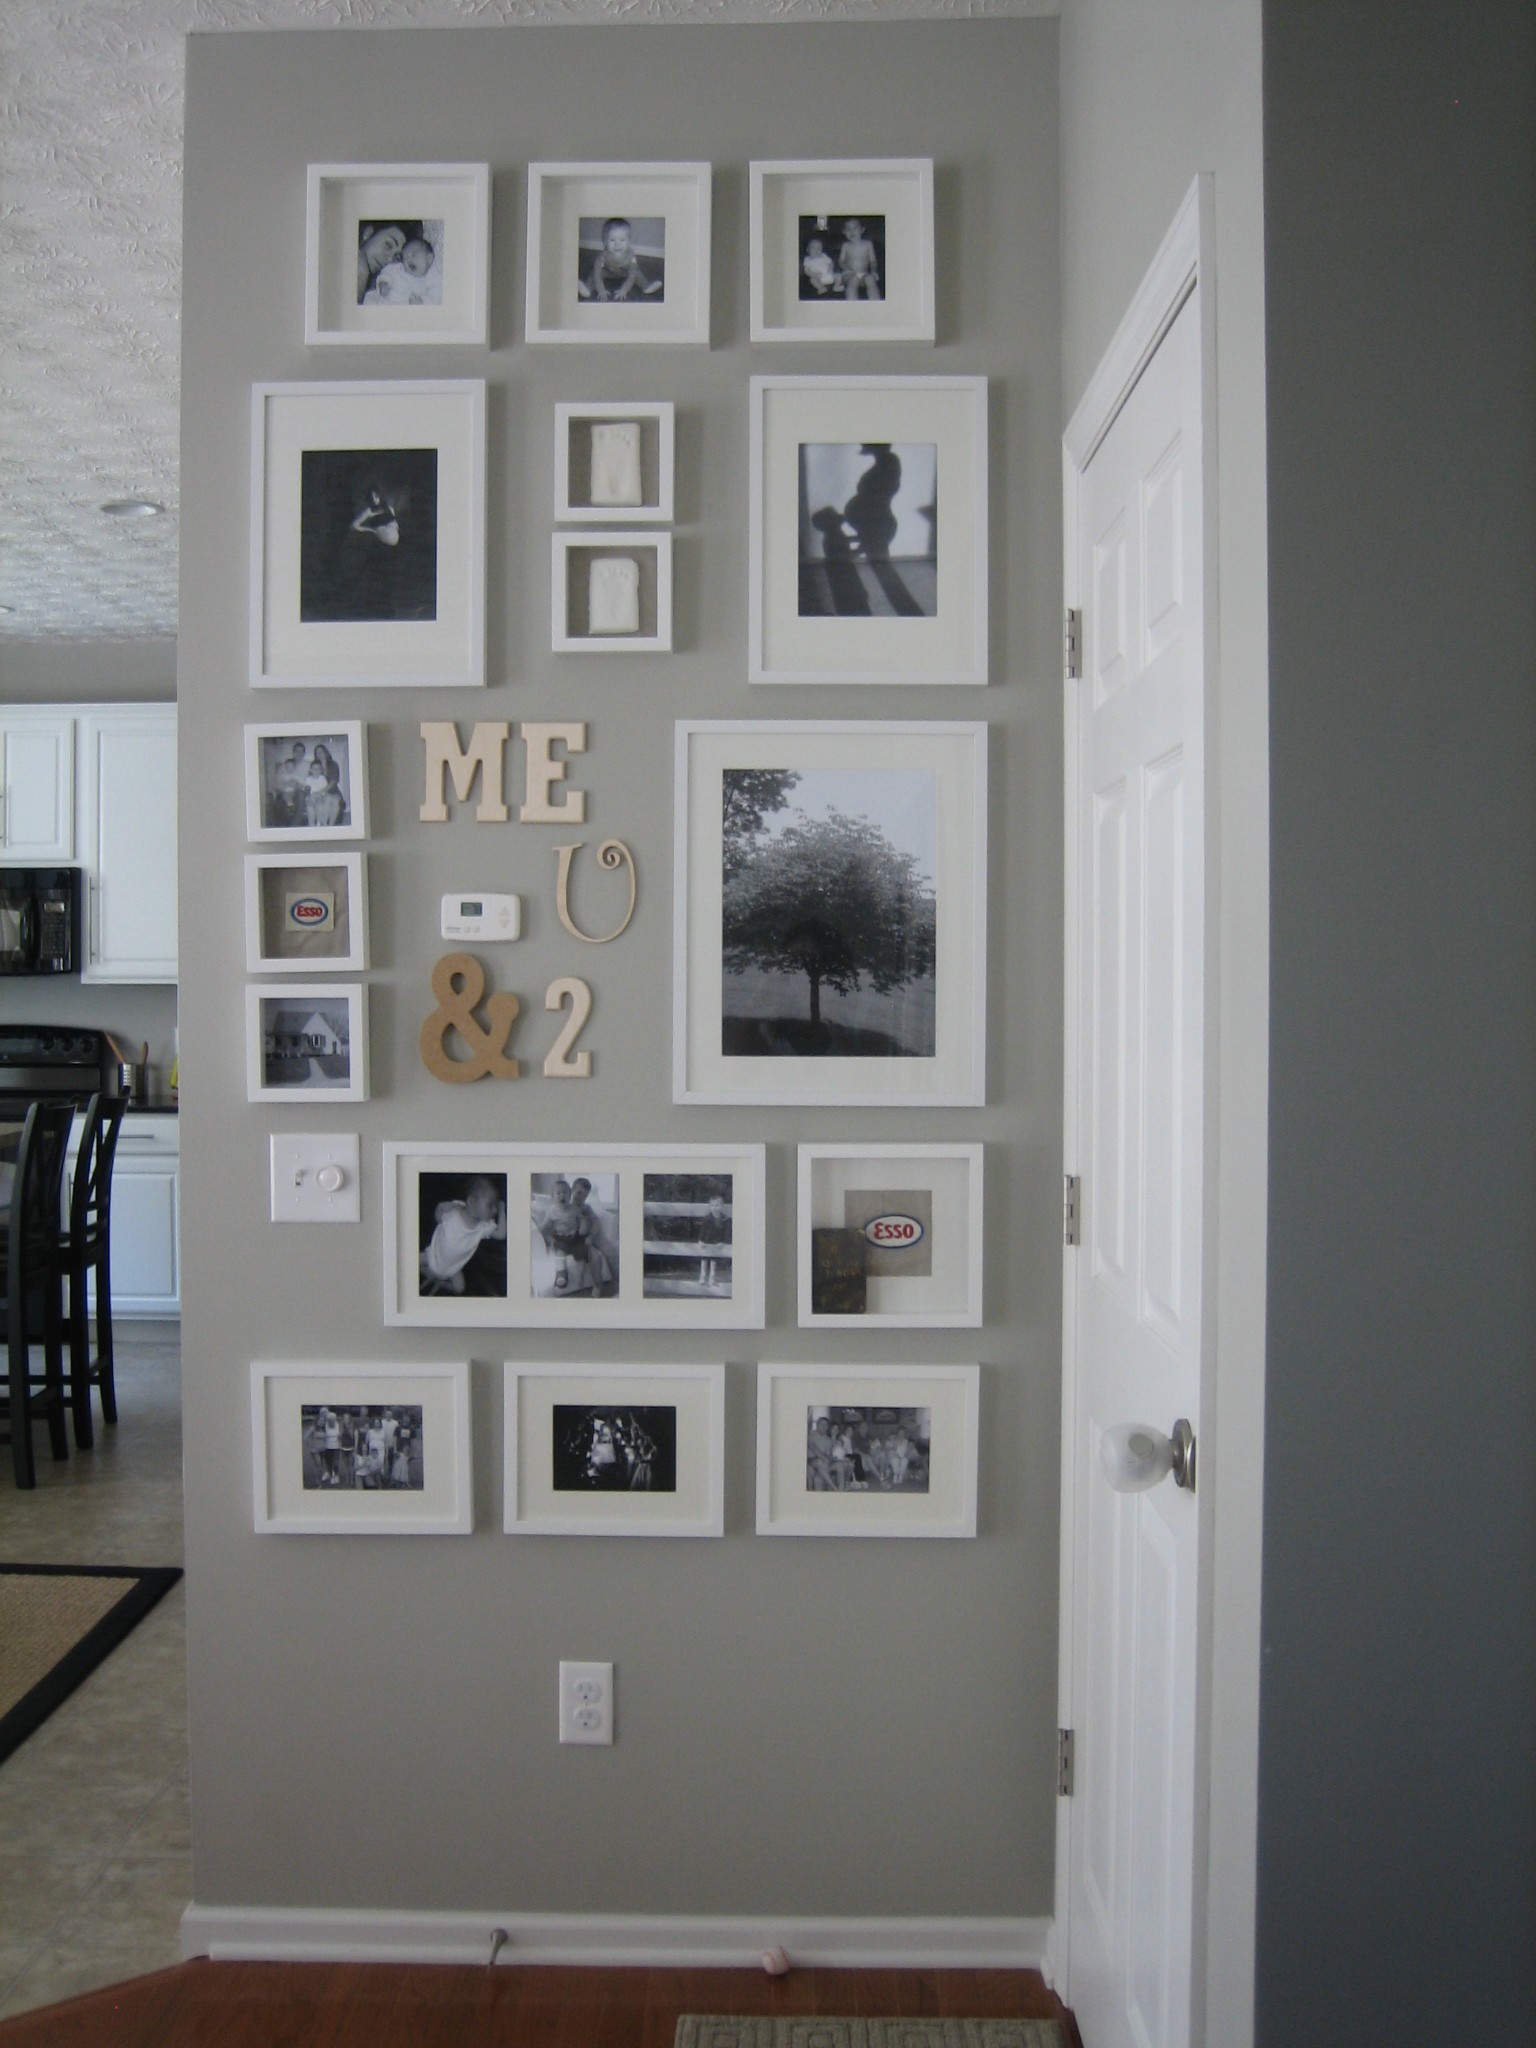
As you walk back further, our family photo wall is to your right. (The white door leads to our unfinished basement.)

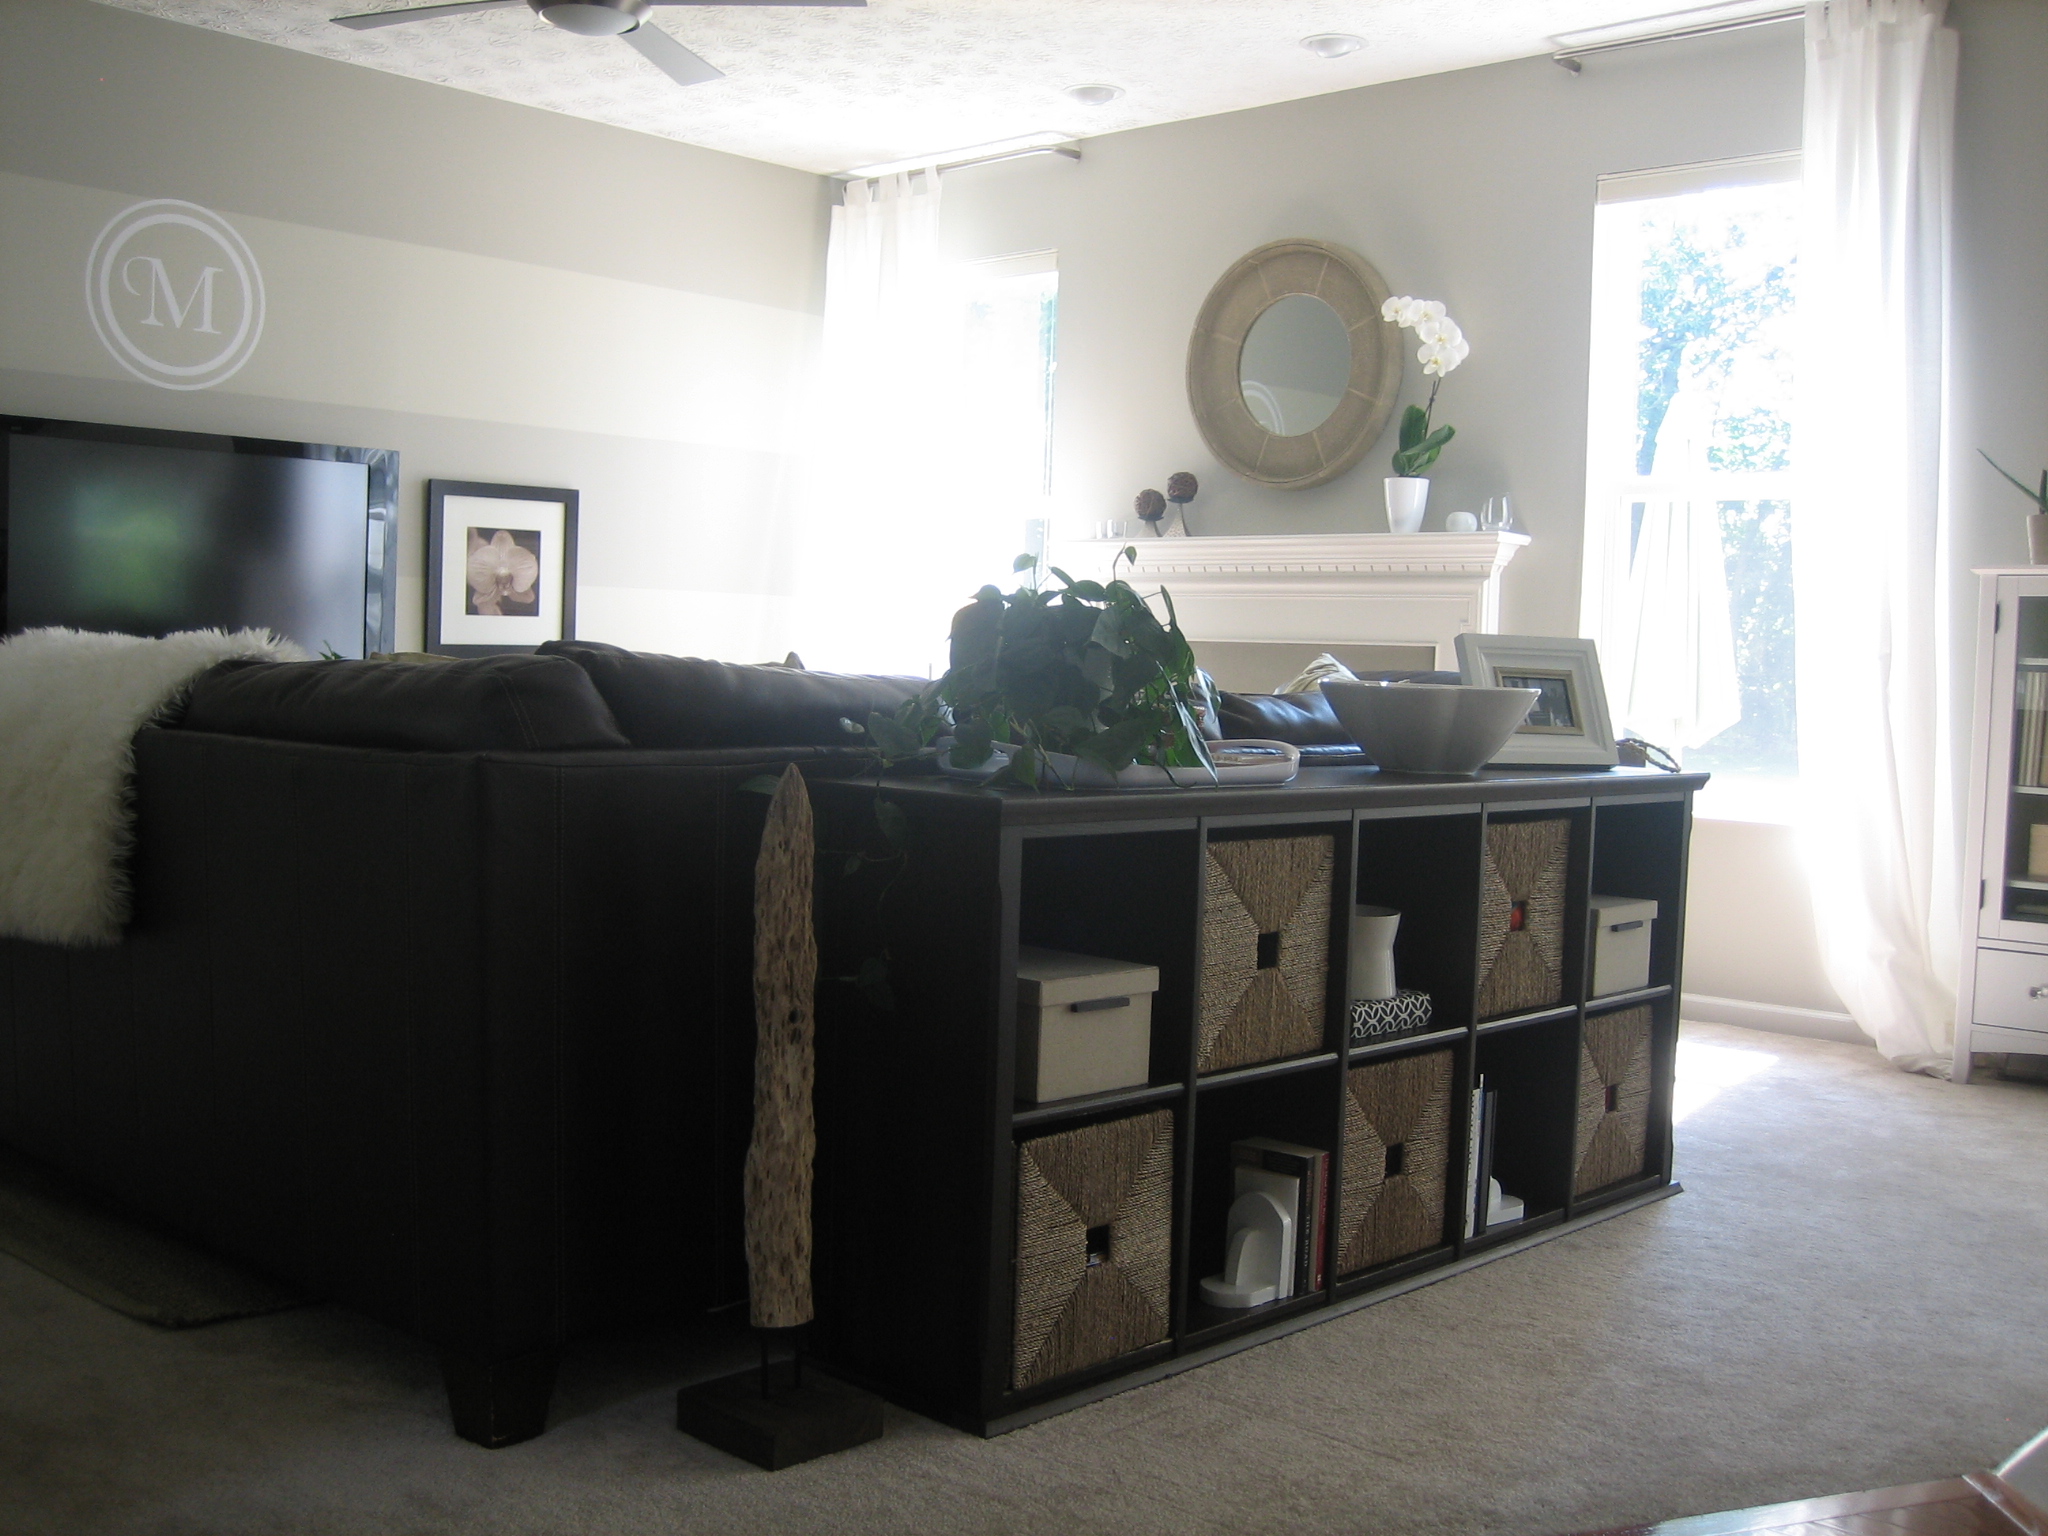
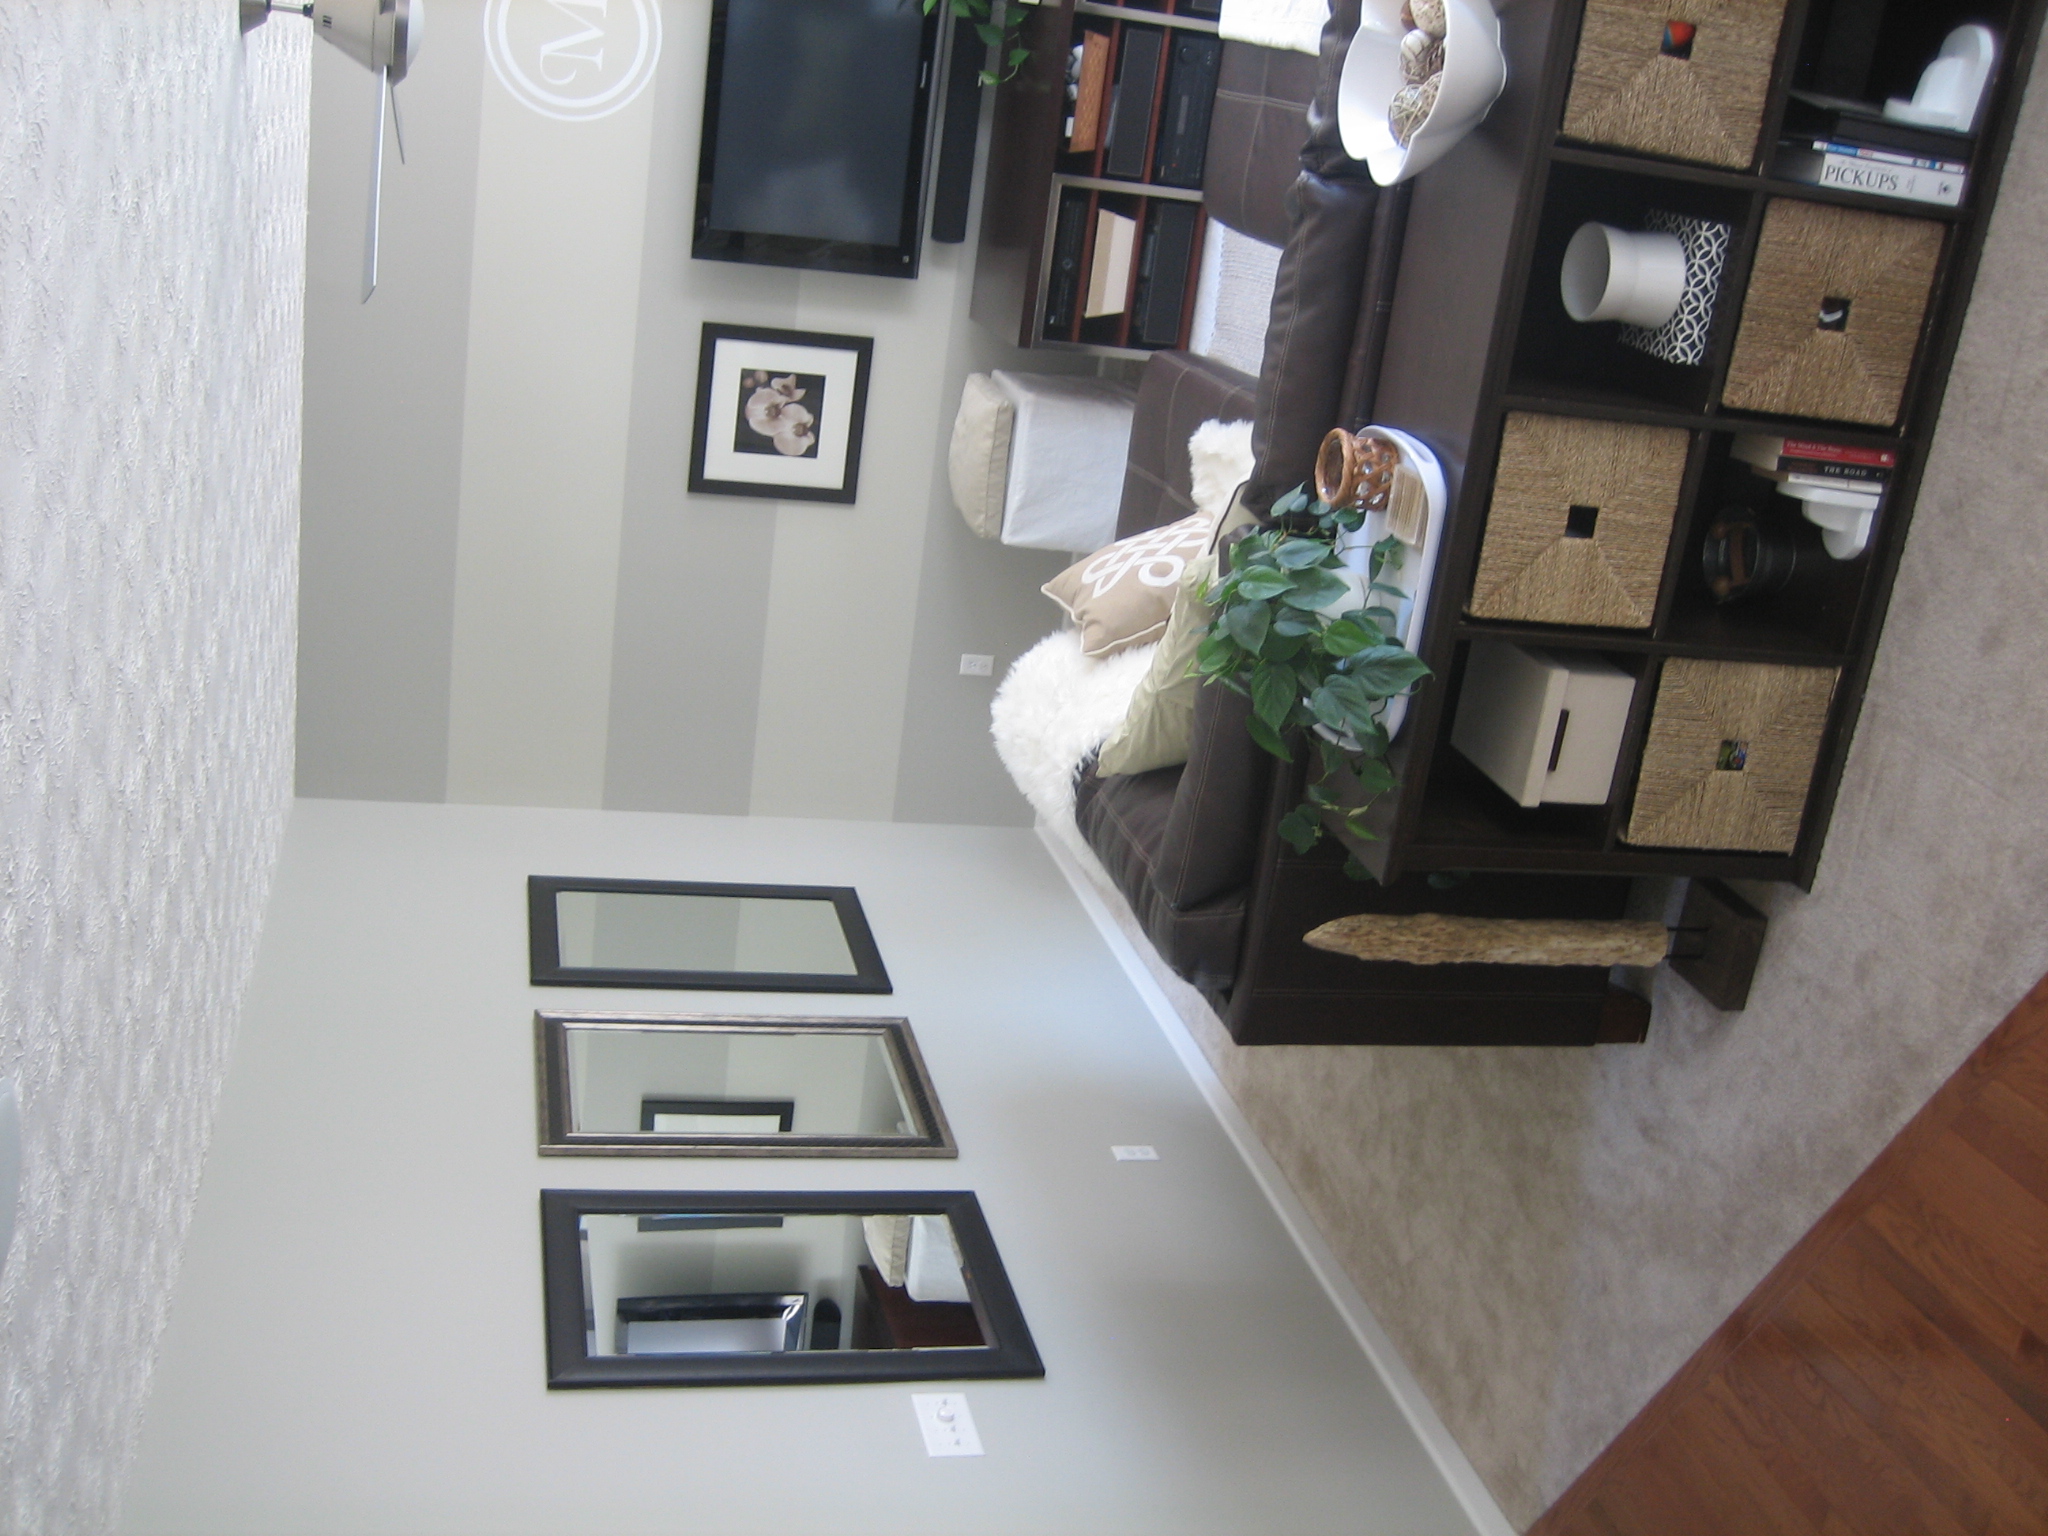
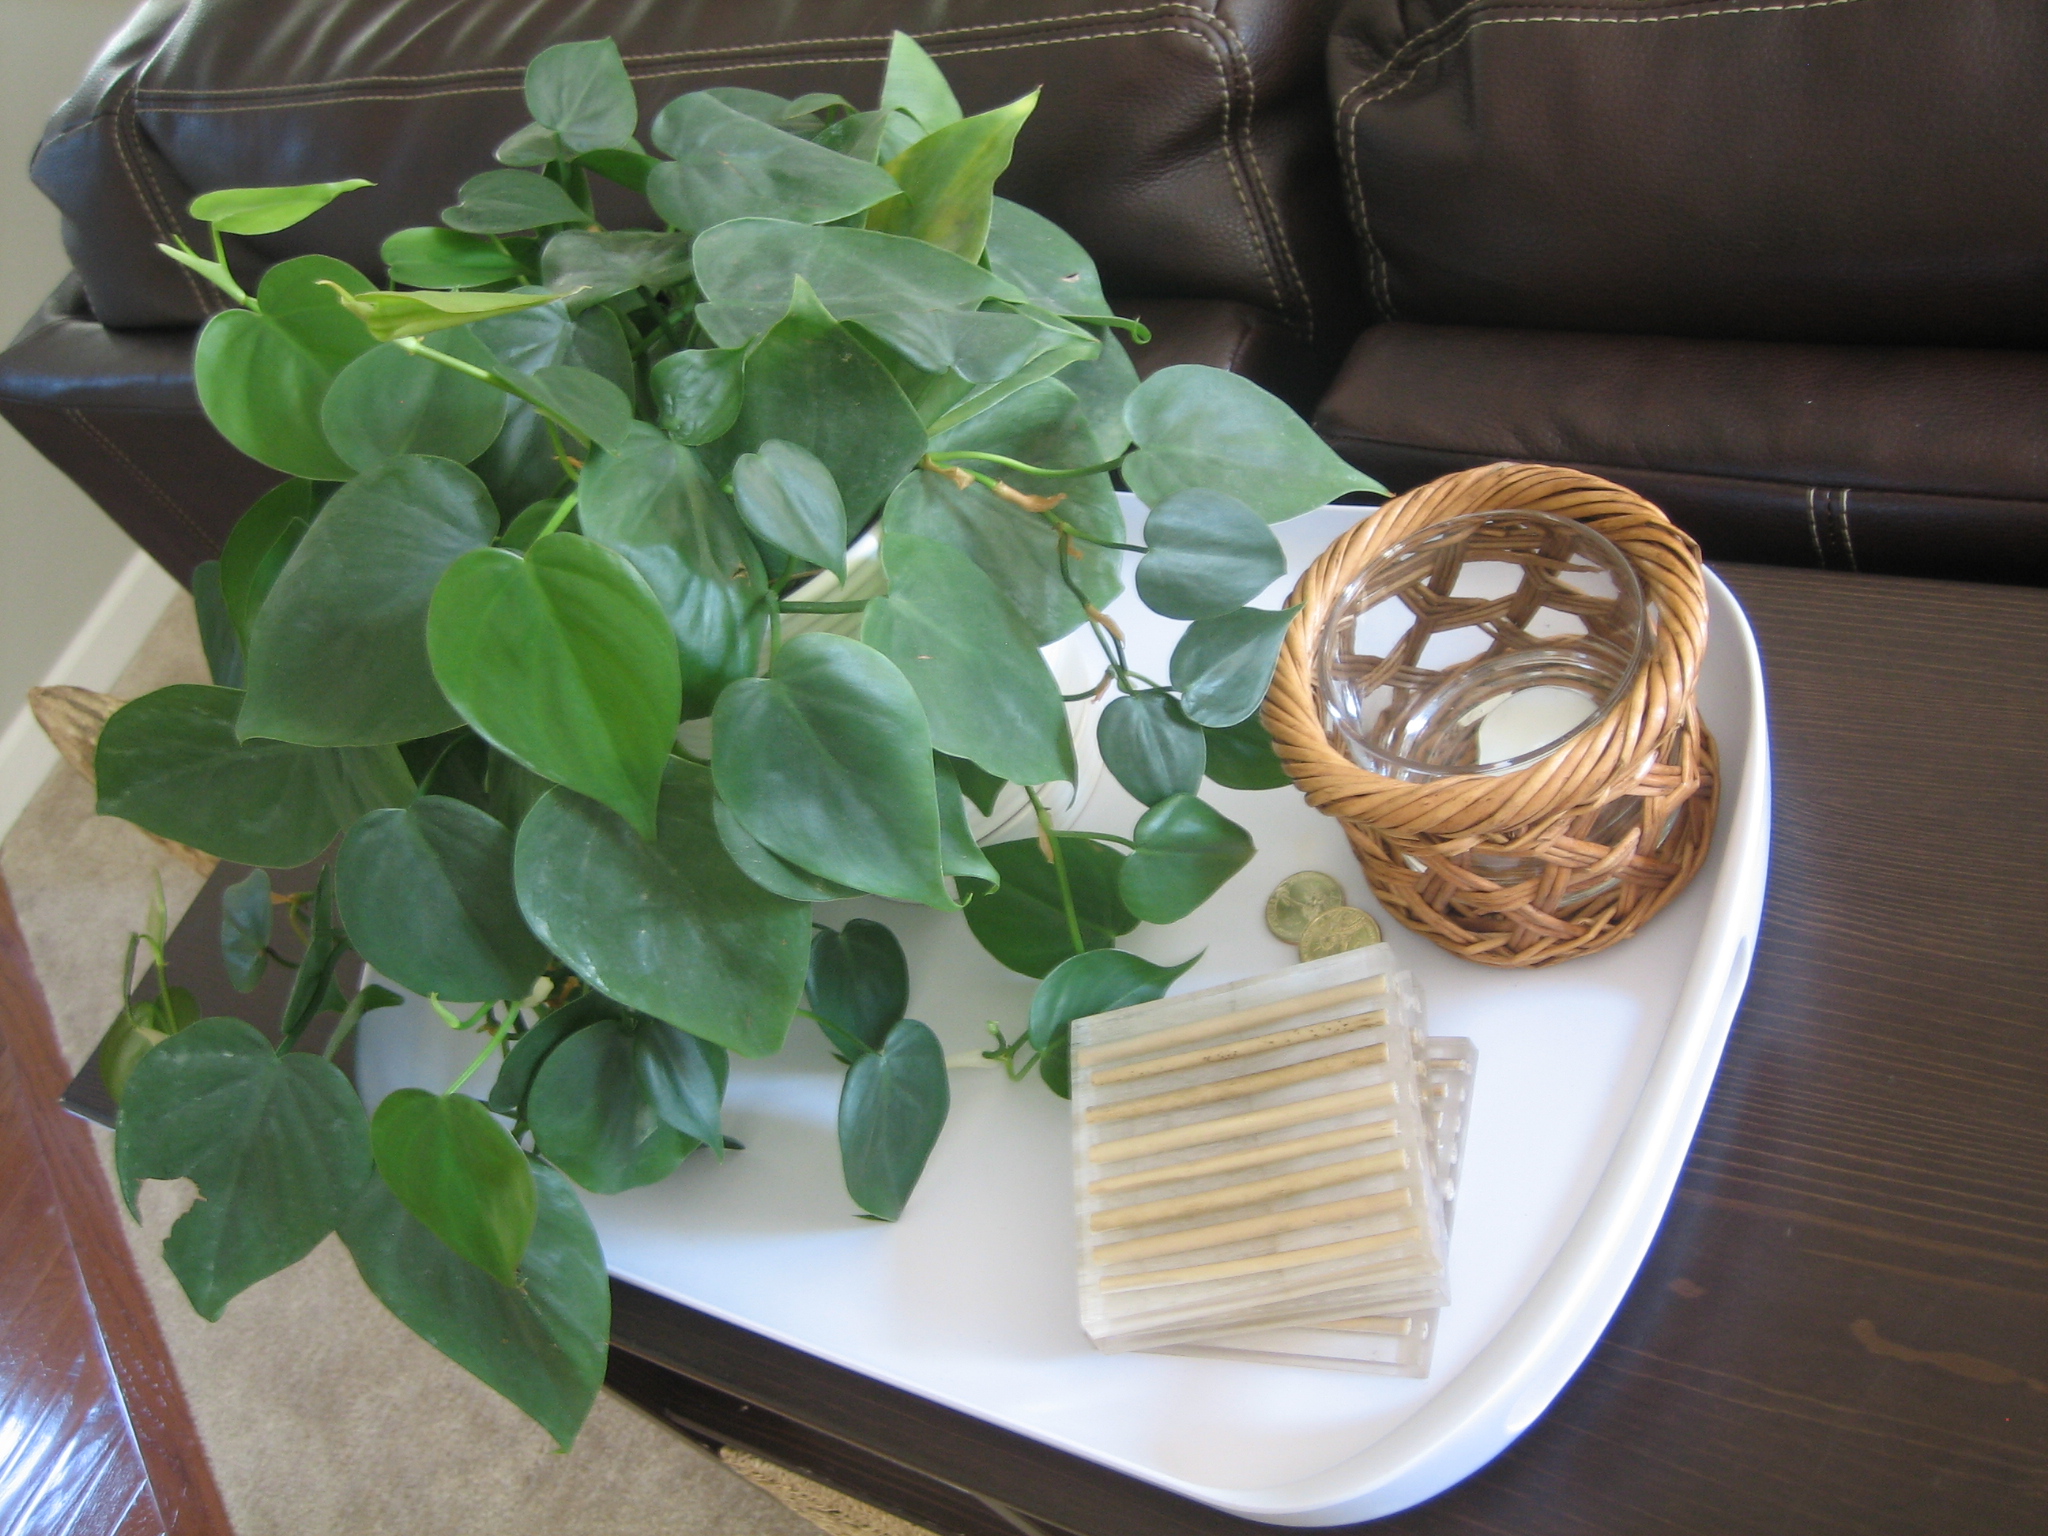
The view into our family room while standing at the family photo wall…again, as in my living room, I’d love to rip up all that carpet and put down hardwoods. The IKEA console behind the sectional holds my kiddos crap, ahem, I mean playthings.

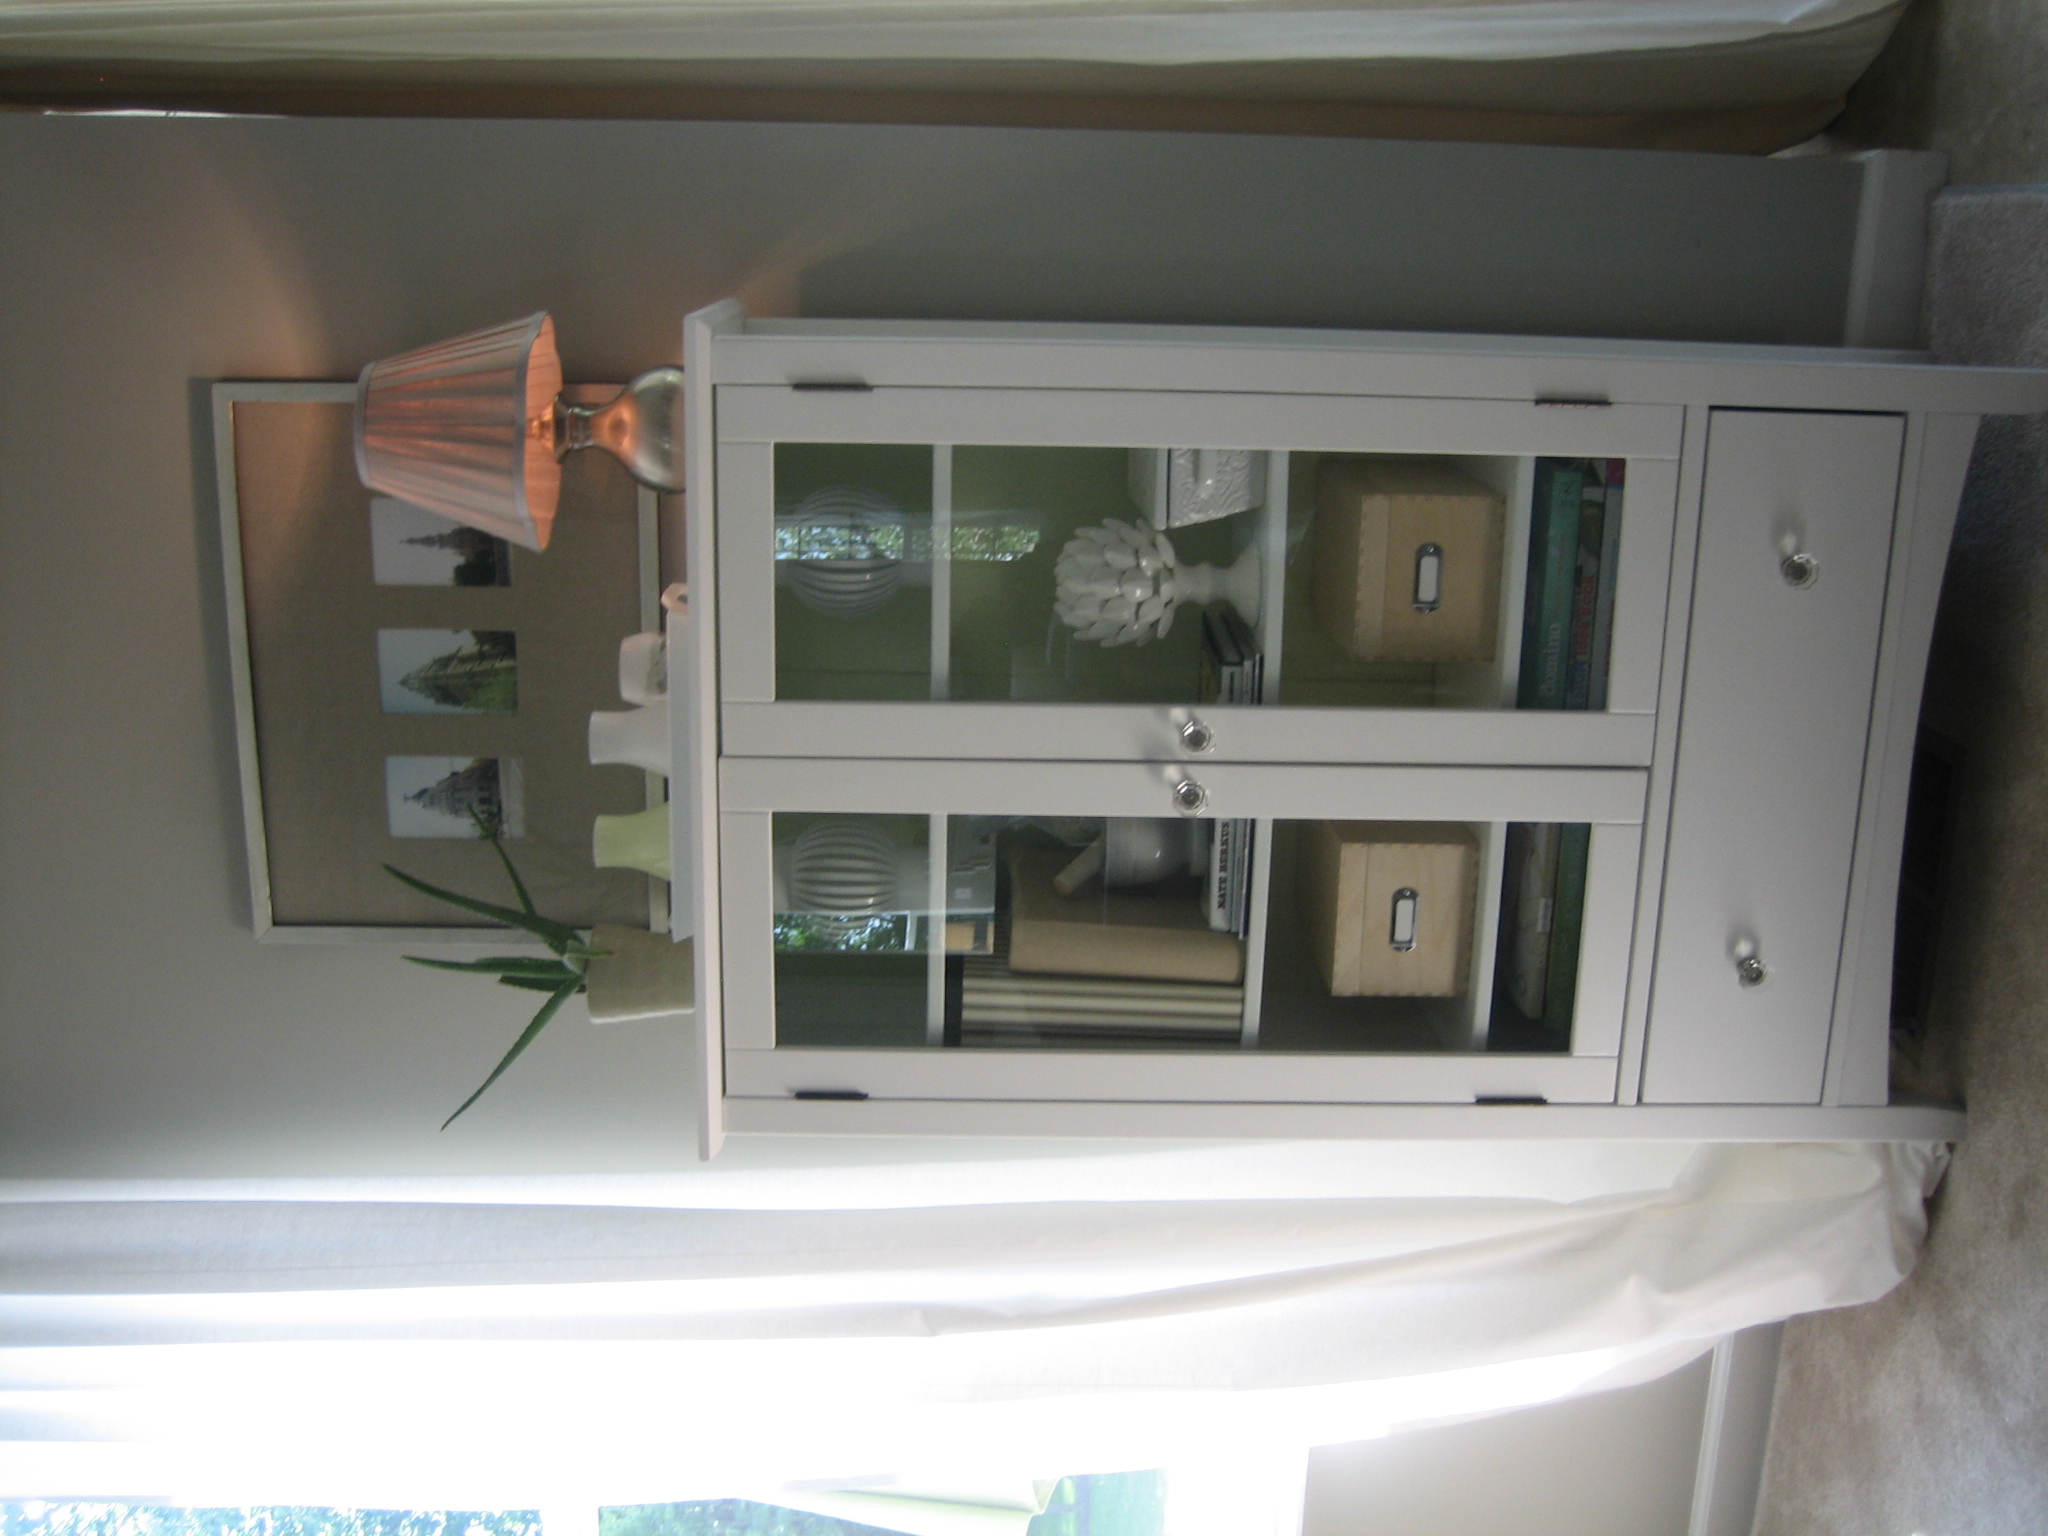
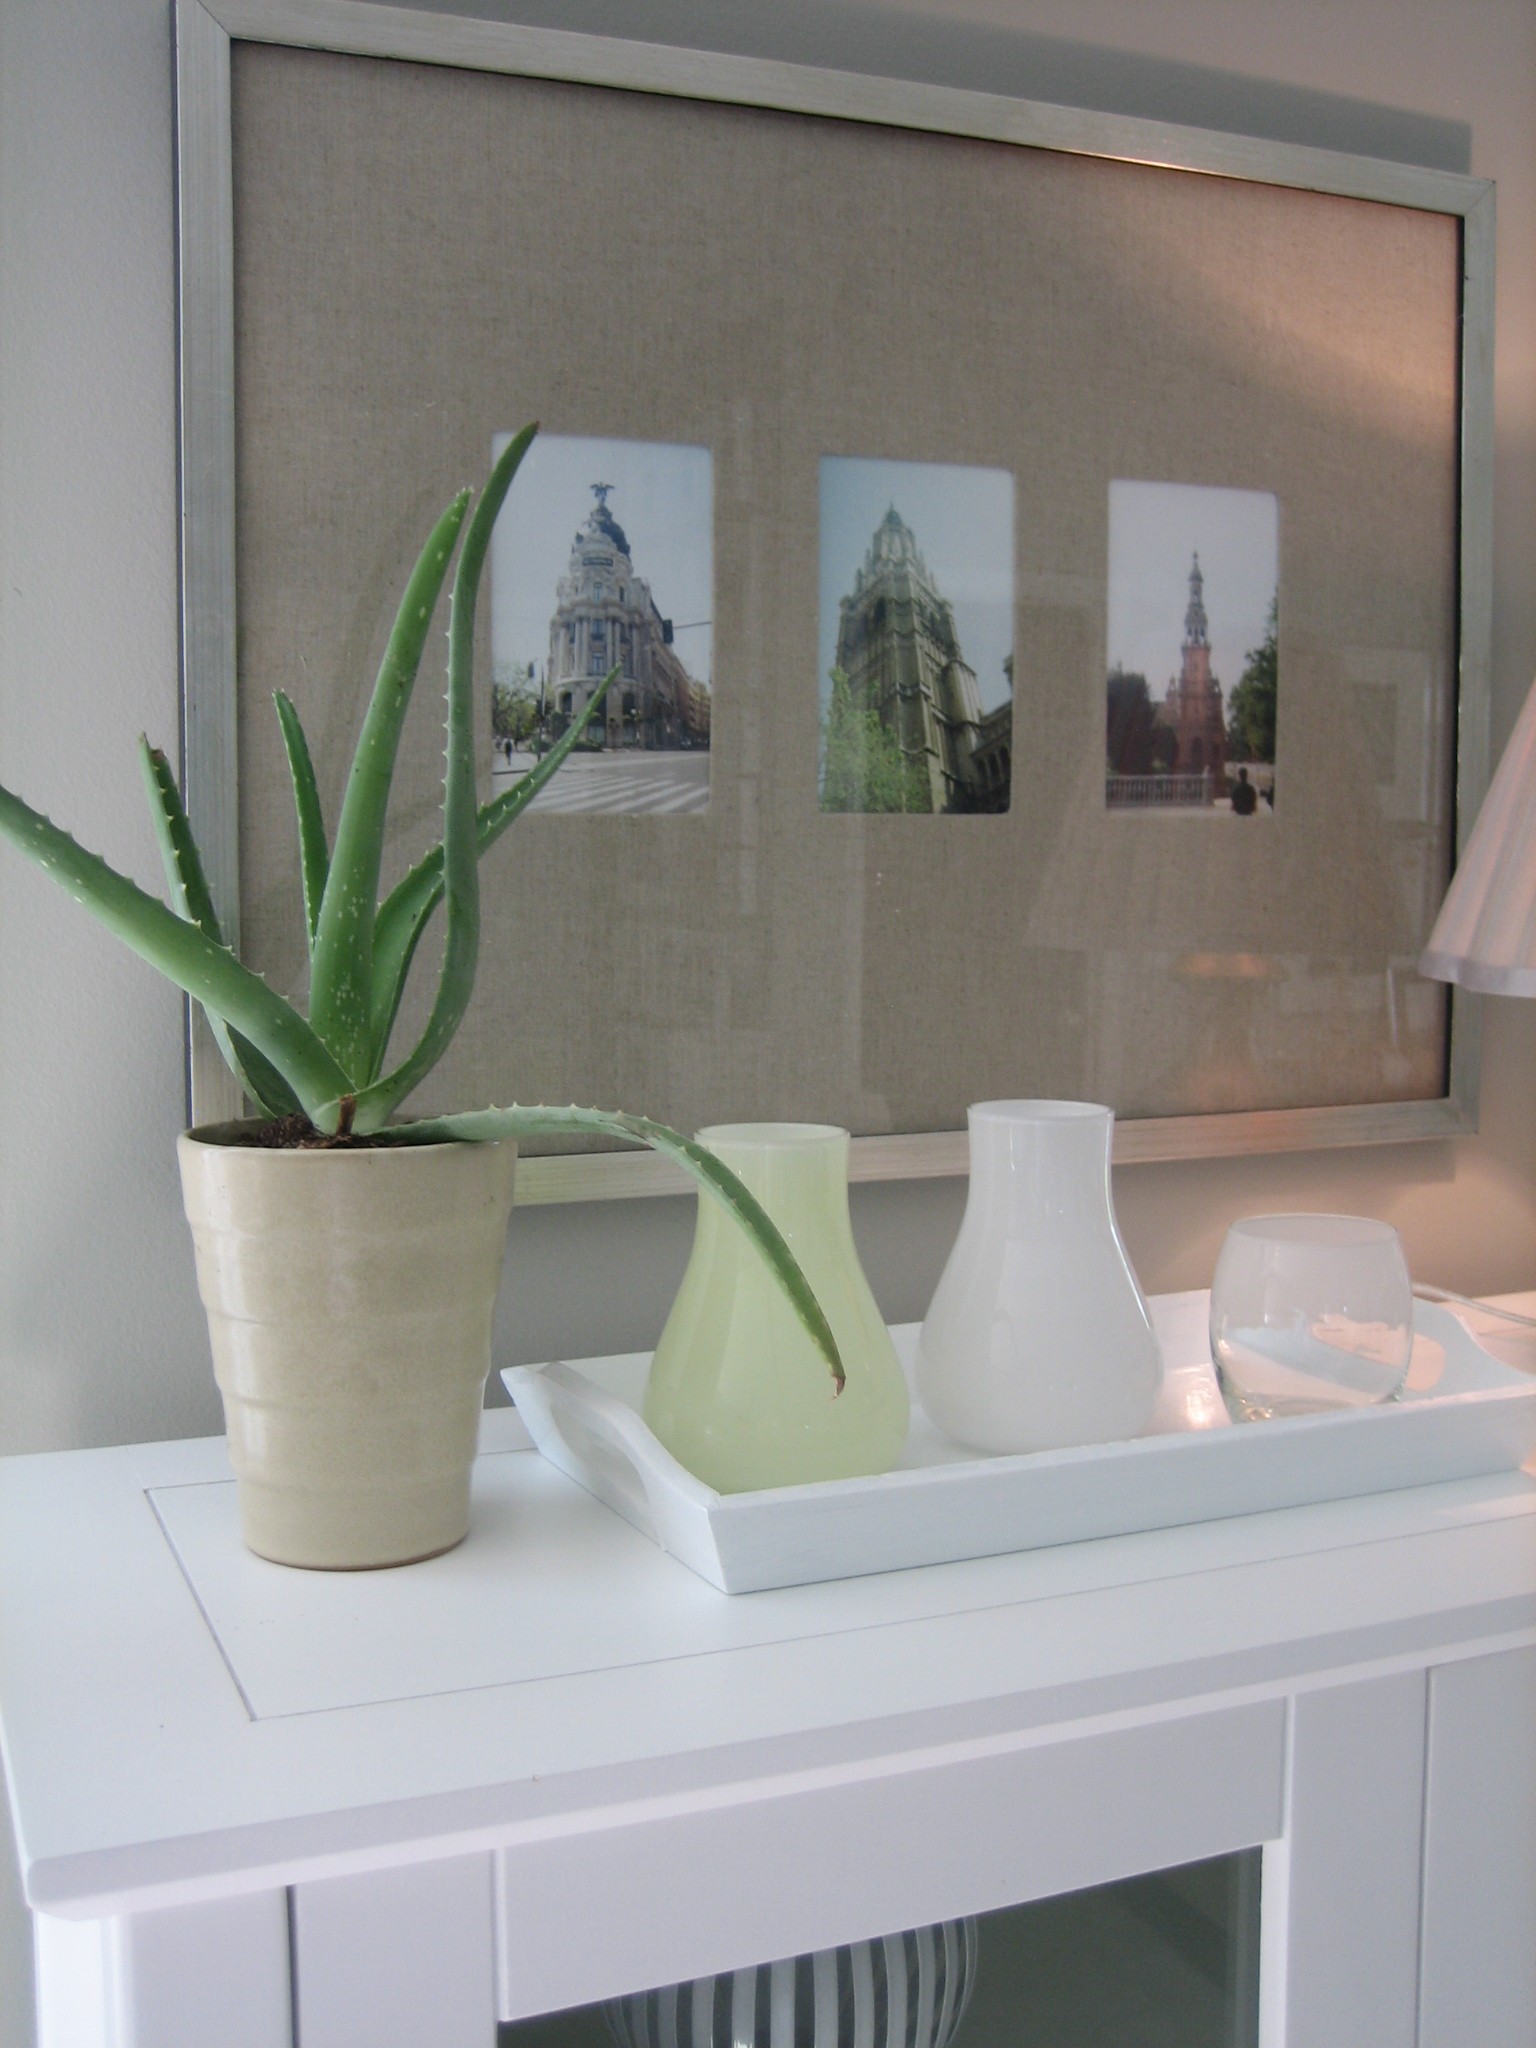
Here’s a closer shot of the glass front cabinet that you saw in the first image

An image to give you the “lay” of the room

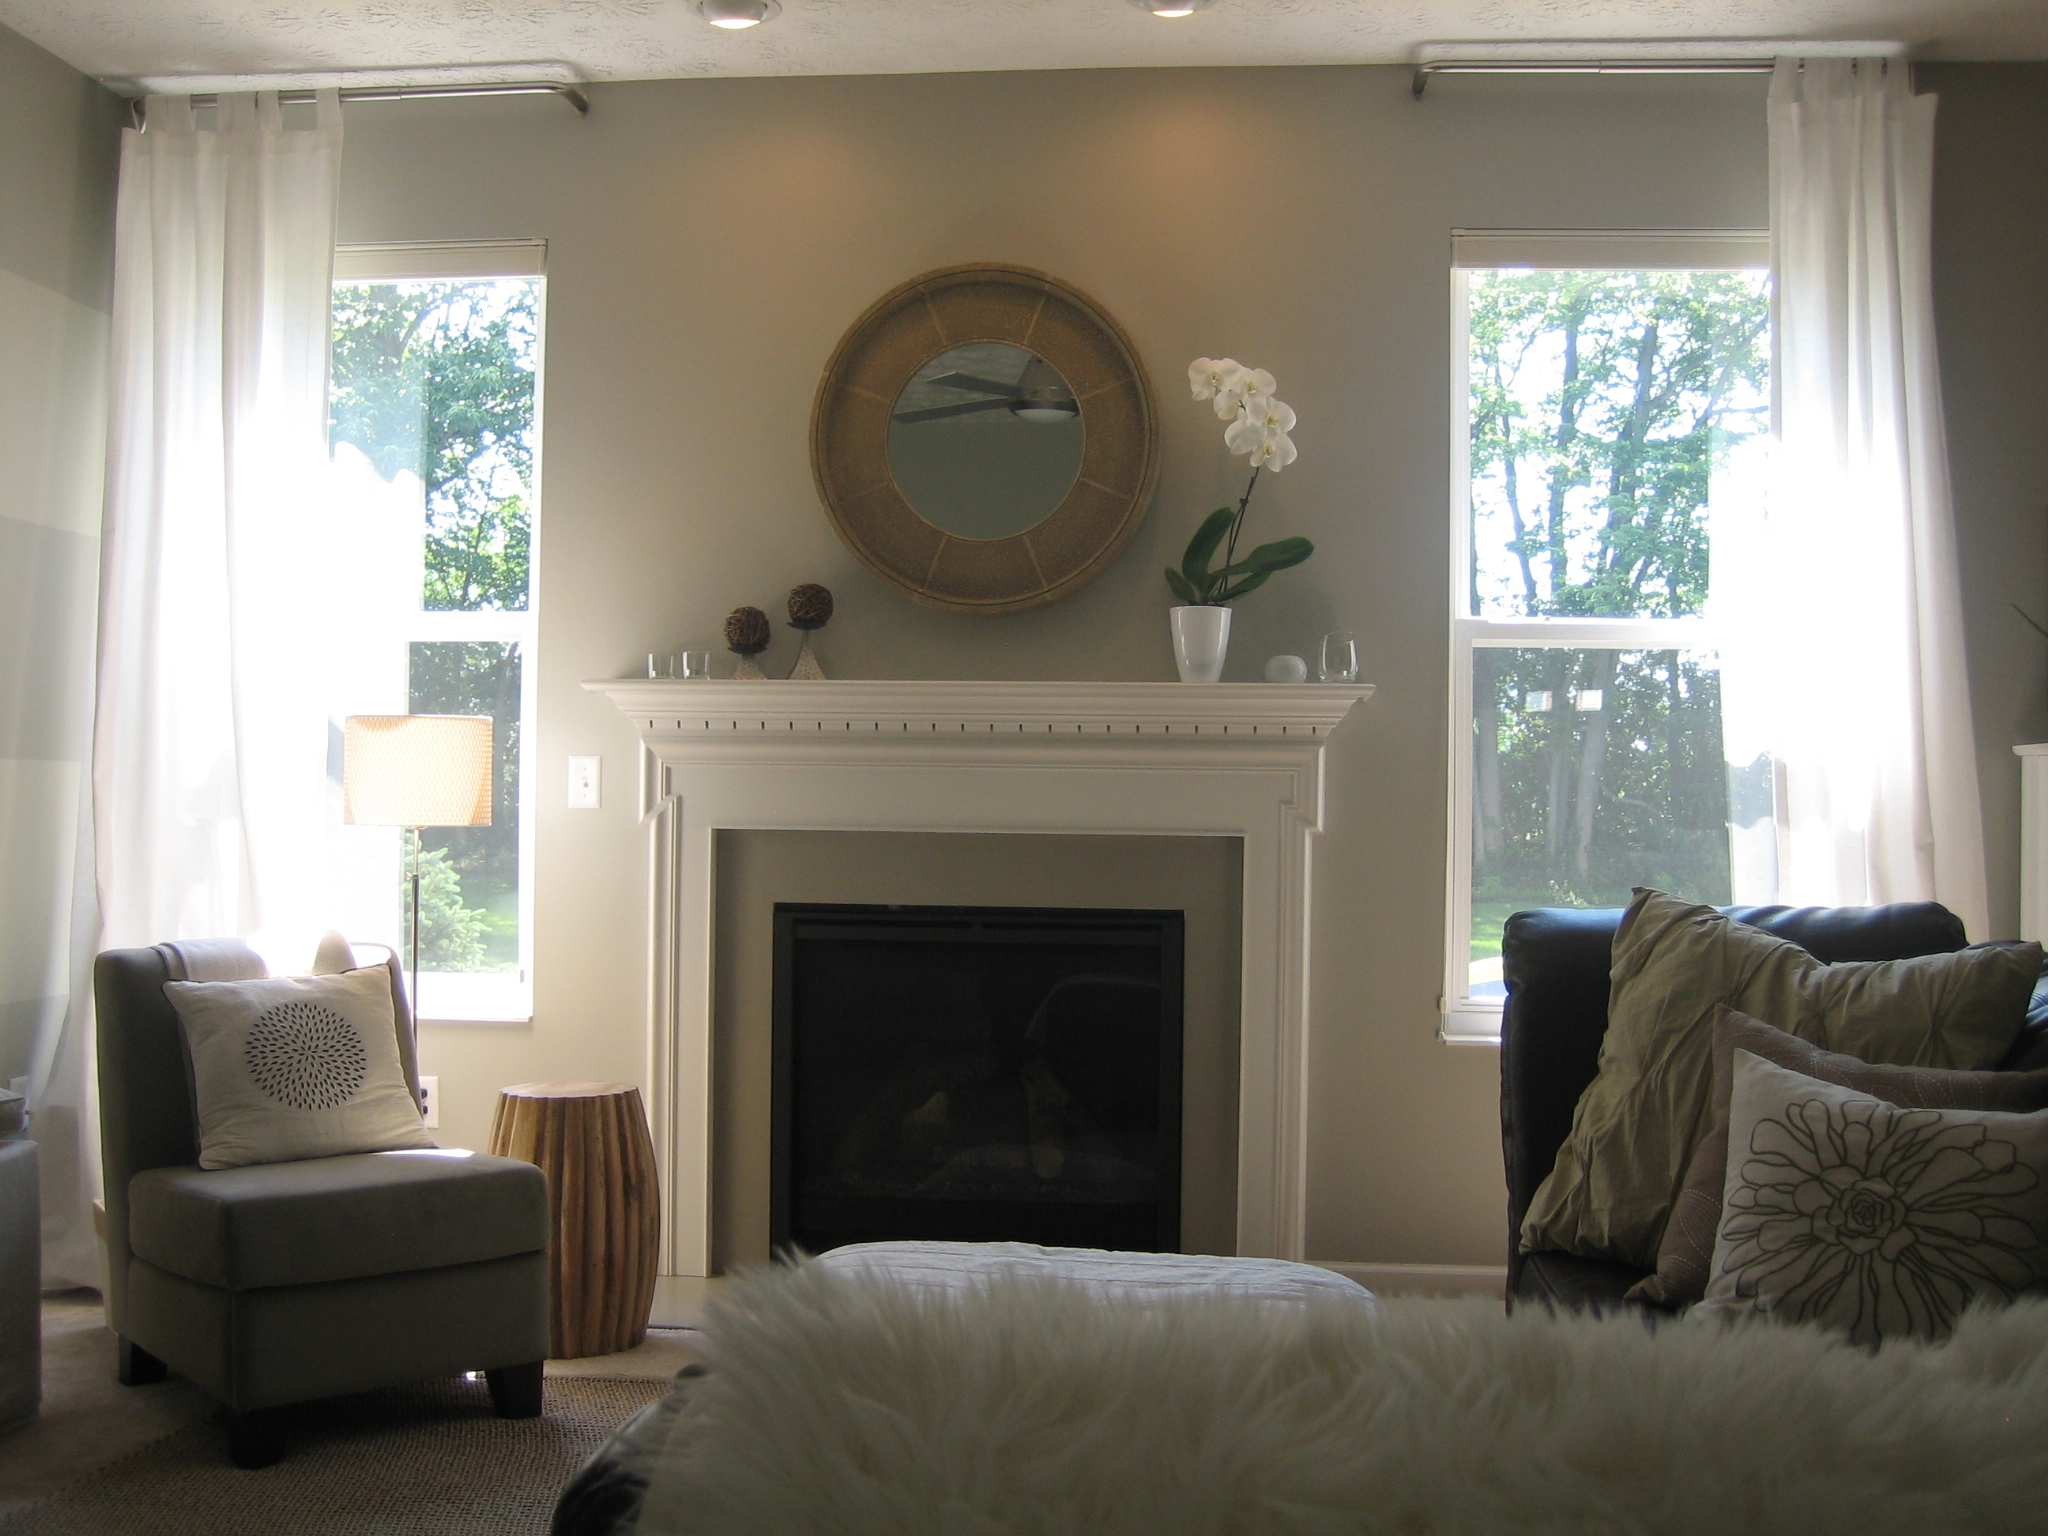
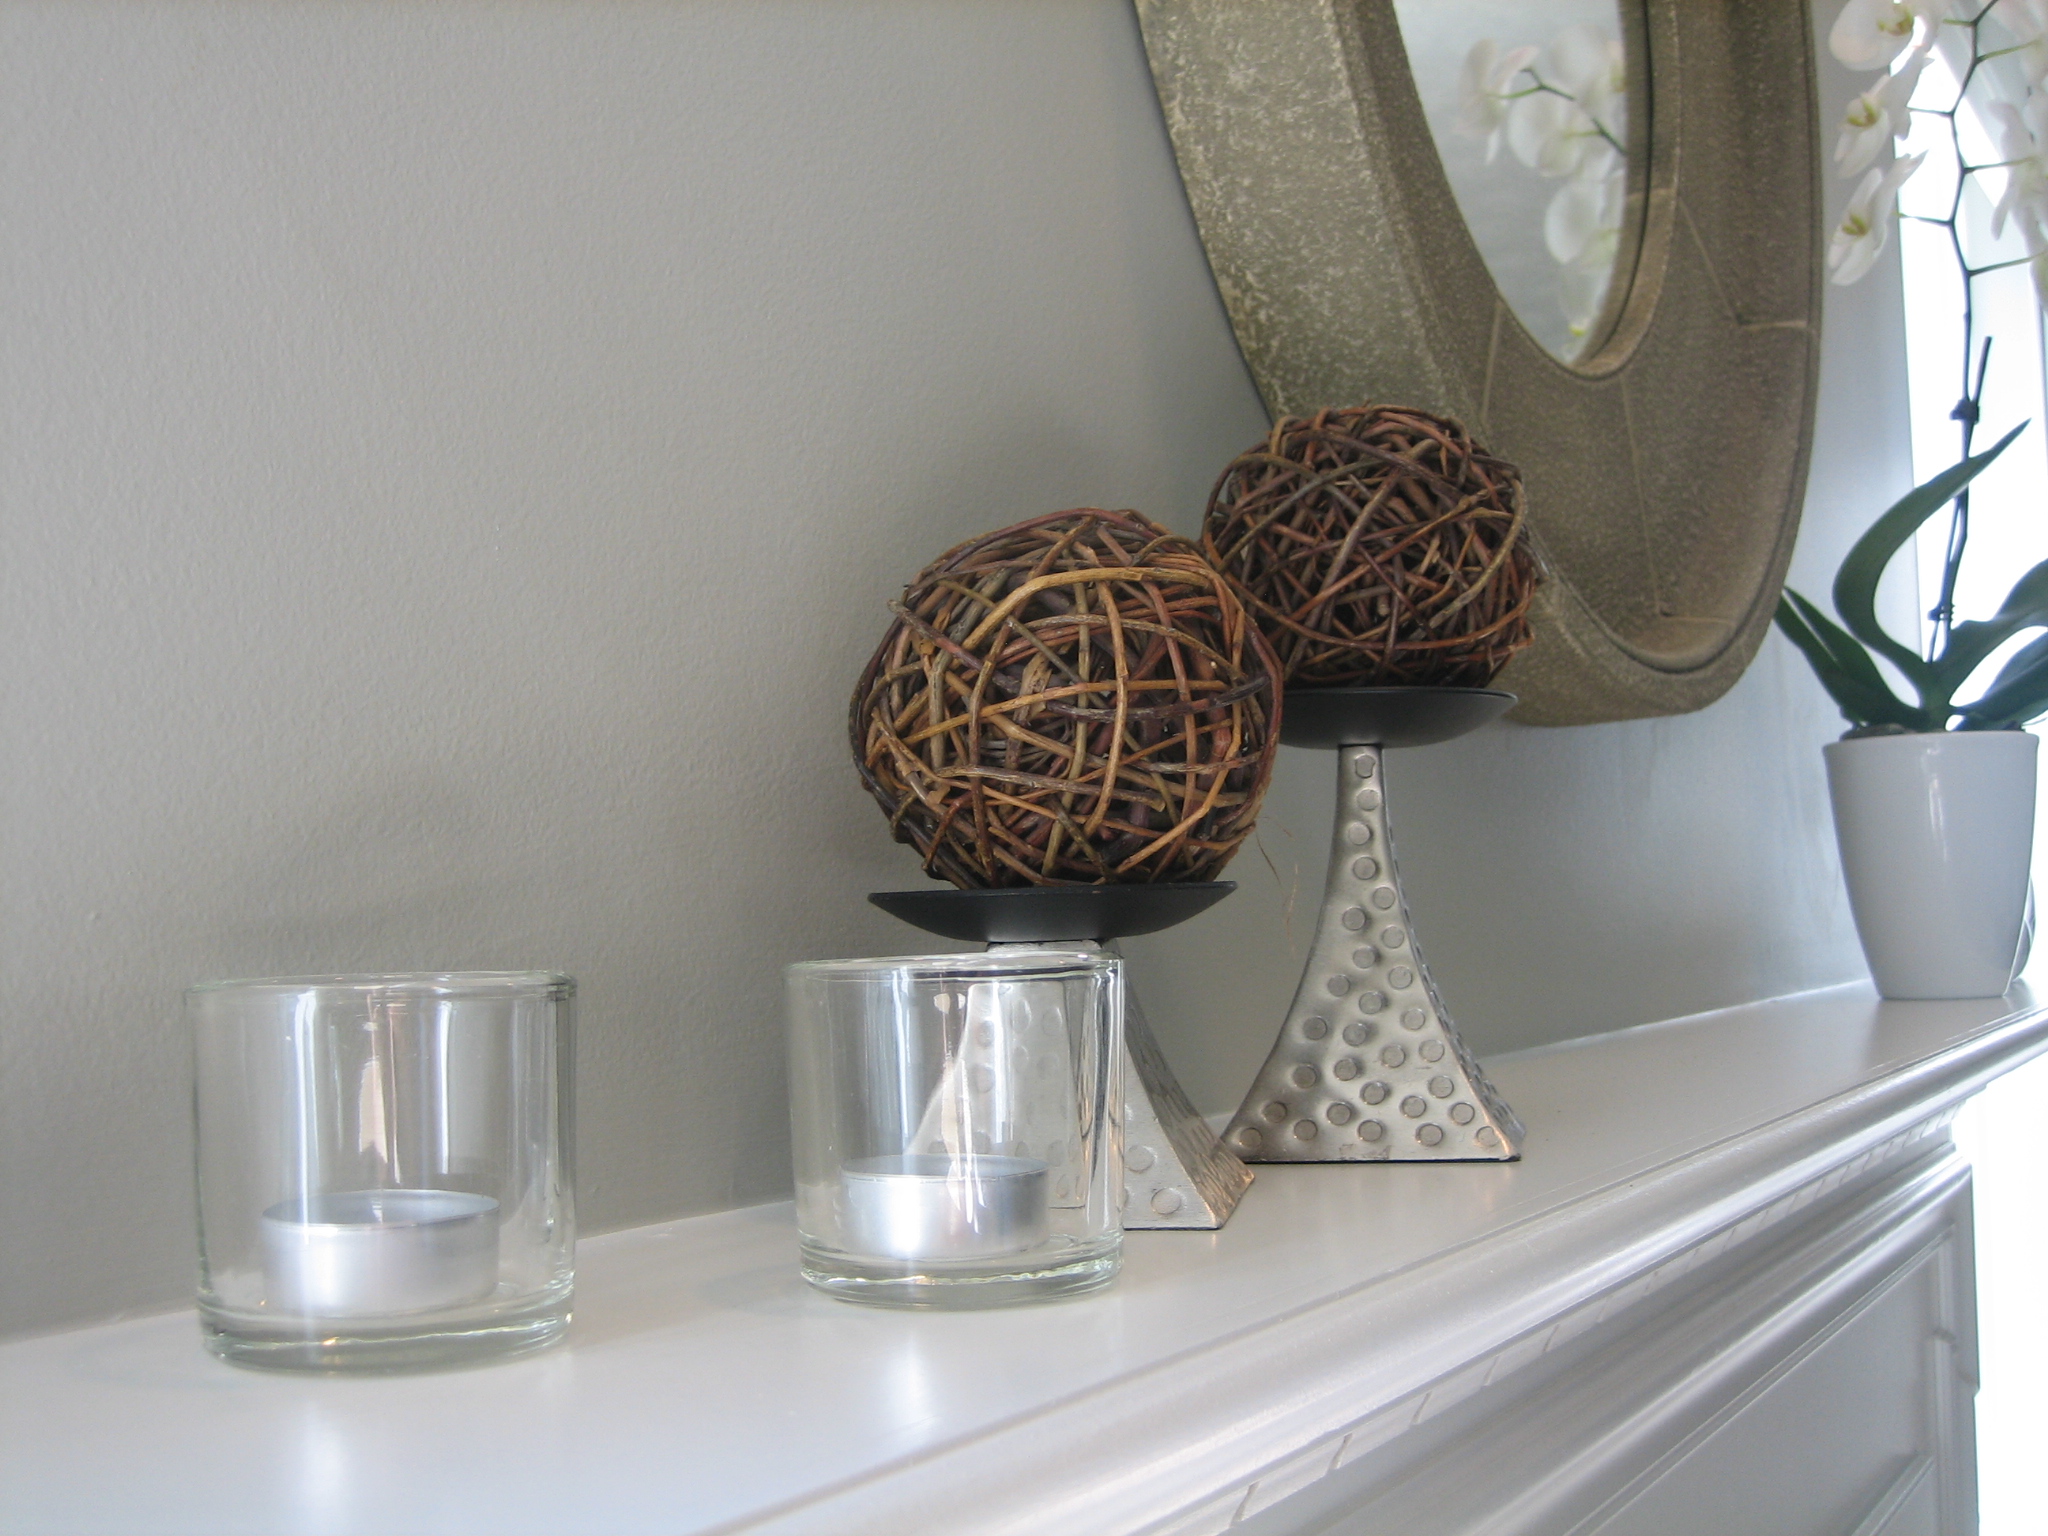
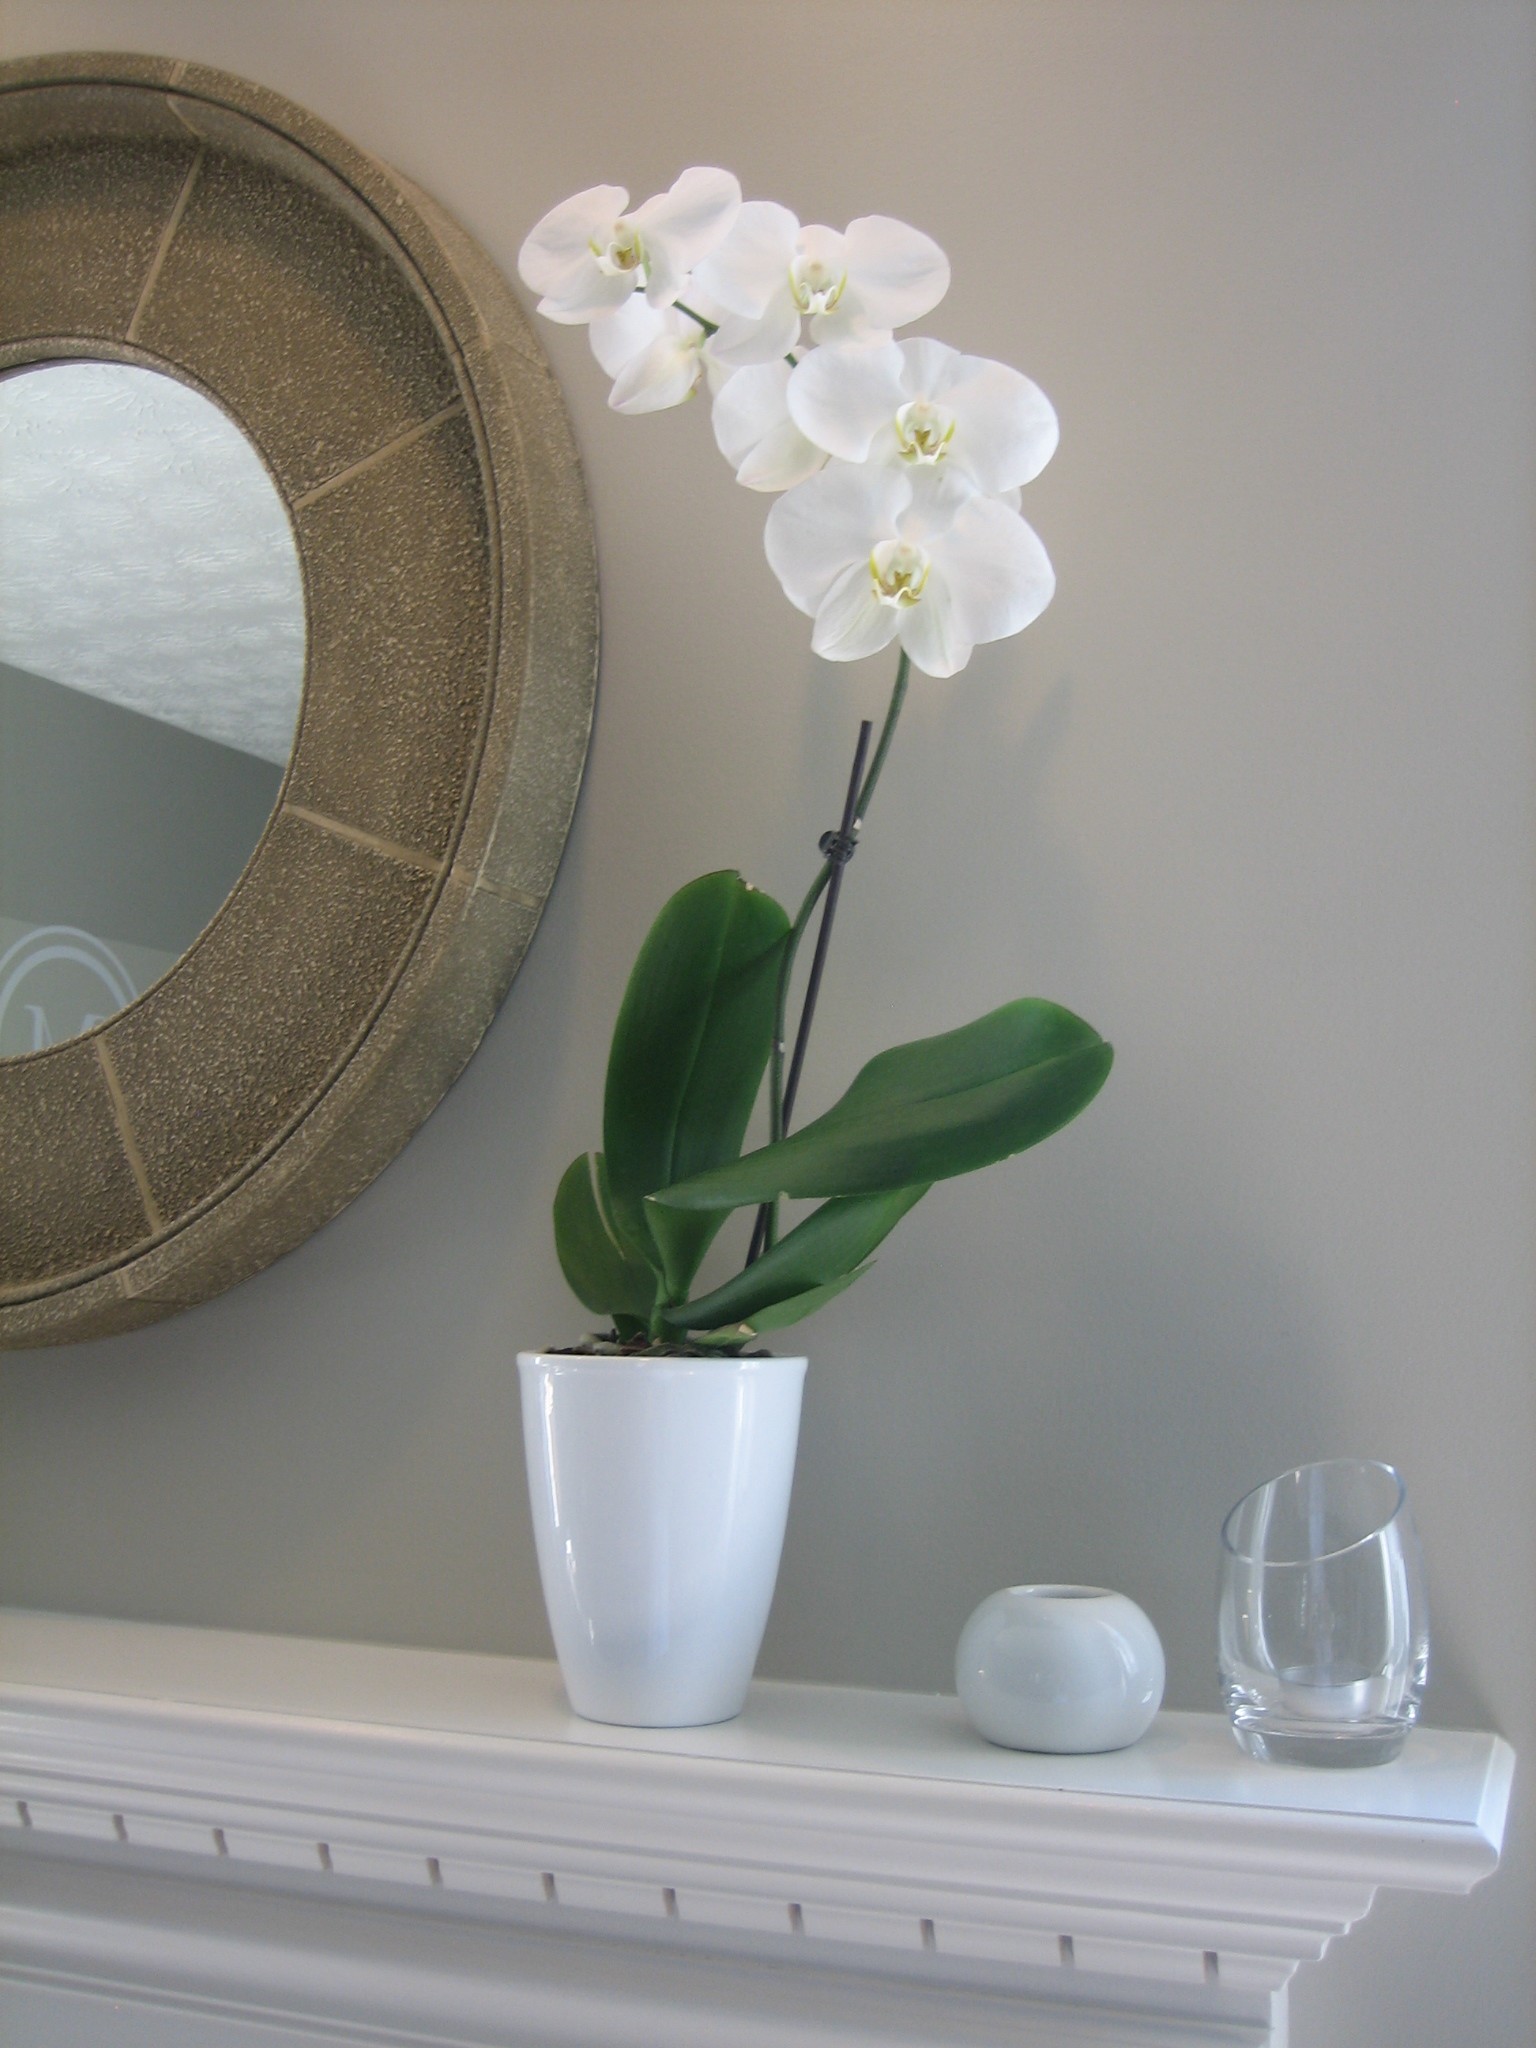
The fireplace wall has 2 windows that let the light pour in. I hung a round mirror above the mantle to soften the square and rectangular shapes in the room. The fireplace surround is actually painted marble (gasp!). The marble was too 80’s looking and had pink stains in it. I sanded, primed and painted it a shade darker than the wall color. The IKEA curtains are extra long (they still need hemmed) and hung high to emphasize the 9′ ceilings.

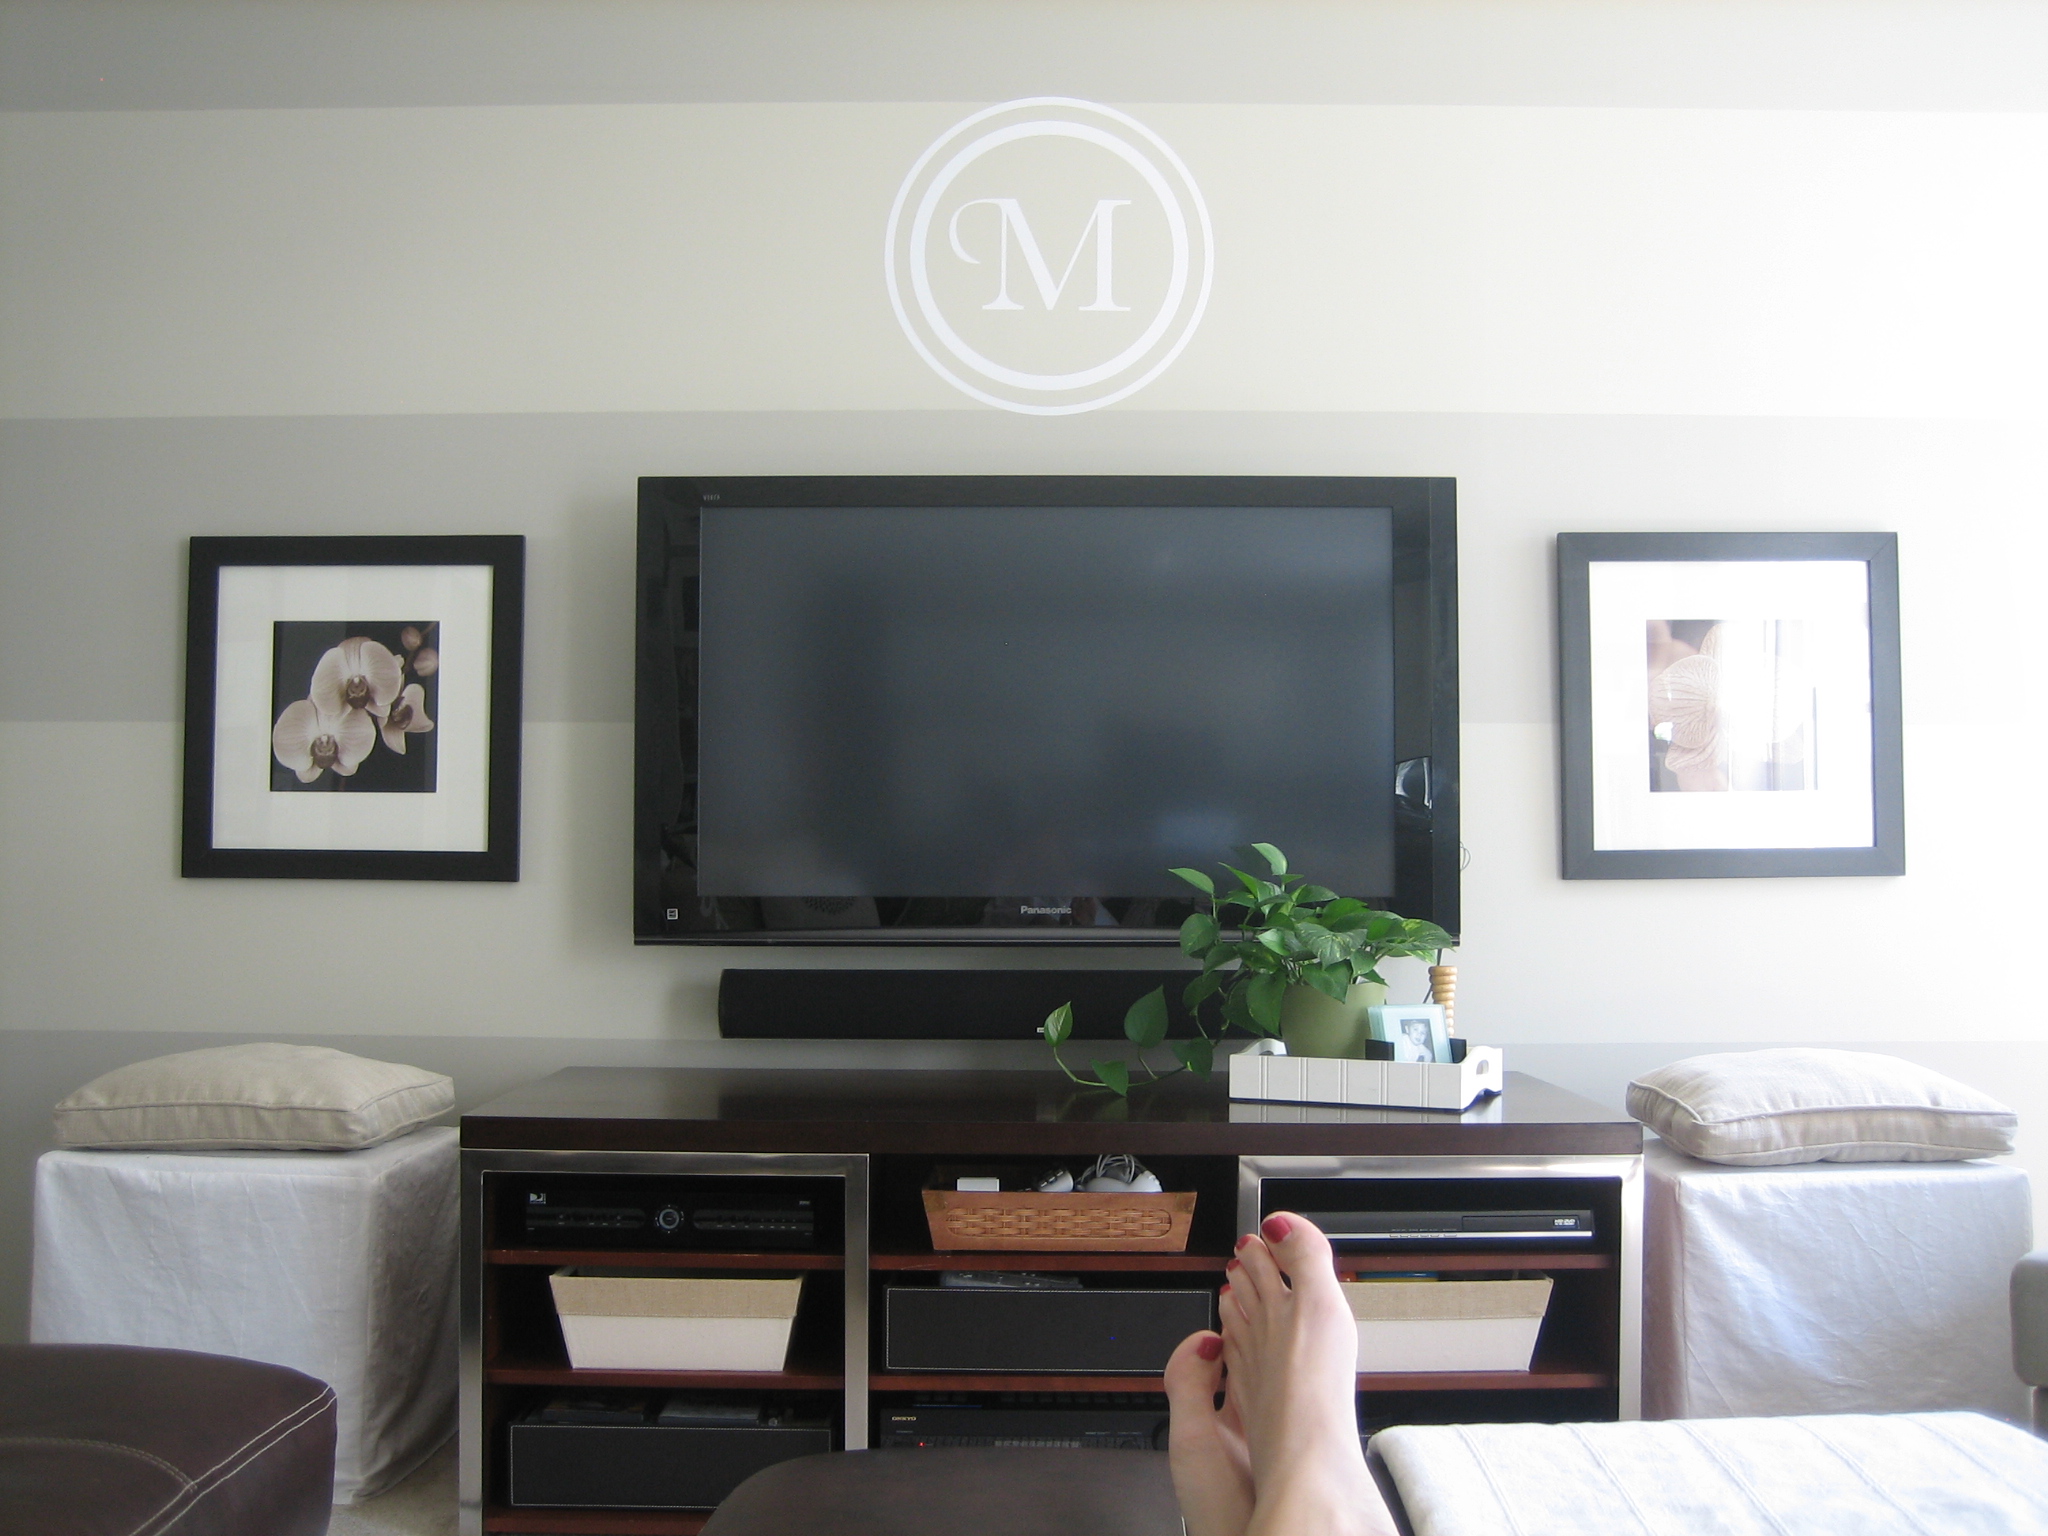
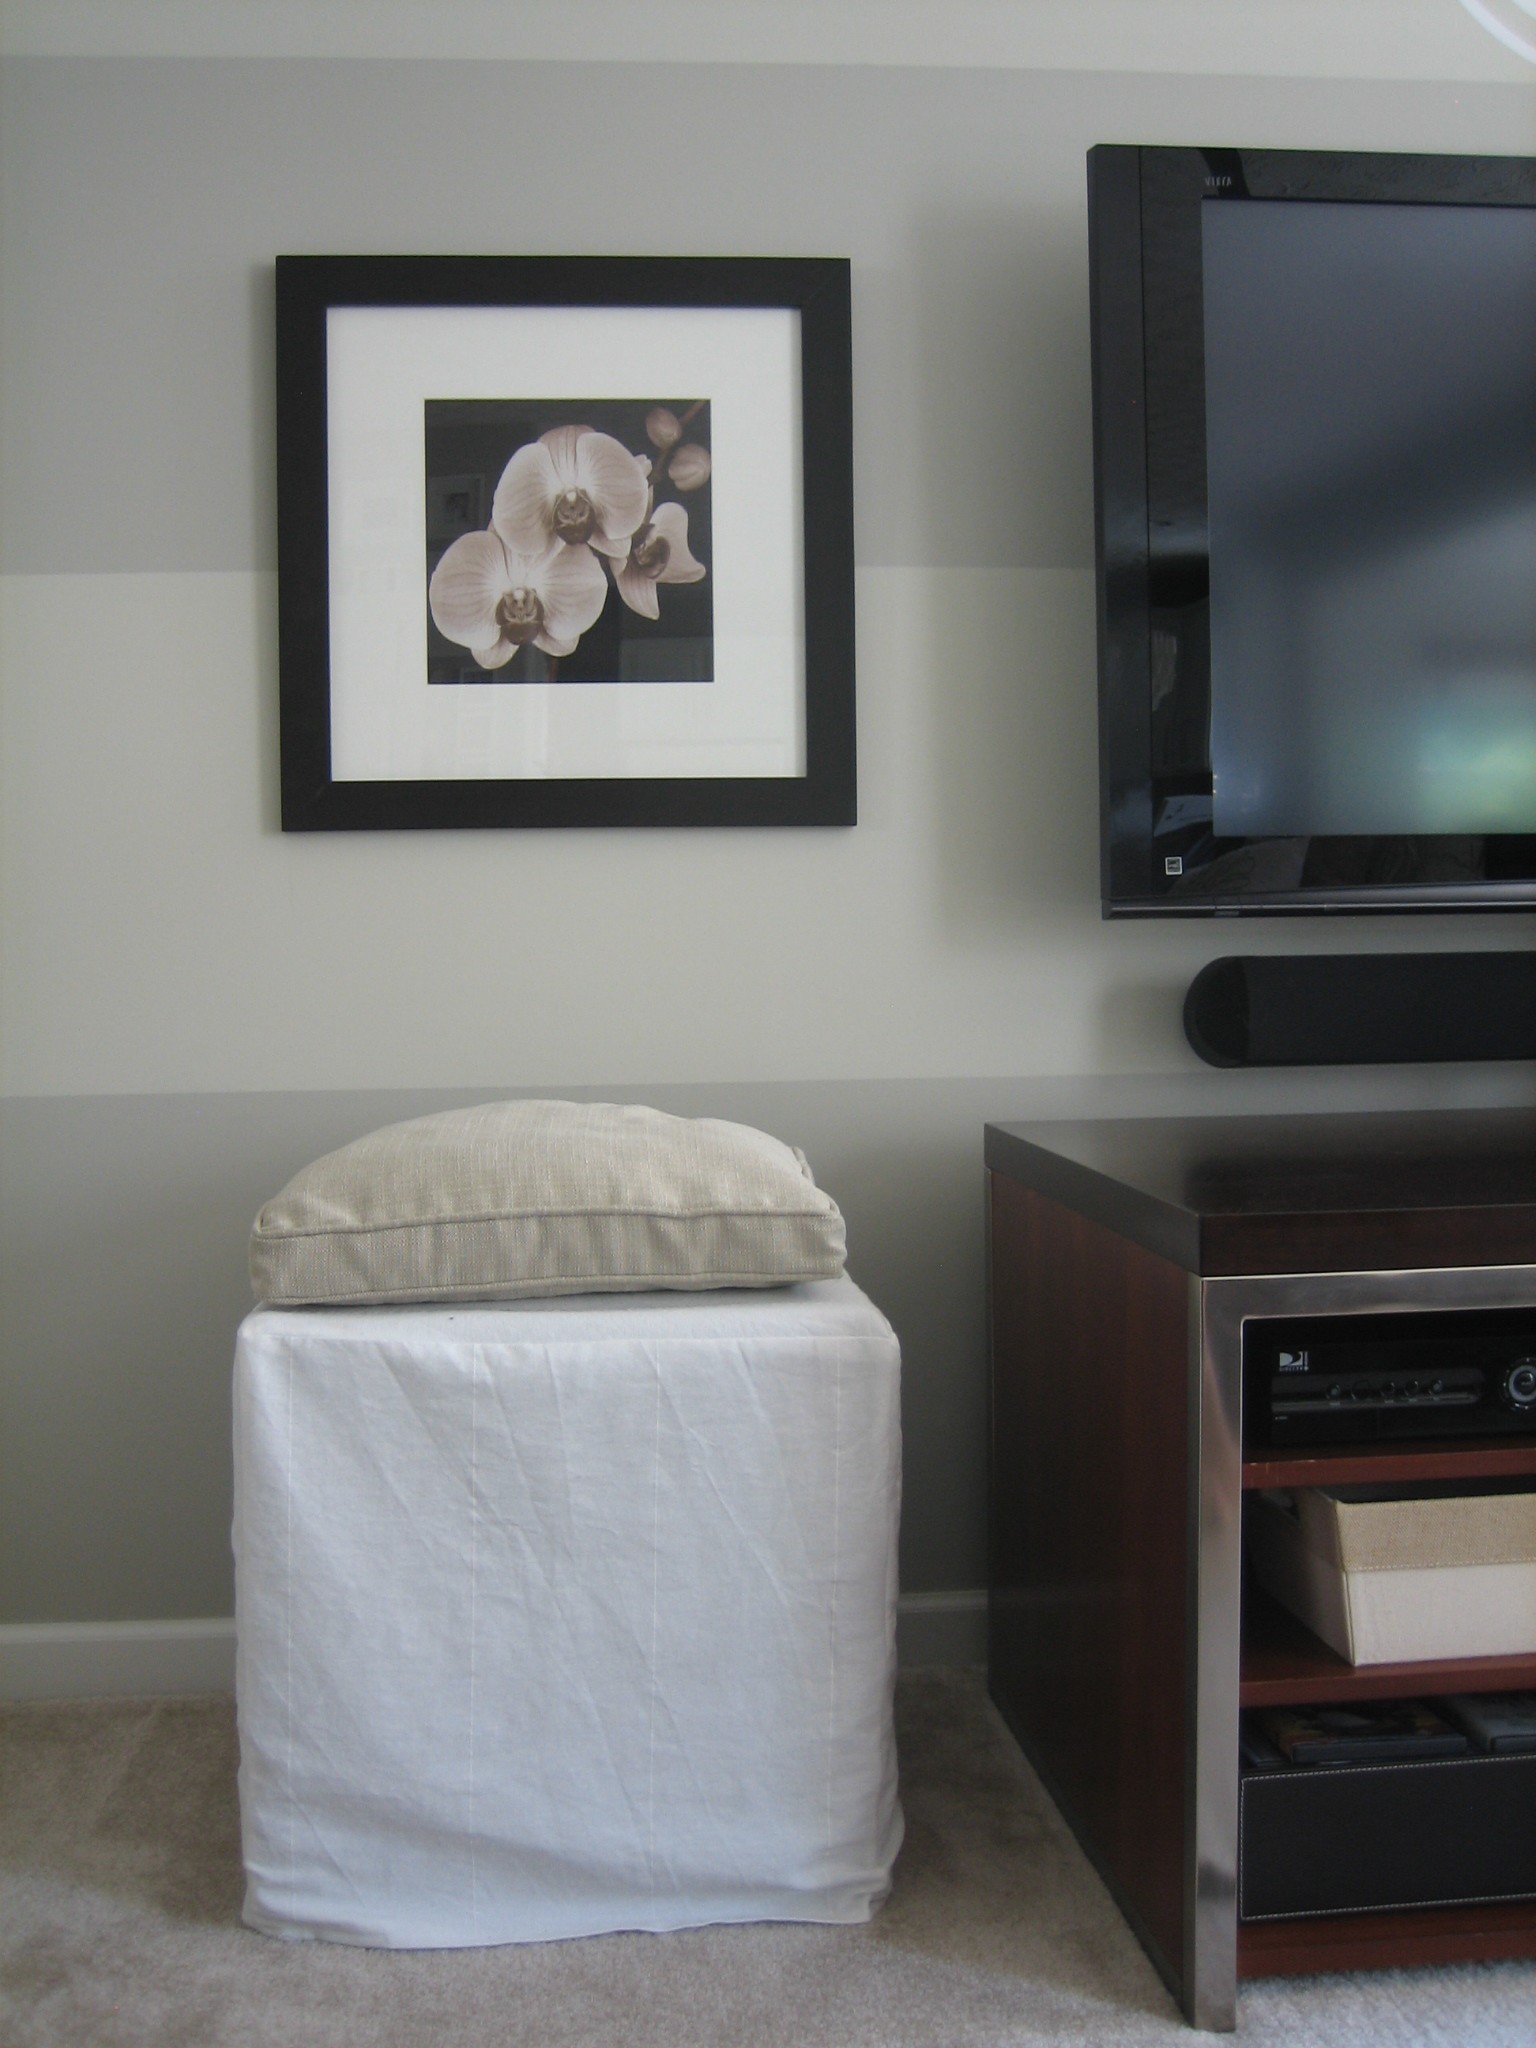
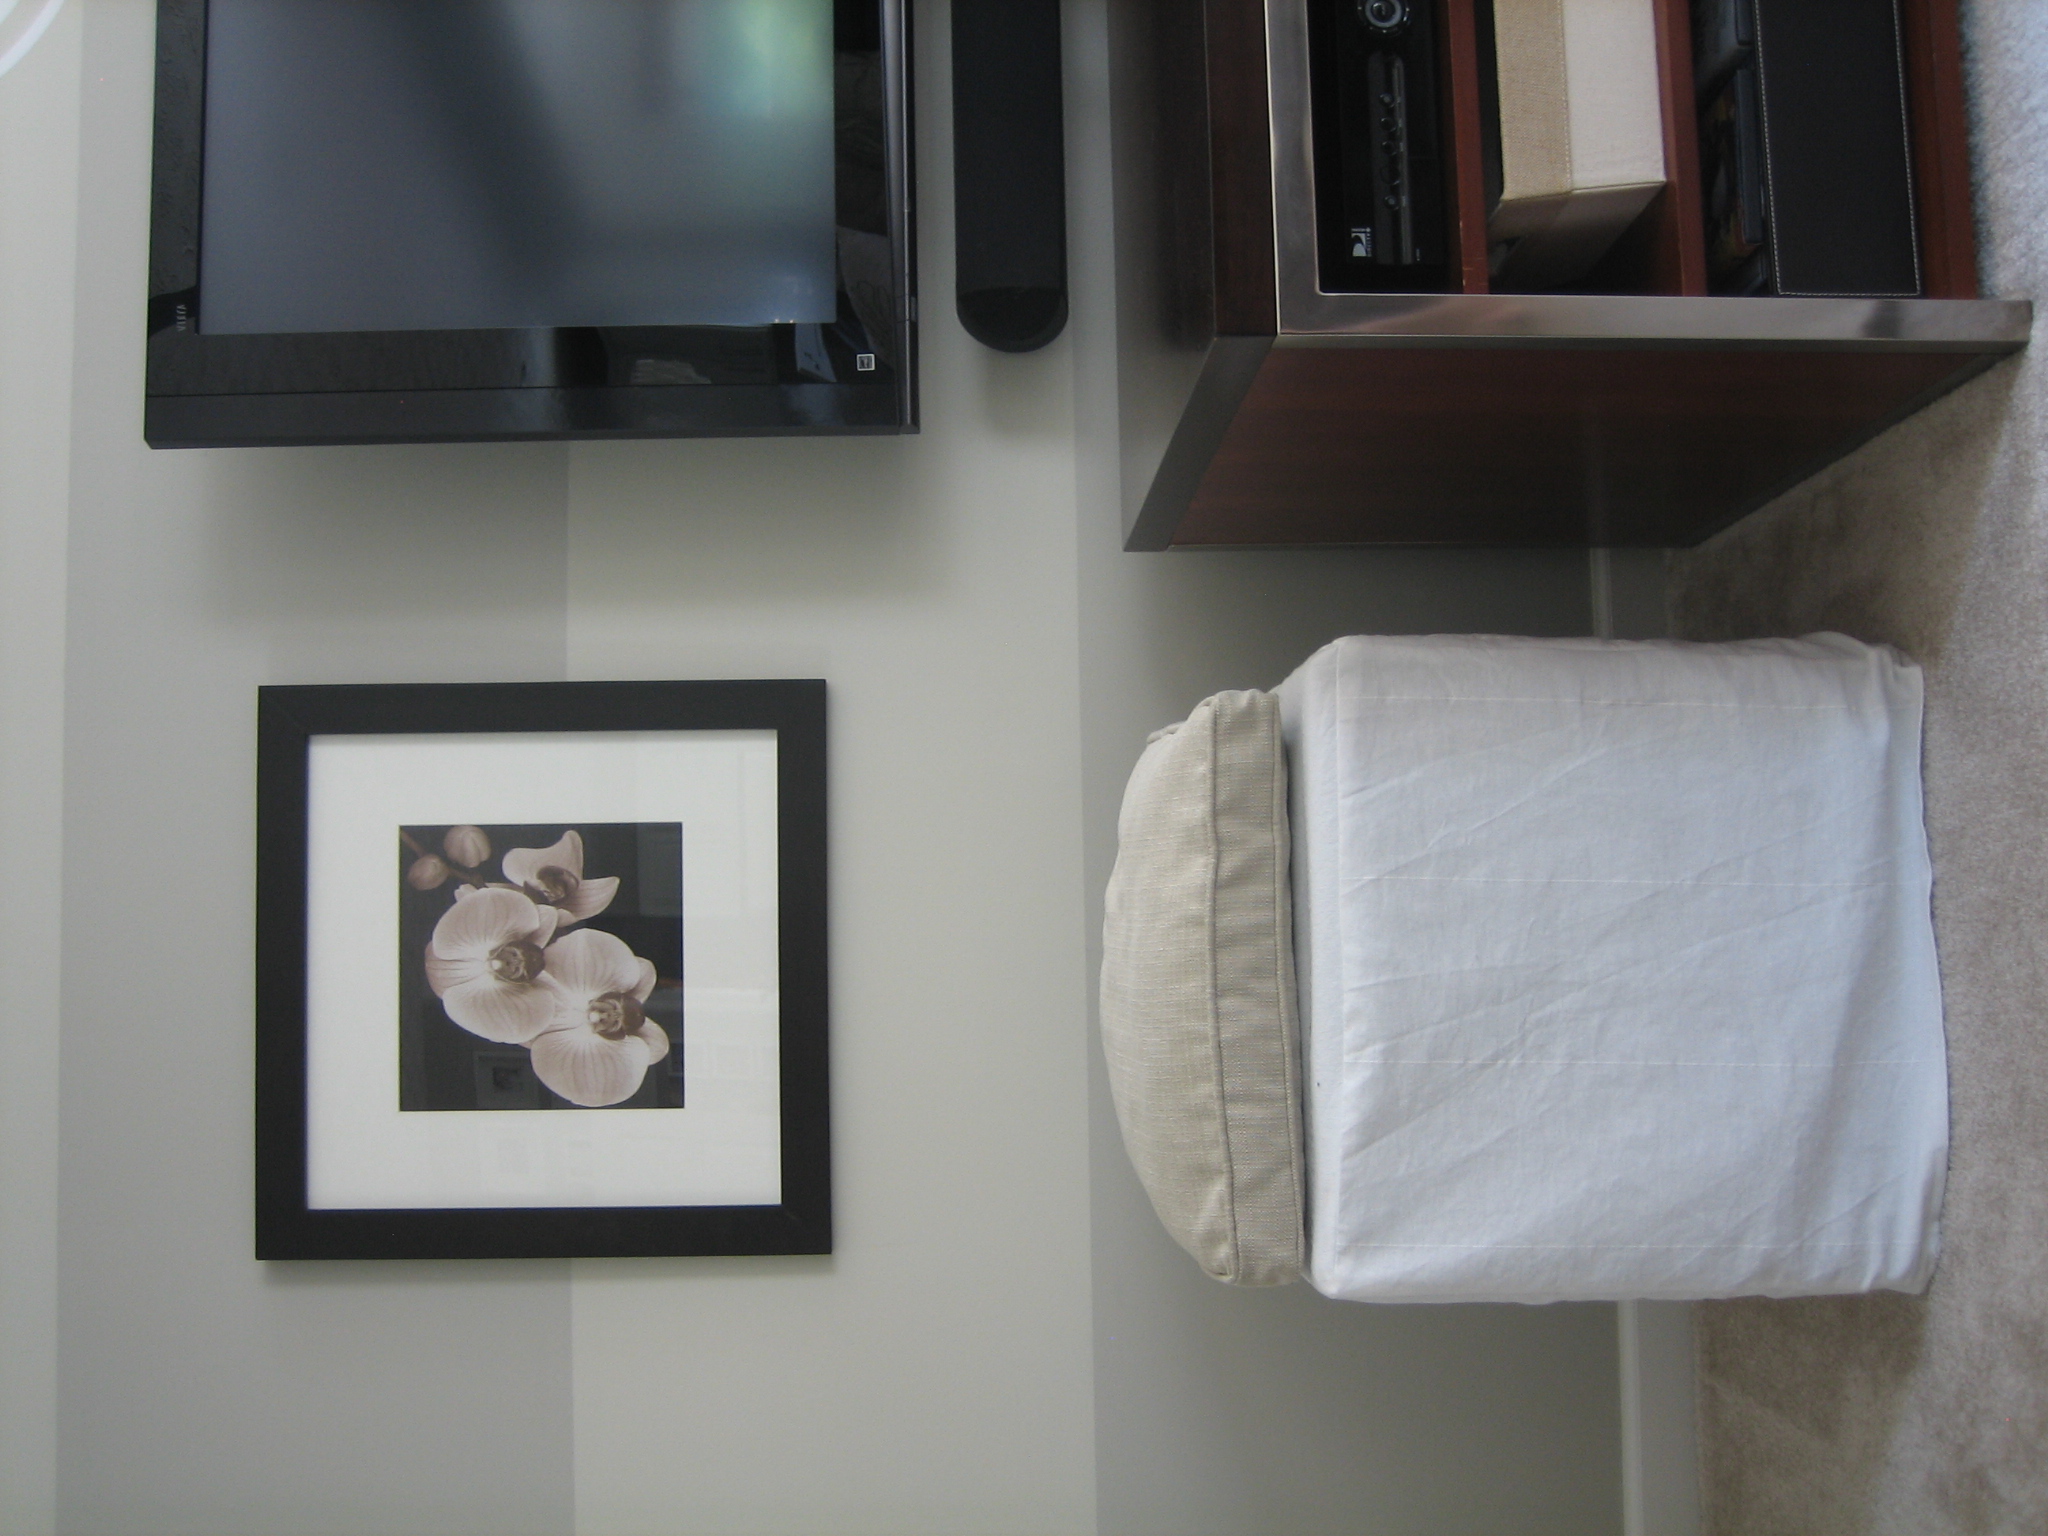
We have a TV and aren’t afraid to show it. I painted subtle horizontal stripes along the TV wall to give it some dimension. The stripes are fairly wide and mimic the size of the large room. (The larger the room, the wider the stripe.) I added artwork and slipcovered ottomans to either side of the flatscreen. Above the TV is a monogram decal. The console was a scratch-and-dent floor sample purchase from La-Z-Boy.


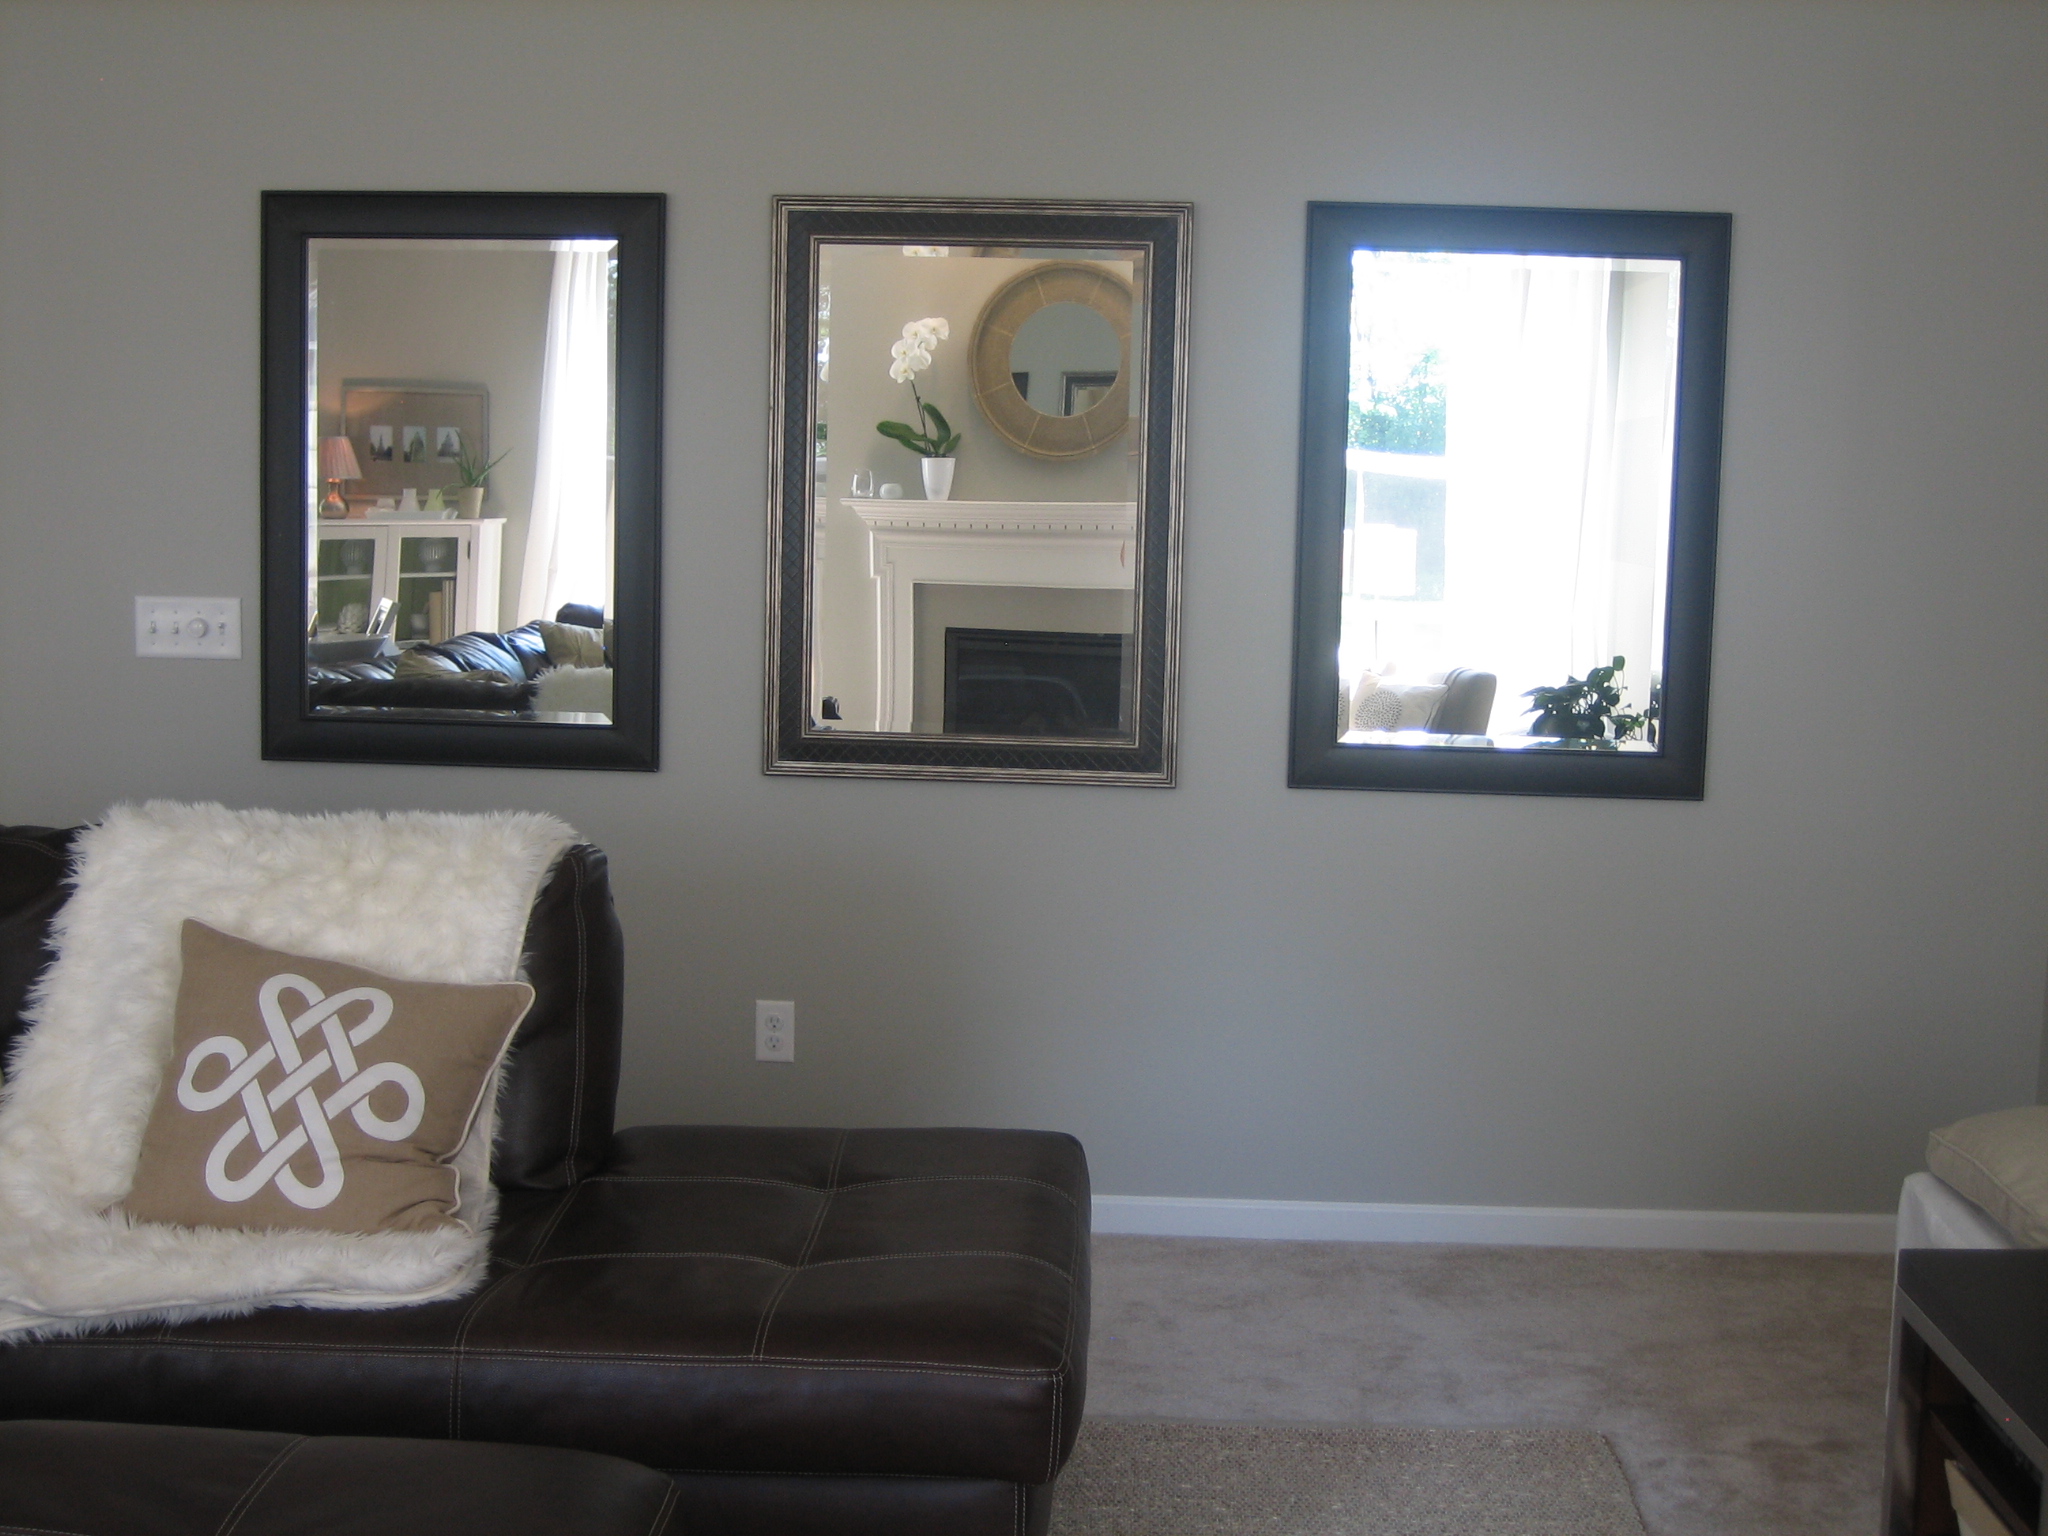
The wall opposite the fireplace has a trio of mirrors on it to bounce light around from the windows. I’ve always wondered what they would look like painted white. Hmmm…

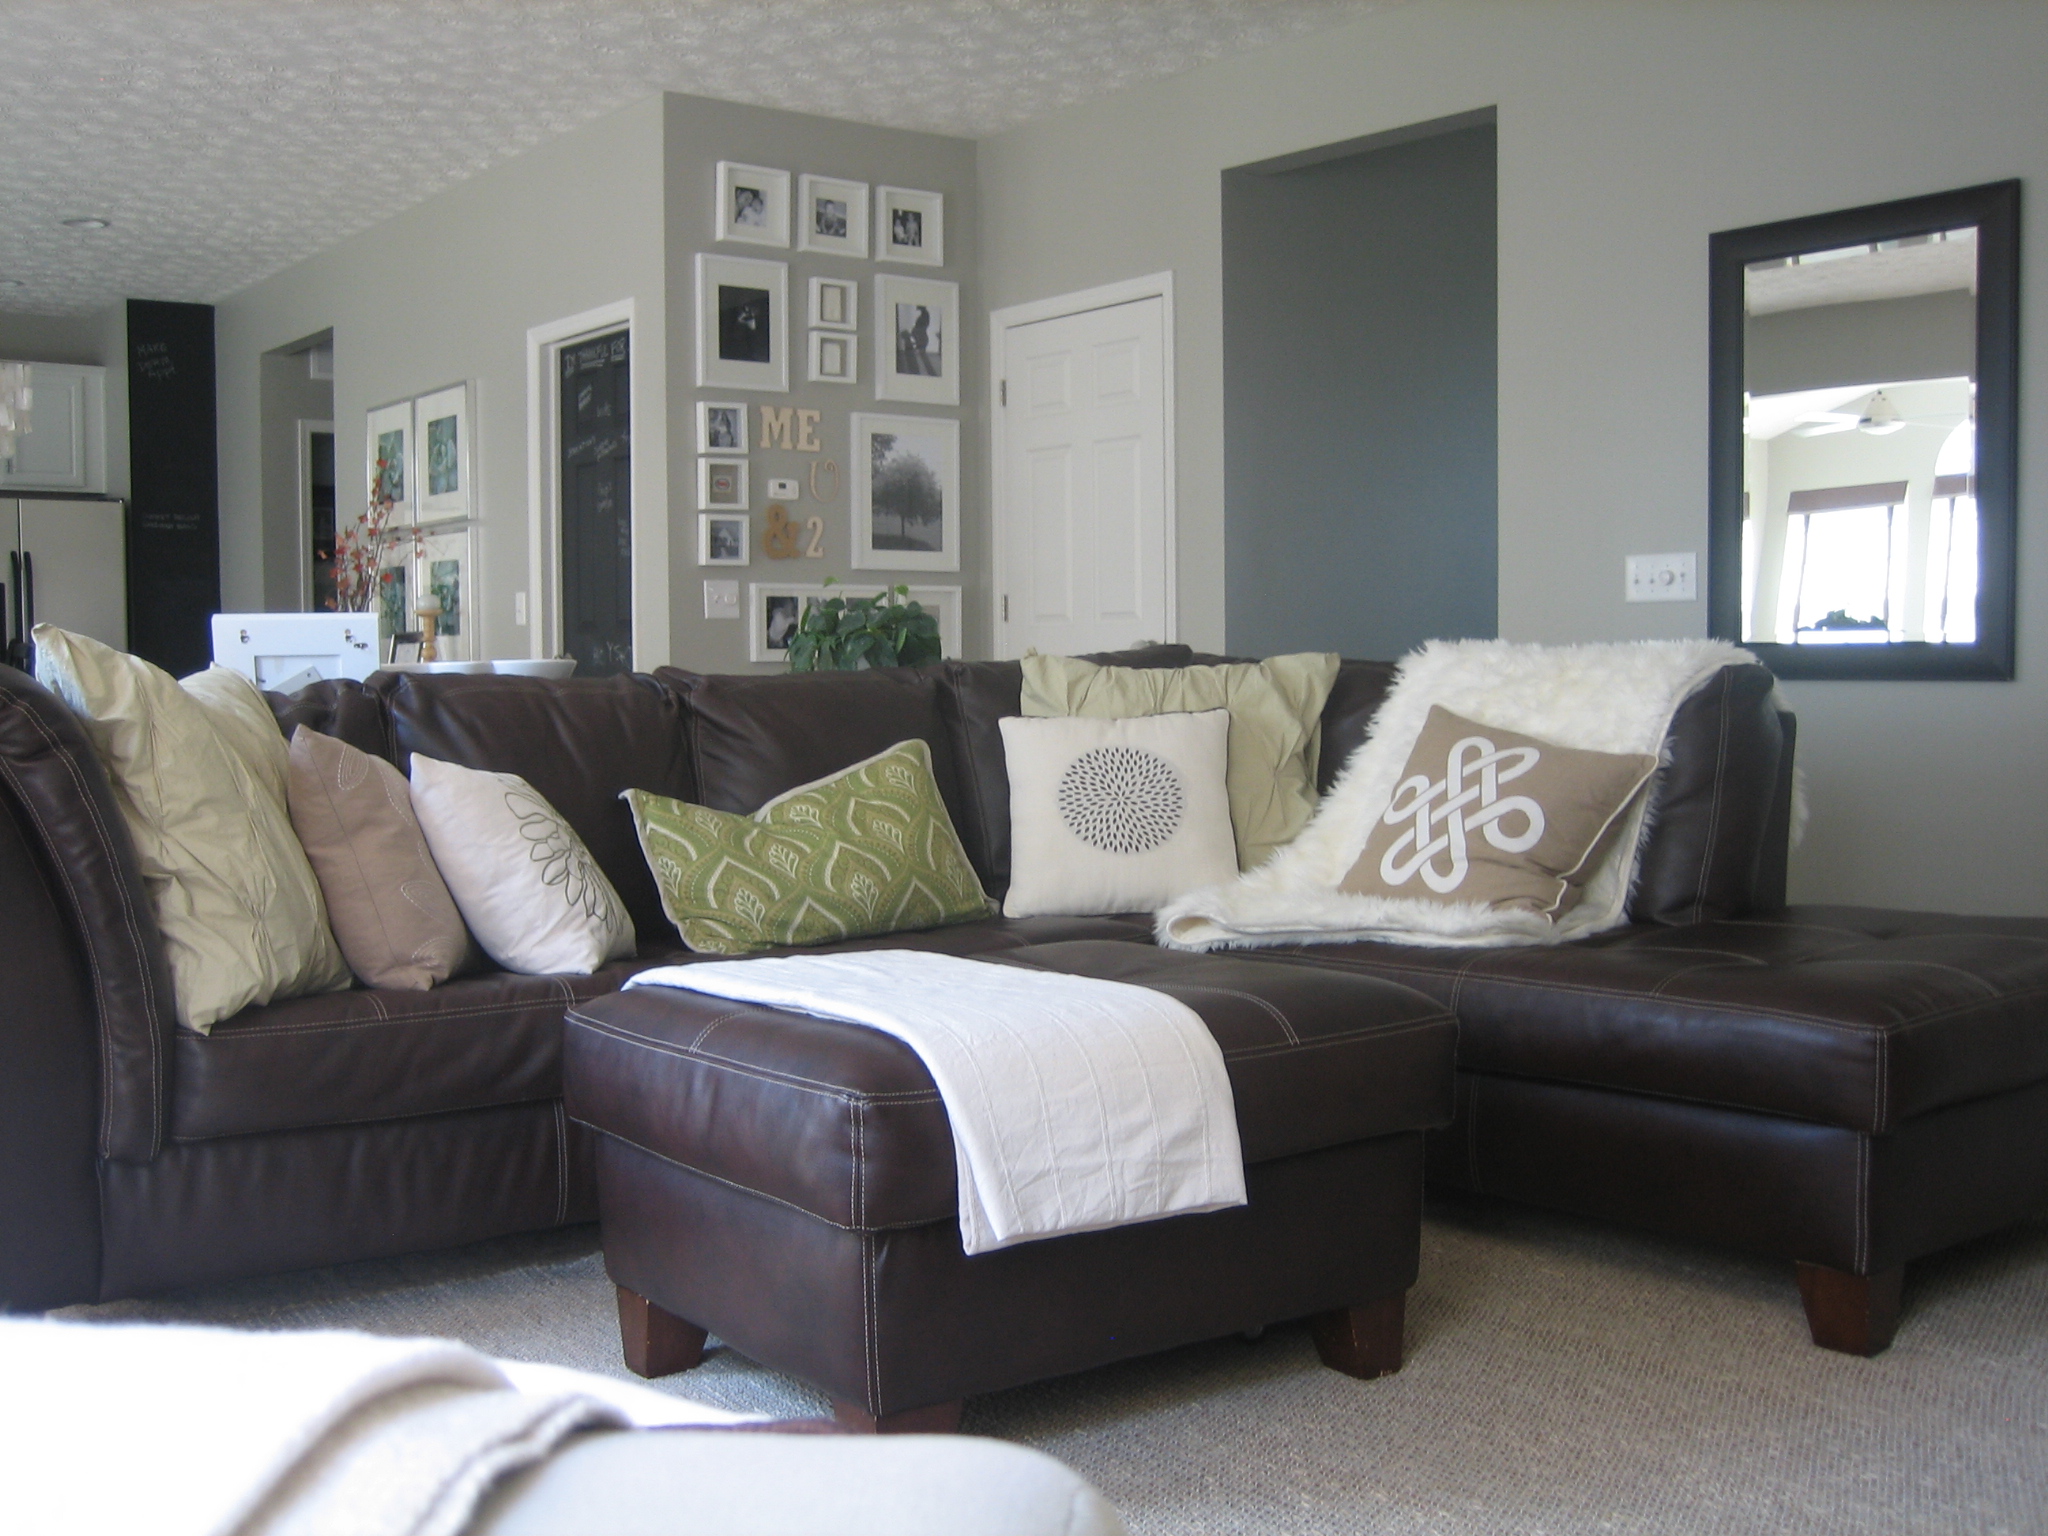
To me, nothing says “family room” more than a sectional chock full of pillows and blankets. On movie nights, we push the ottoman right up to the couch and it feels like one big bed.

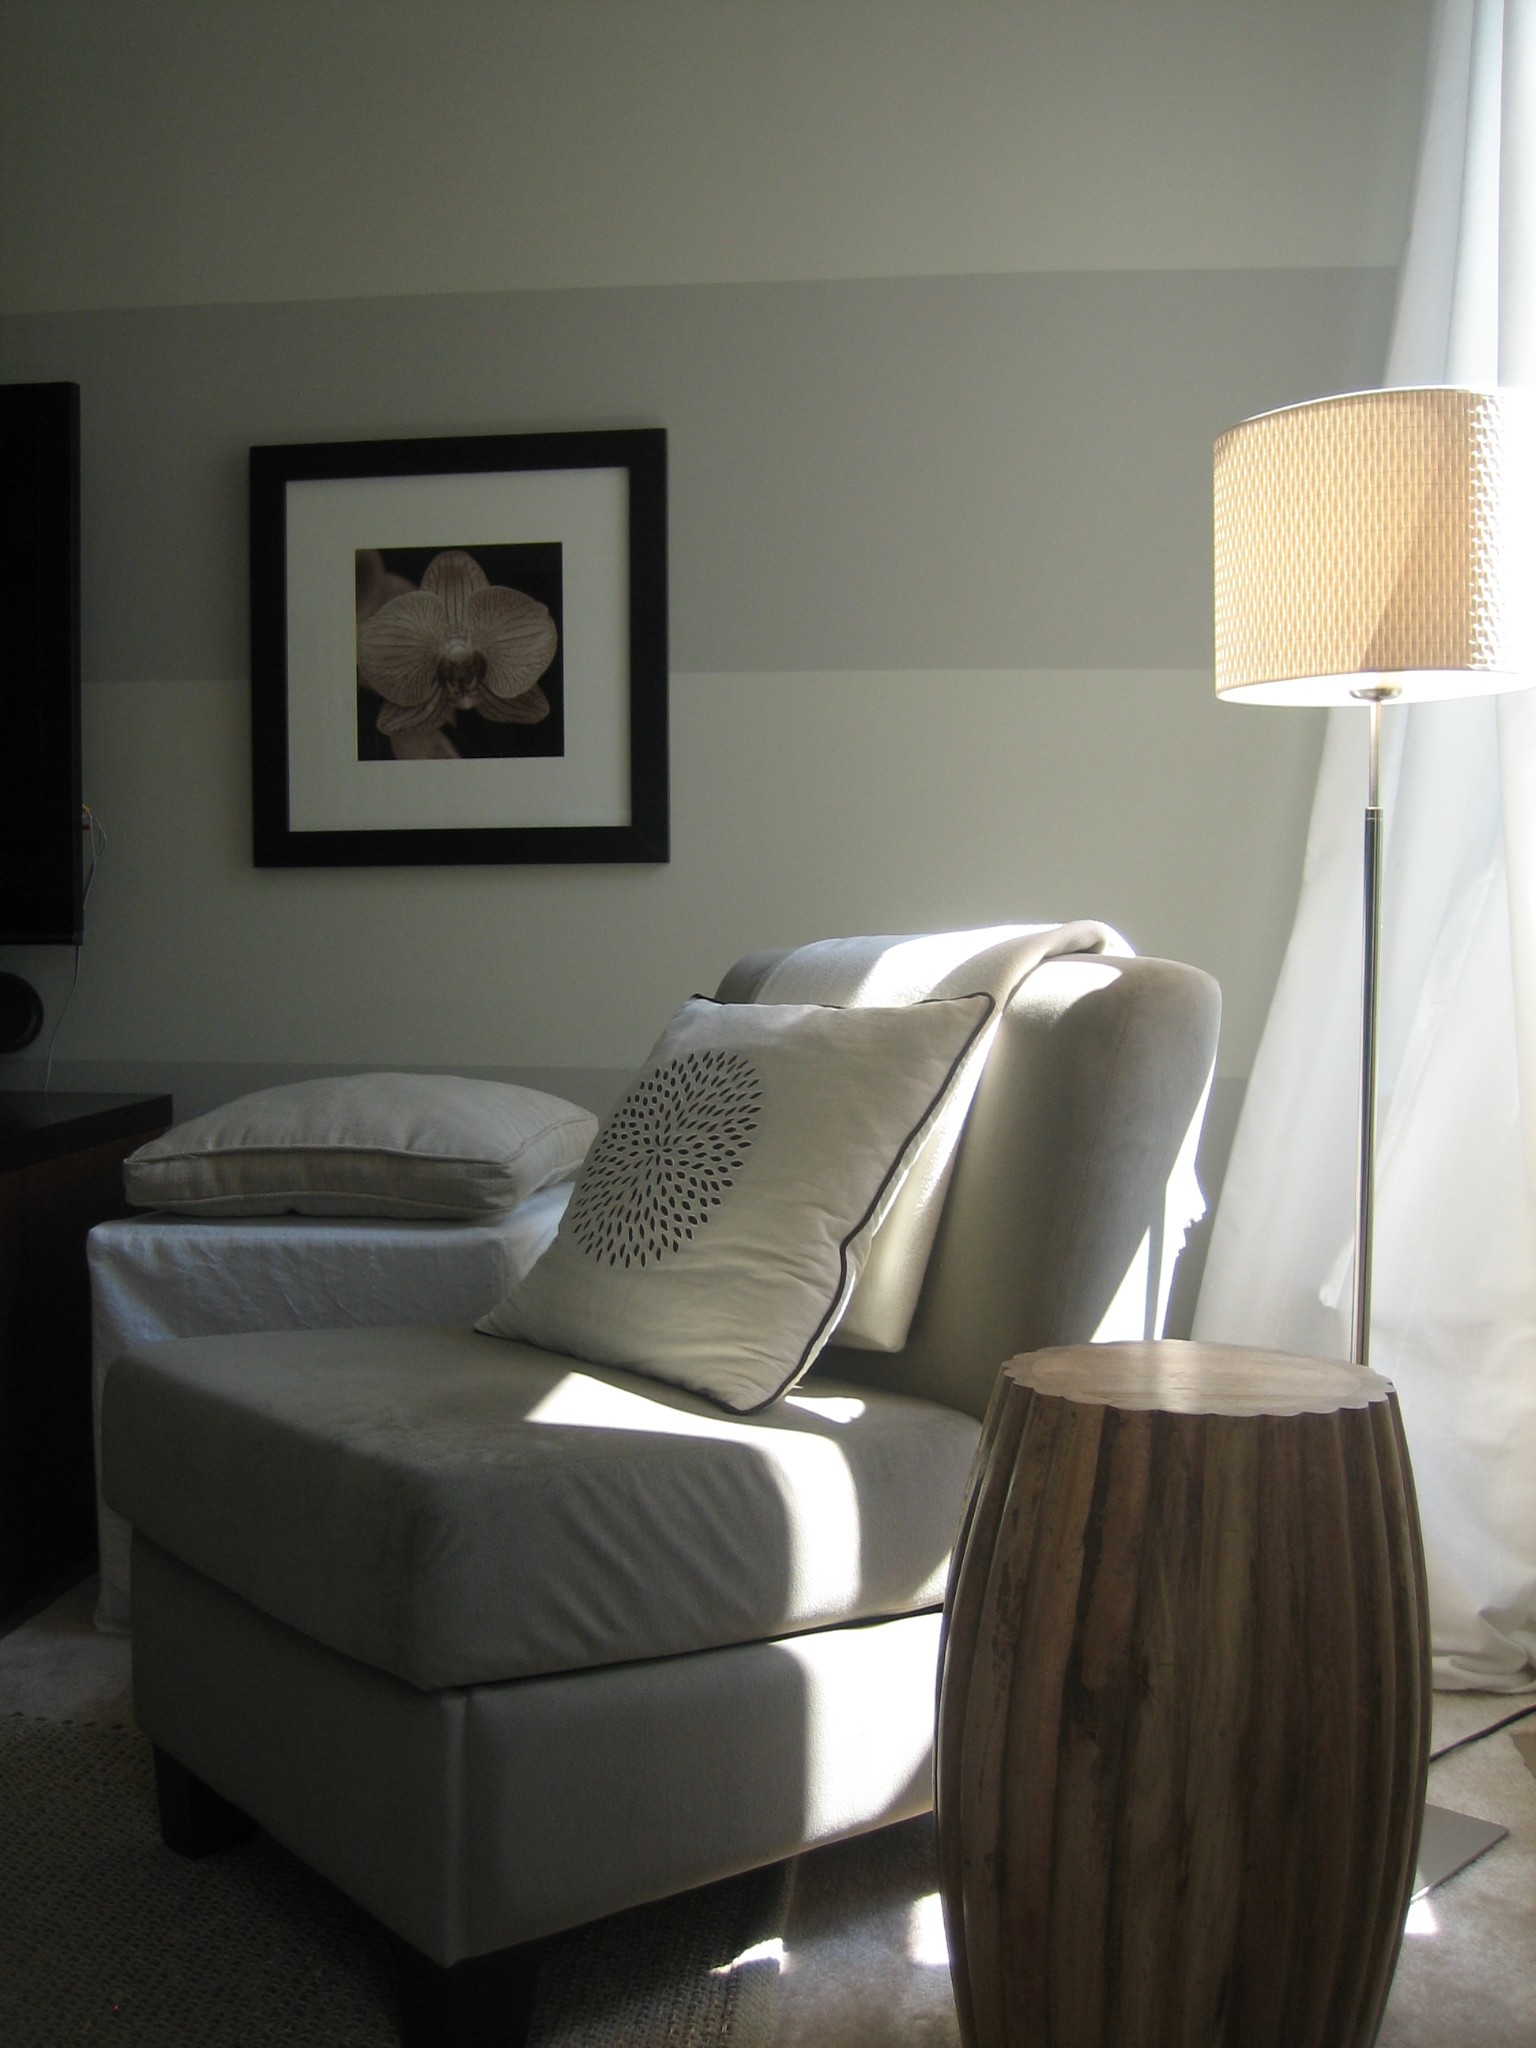
A few “for fun” shots because you’ve made it this far!


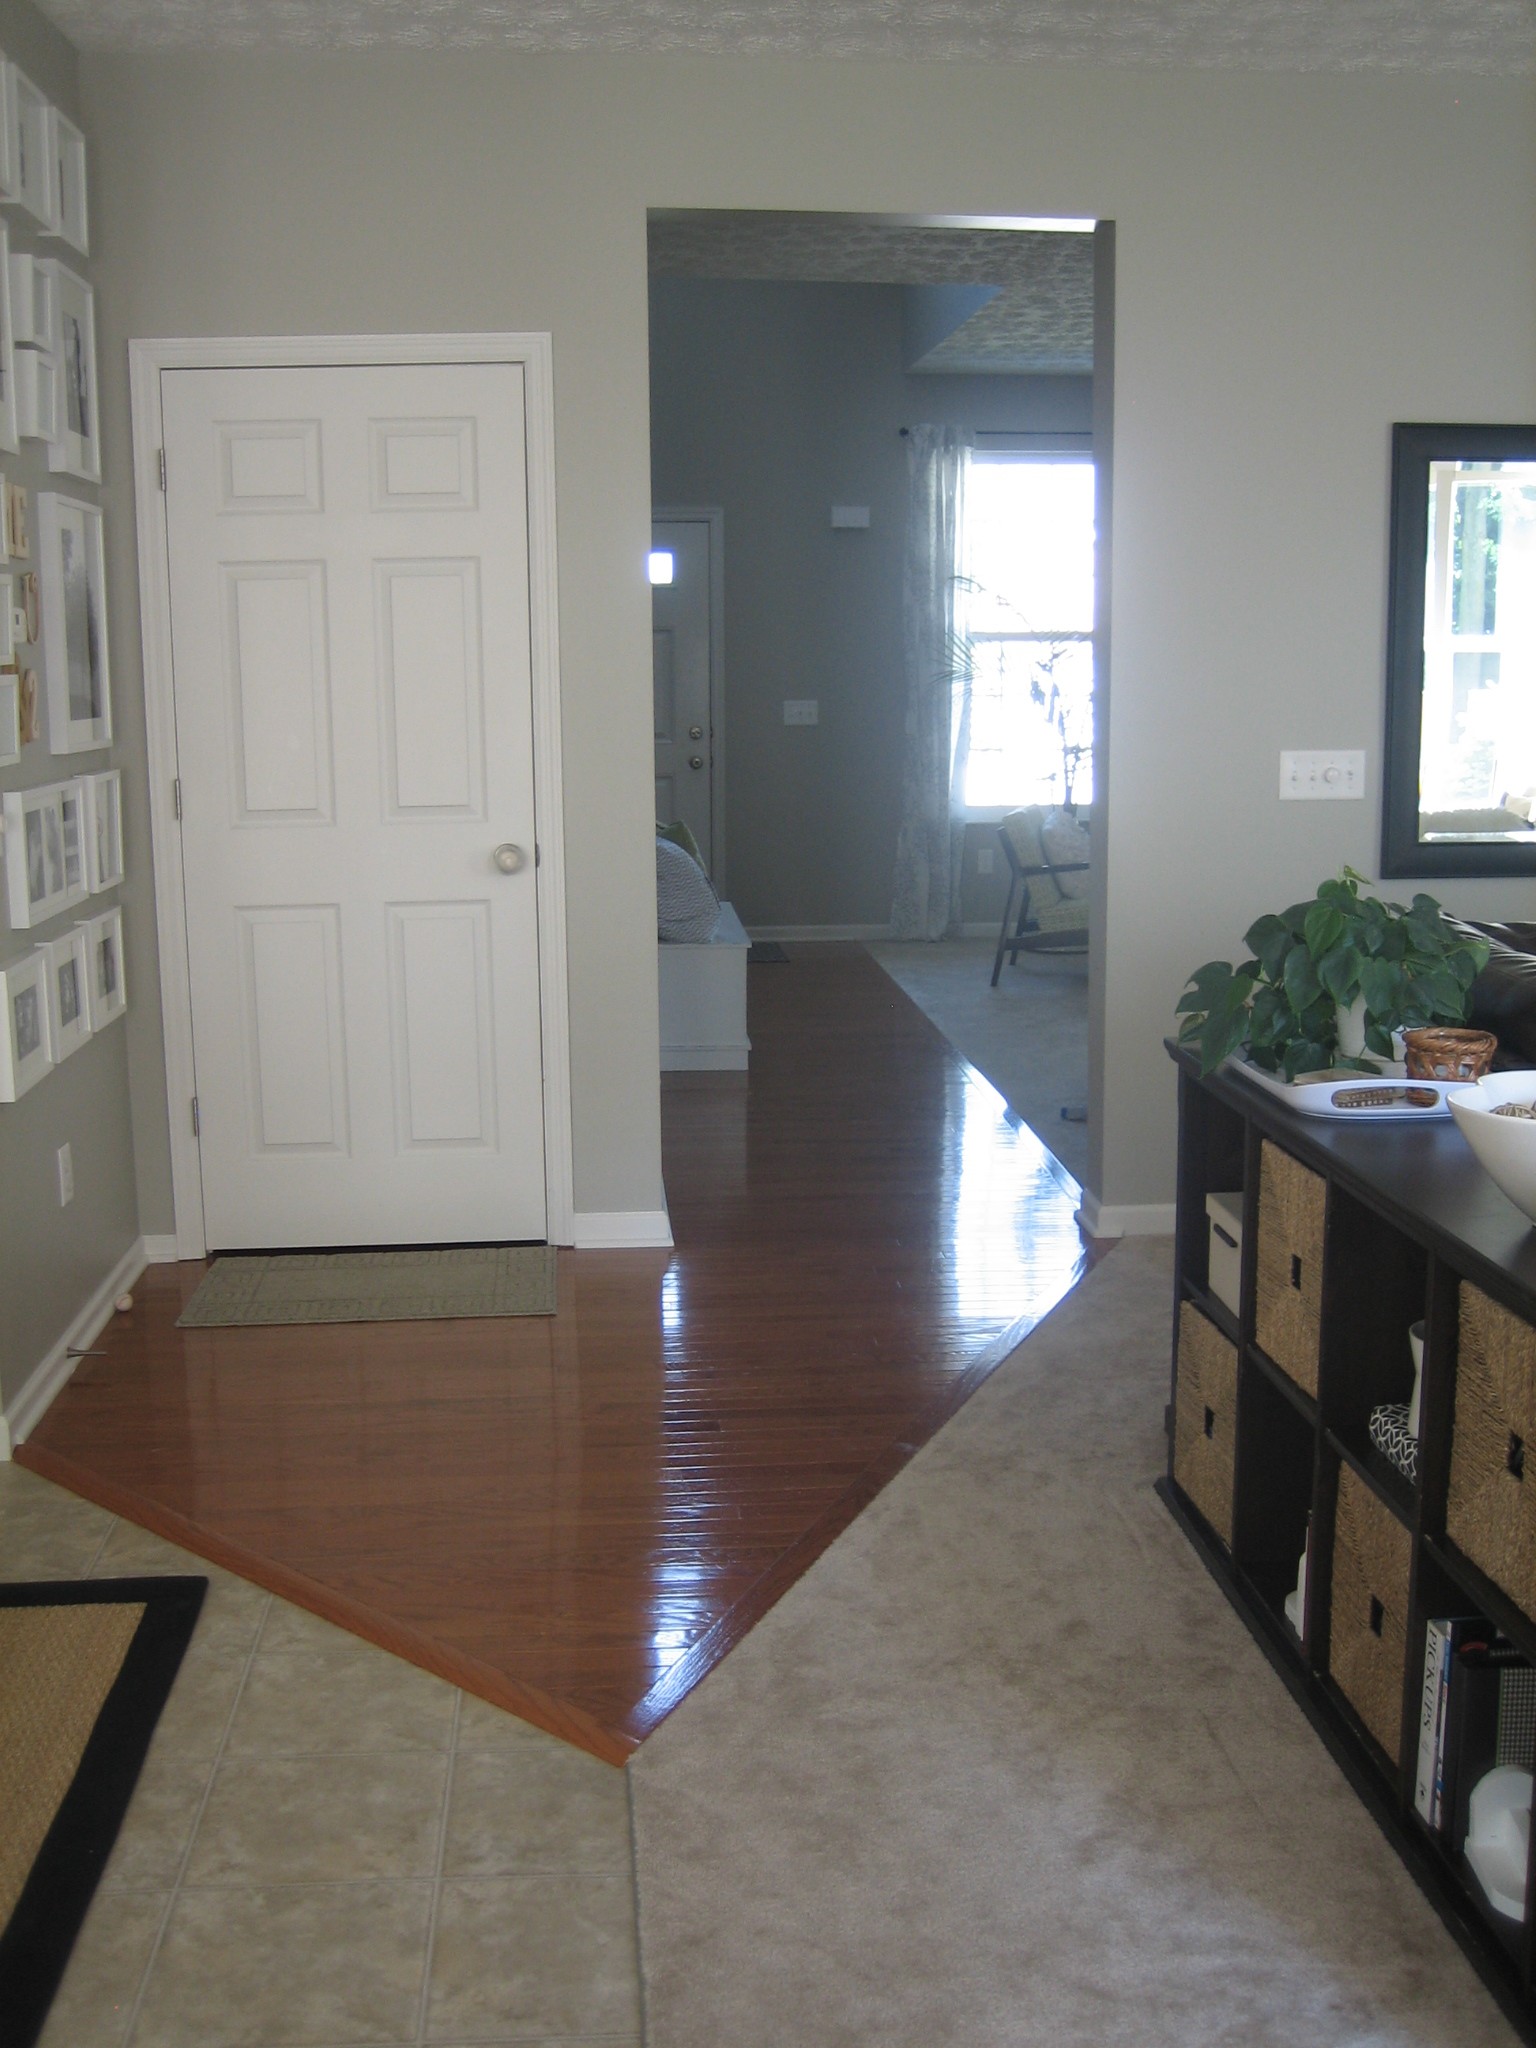
And finally the view back towards the living room from where we were last week. See what I mean about the hardwood hallway, a.k.a. The Landing Strip?

So ends my family room tour. Next week’s Feature Friday forecast is looking quite sunny, if you catch my drift.
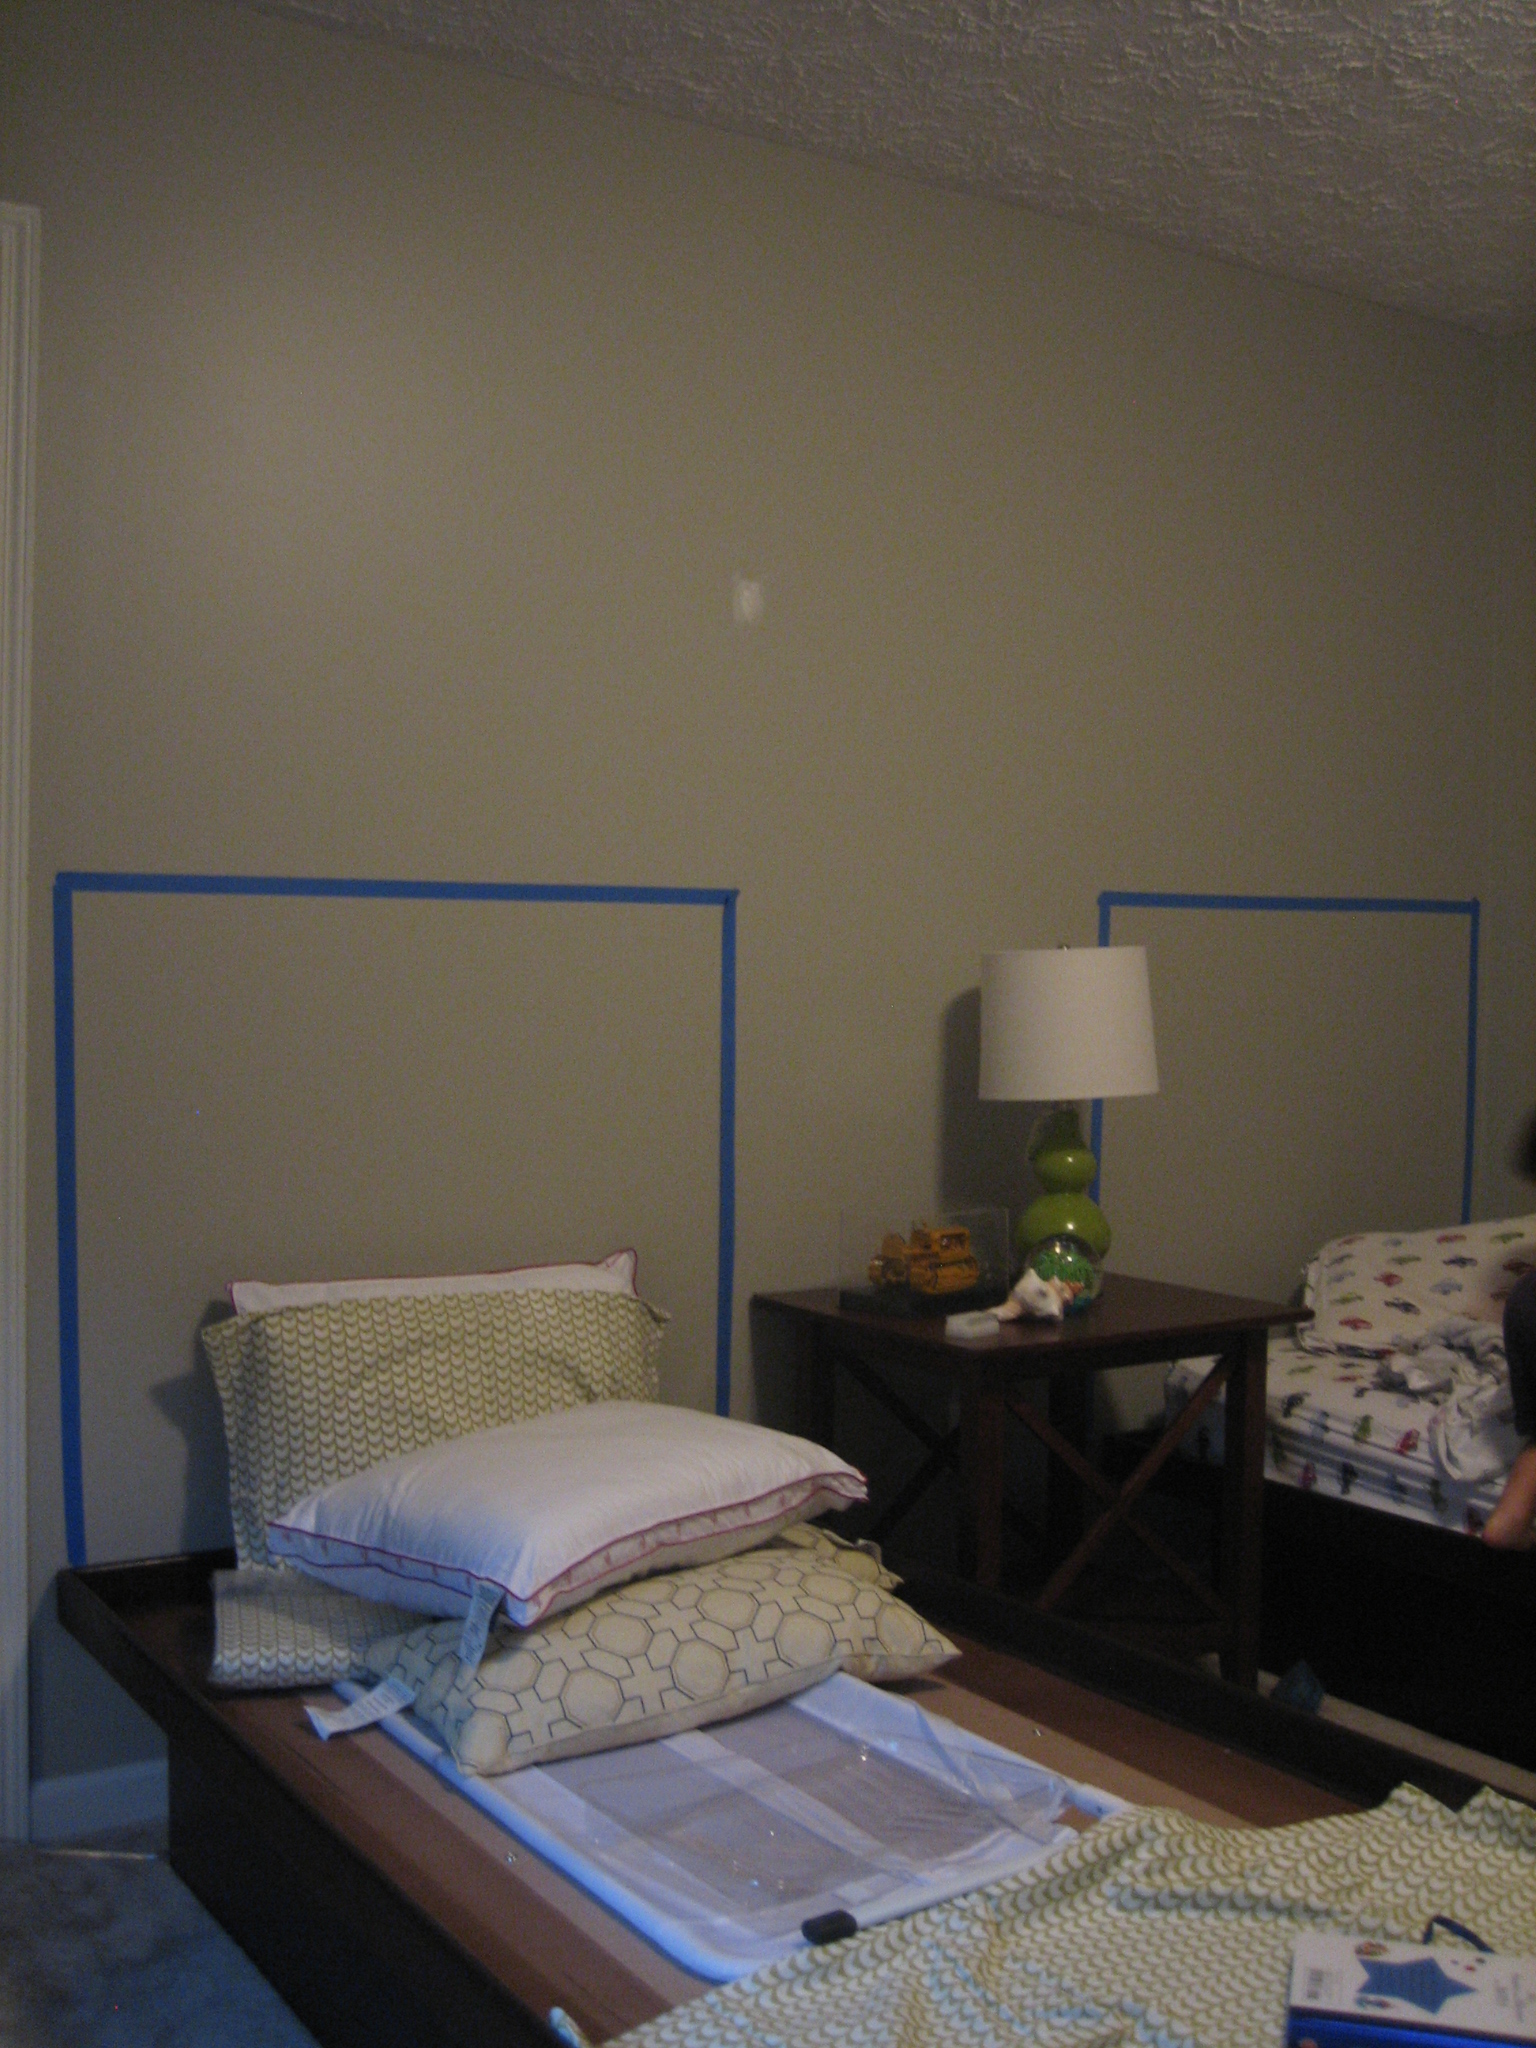
Ya’ll know that I’m working ever so sloooowly on (what will be) the boys’ shared bedroom. And I’m doing it on a budget. A few key elements (i.e., a twin platform bed, a twin mattress and a reading chair) have pretty much eaten up the budget, so everything else (i.e., textiles, storage and artwork) will be done on the cheap. From the get-go, I wanted to DIY matching upholstered headboards for the boys’ beds. While picking up a few painting supplies from Lowe’s (for a project to come!), I happened to pull a double take in the dropcloth section. I was struck by how much the dropcloth material resembled linen fabric. And then it dawned on me! For less than $10, I could use a canvas dropcloth as my headboard fabric. I quickly added a 6’x9′ dropcloth to my shopping cart. A few days later, I picked up some batting from JoAnn Fabric and the stars were aligned that day. All packaged batting was 50% off. I bought 1 bag of batting for $7. I had Handy Hubby cut 2 identical pieces of OSB from a leftover stash we had on hand. But how, do you ask, did I determine what size to make them? Good question. I have a good answer. I stuck painter’s tape up on the wall above the twin beds until I found the height and width I liked. Then I simply measured ’em and gave the numbers to Handy Hubby who cranked out 2 headboard bases in 10 minutes.

With my supplies in tow (and my boys at the pool with Handy Hubby), I set to work bringing new life to a canvas dropcloth.

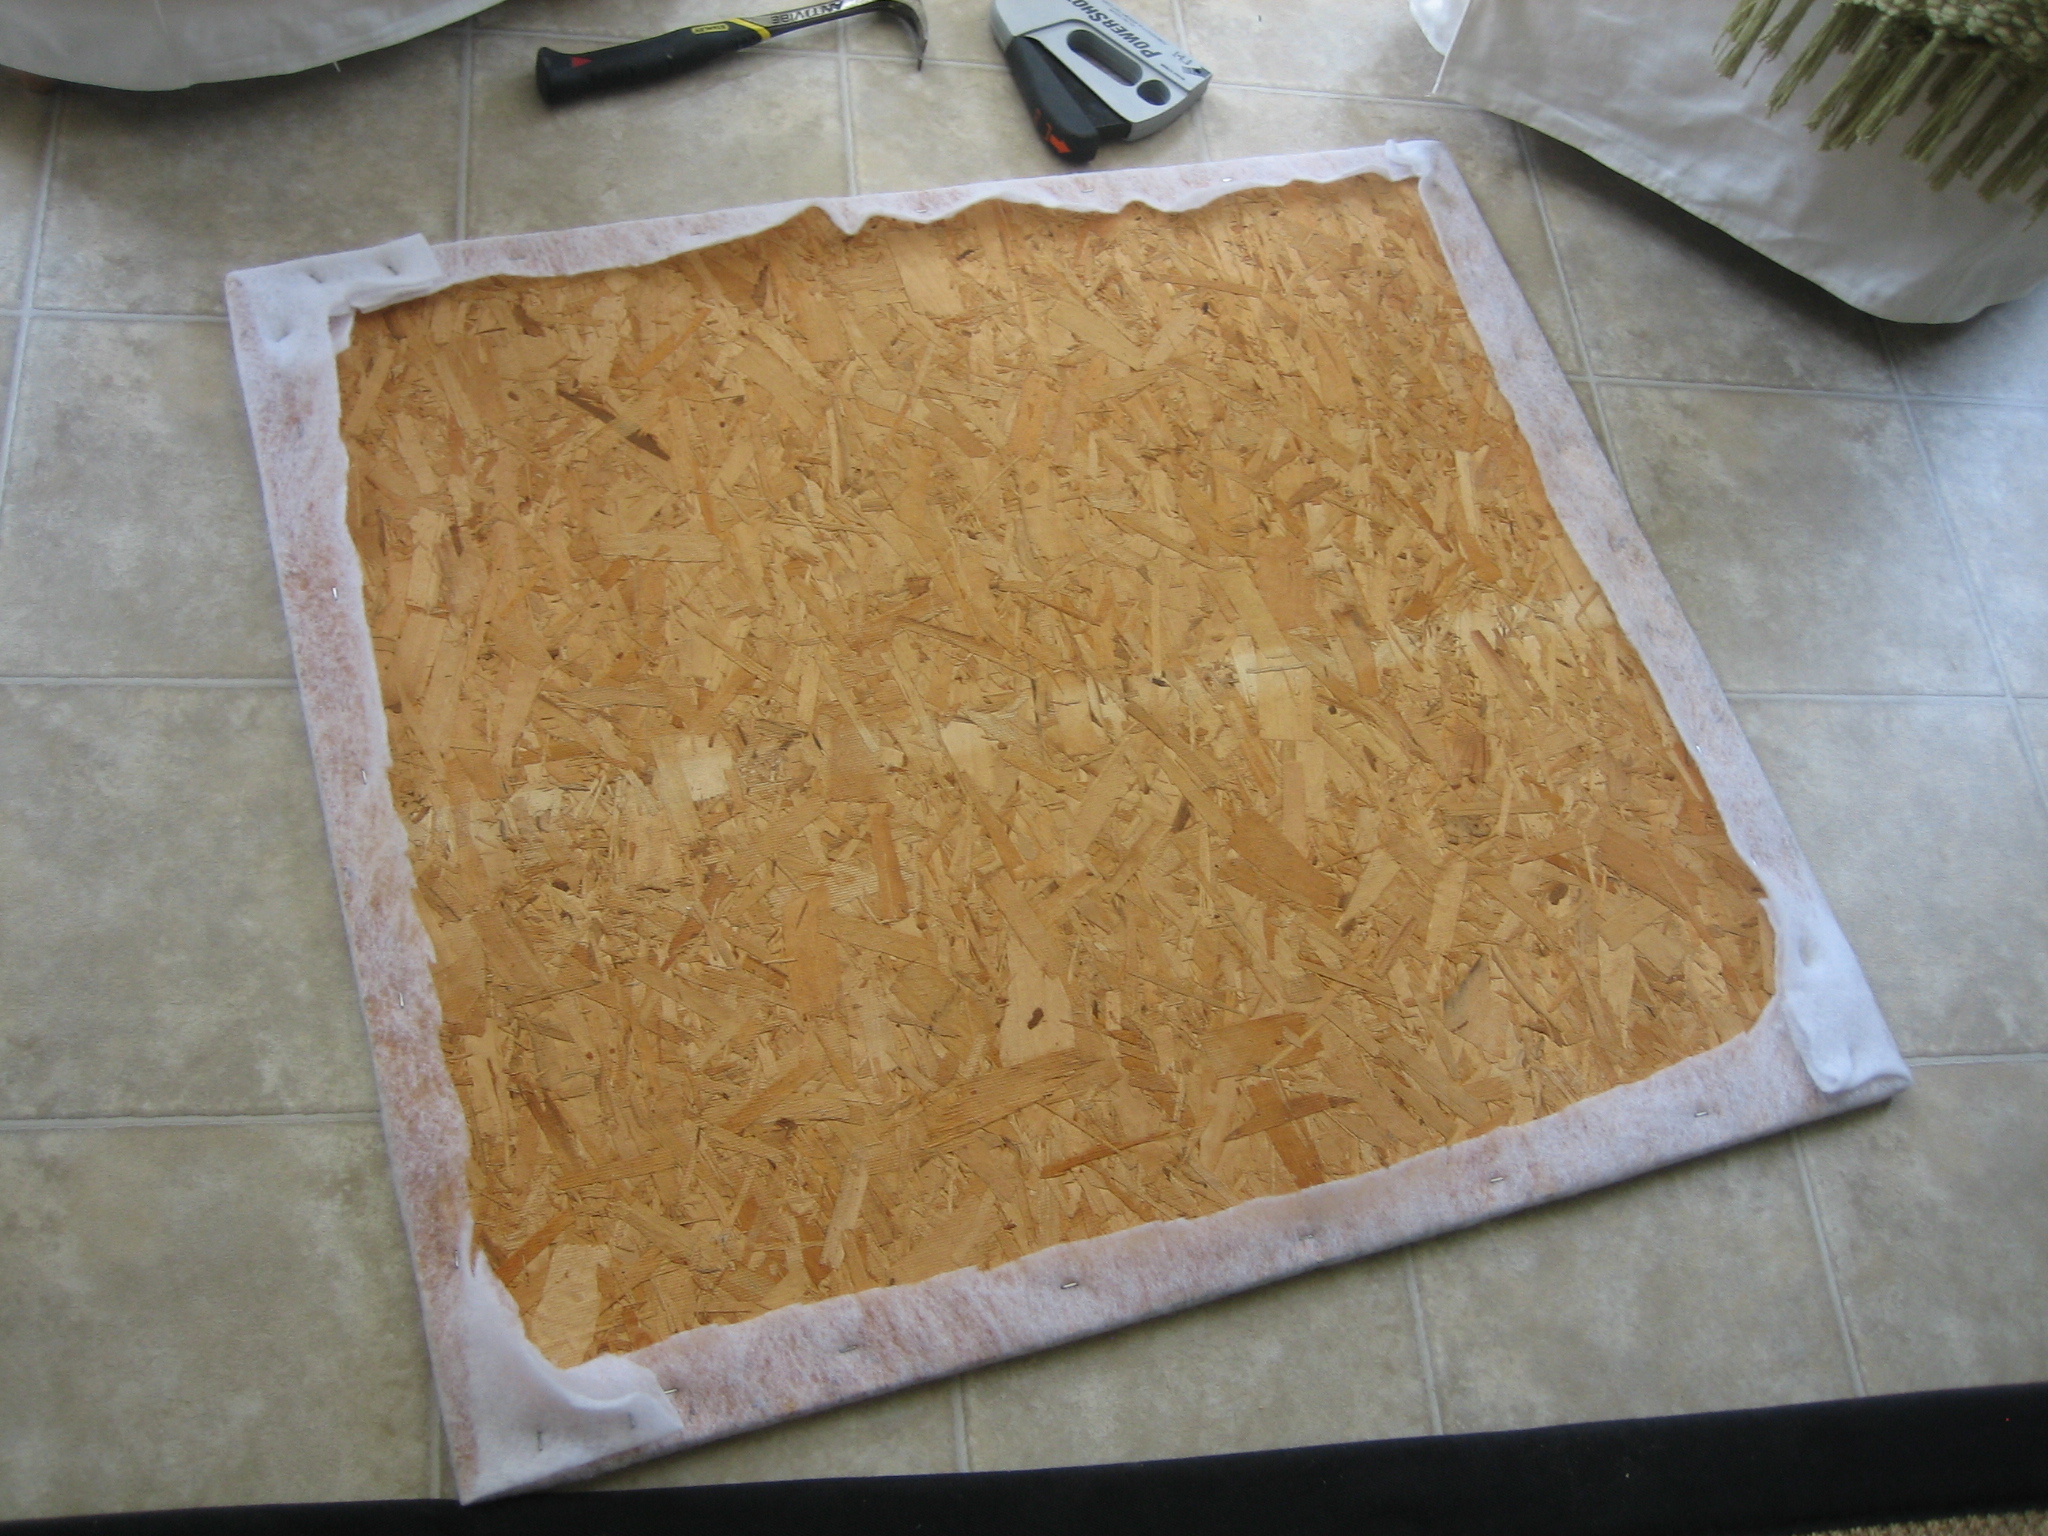
My supplies included: a washed canvas dropcloth (mine was 6’x9′ but shrunk to a little larger than 5’x8′ after washing it), 1 bag of batting, a heavy duty stapler, staples, fabric scissors and my OSB headboard bases. First, I laid the OSB on top of the batting and cut the batting along the perimeter leaving several inches on all sides.

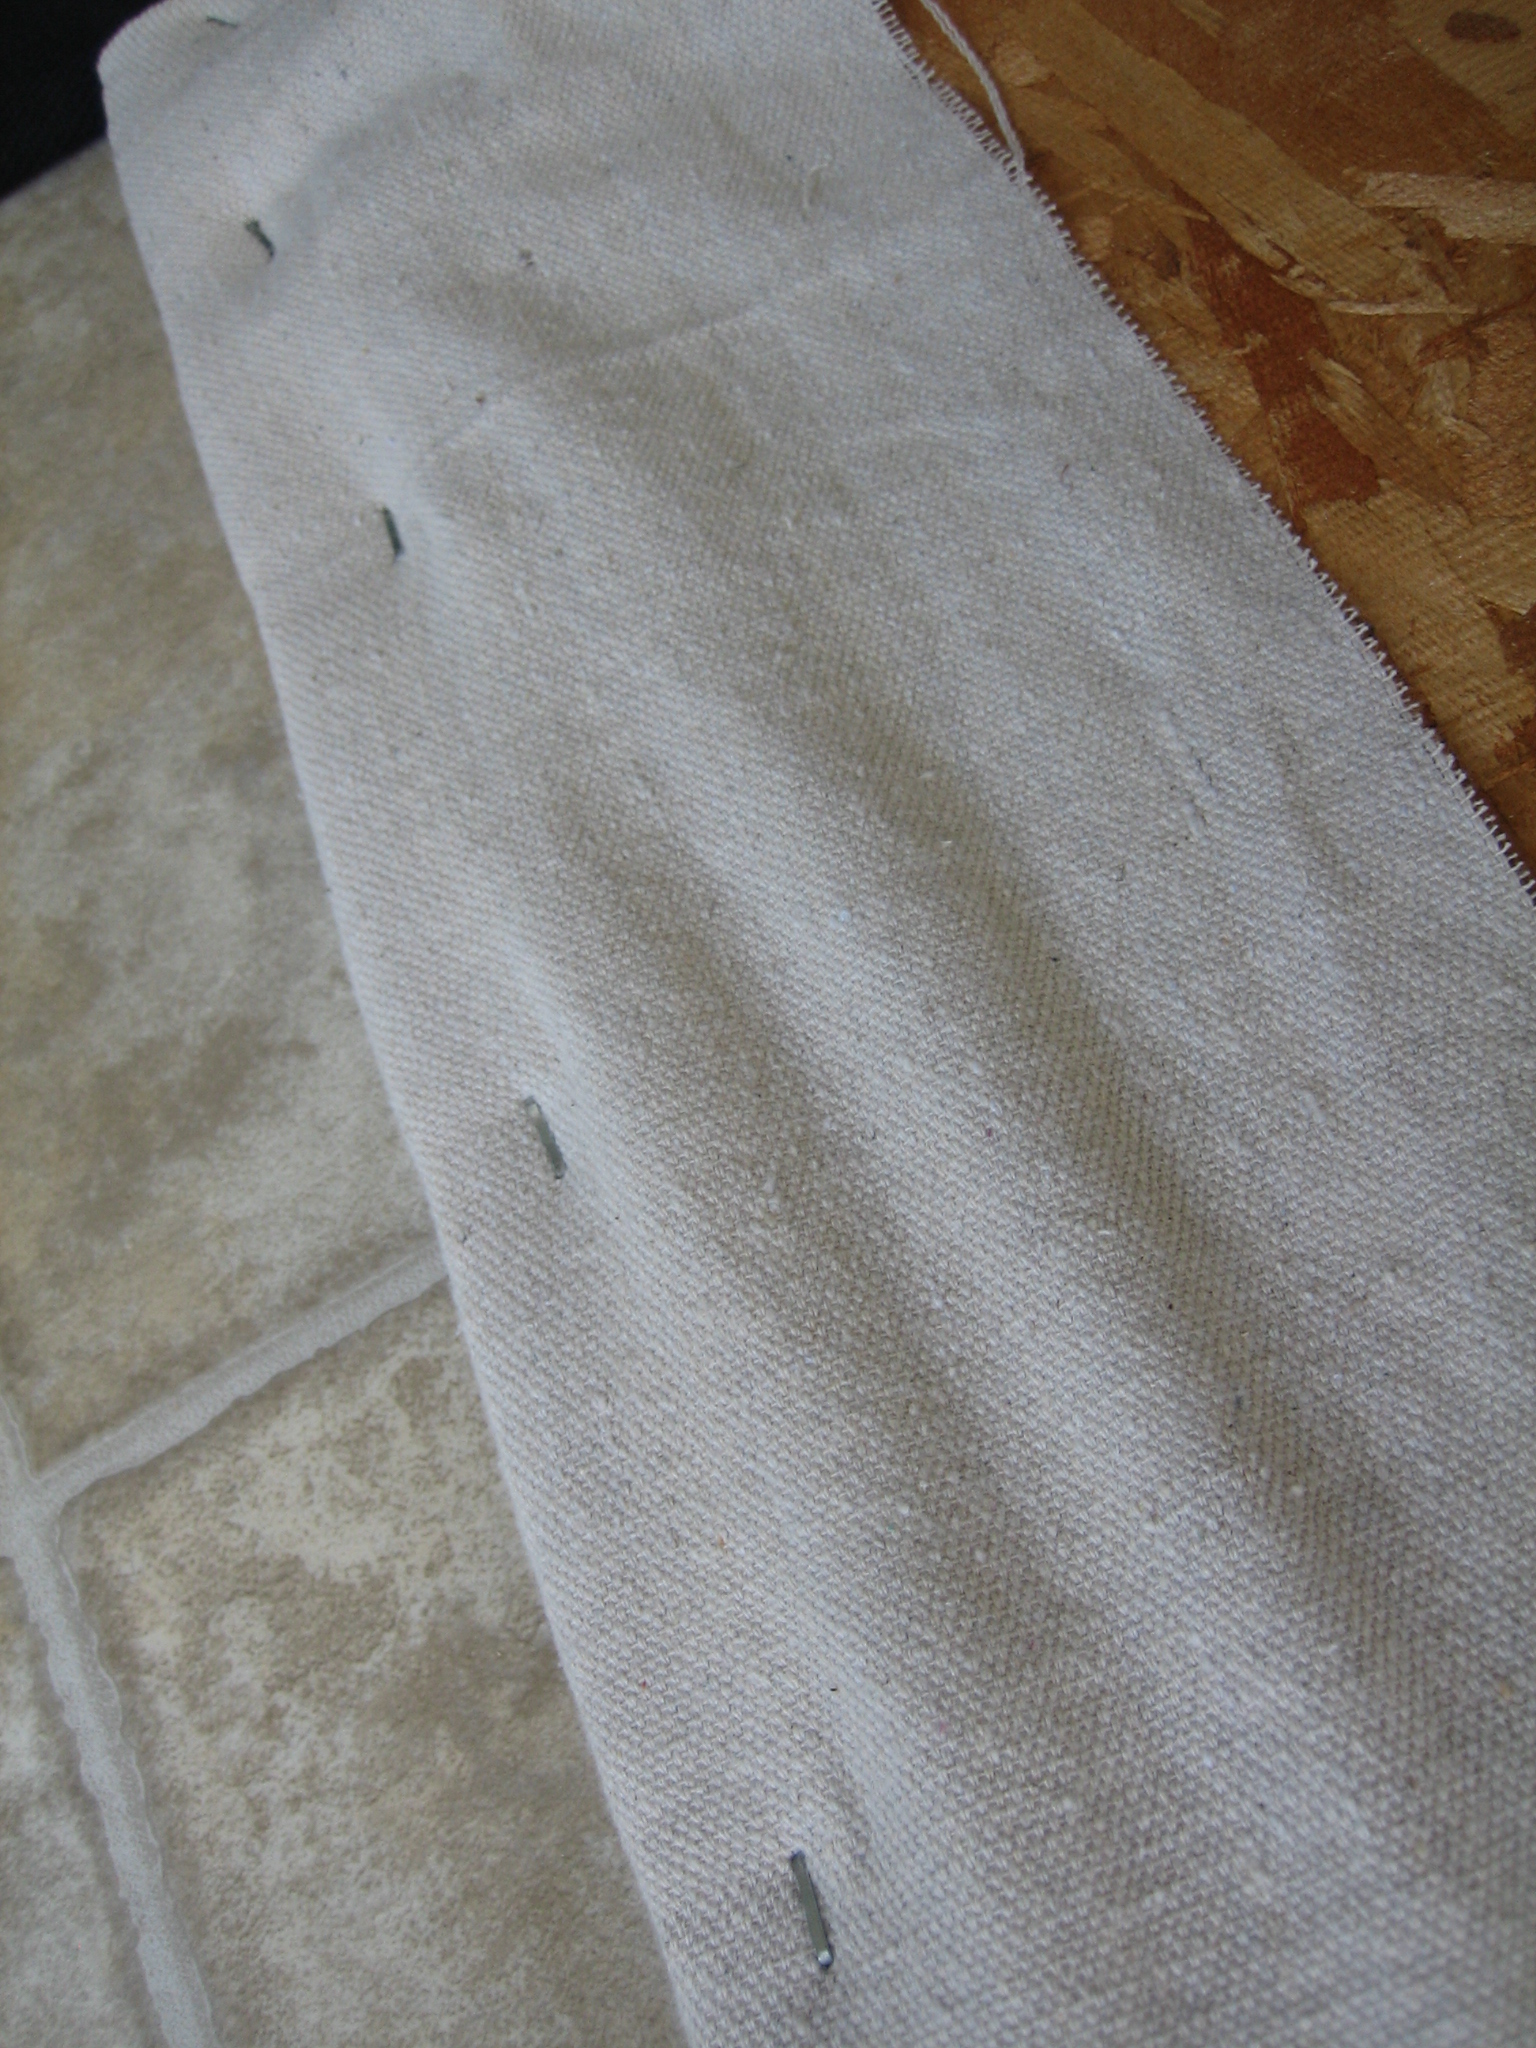
I pulled the batting taut – working back and forth on opposite sides – all the way around and stapled it to the back of the OSB. I would like to see a video of me doing this in fast forward. I’m pretty sure I’d look like an amateur wrestler on the mat. It makes for a lot of squatting and hopping.

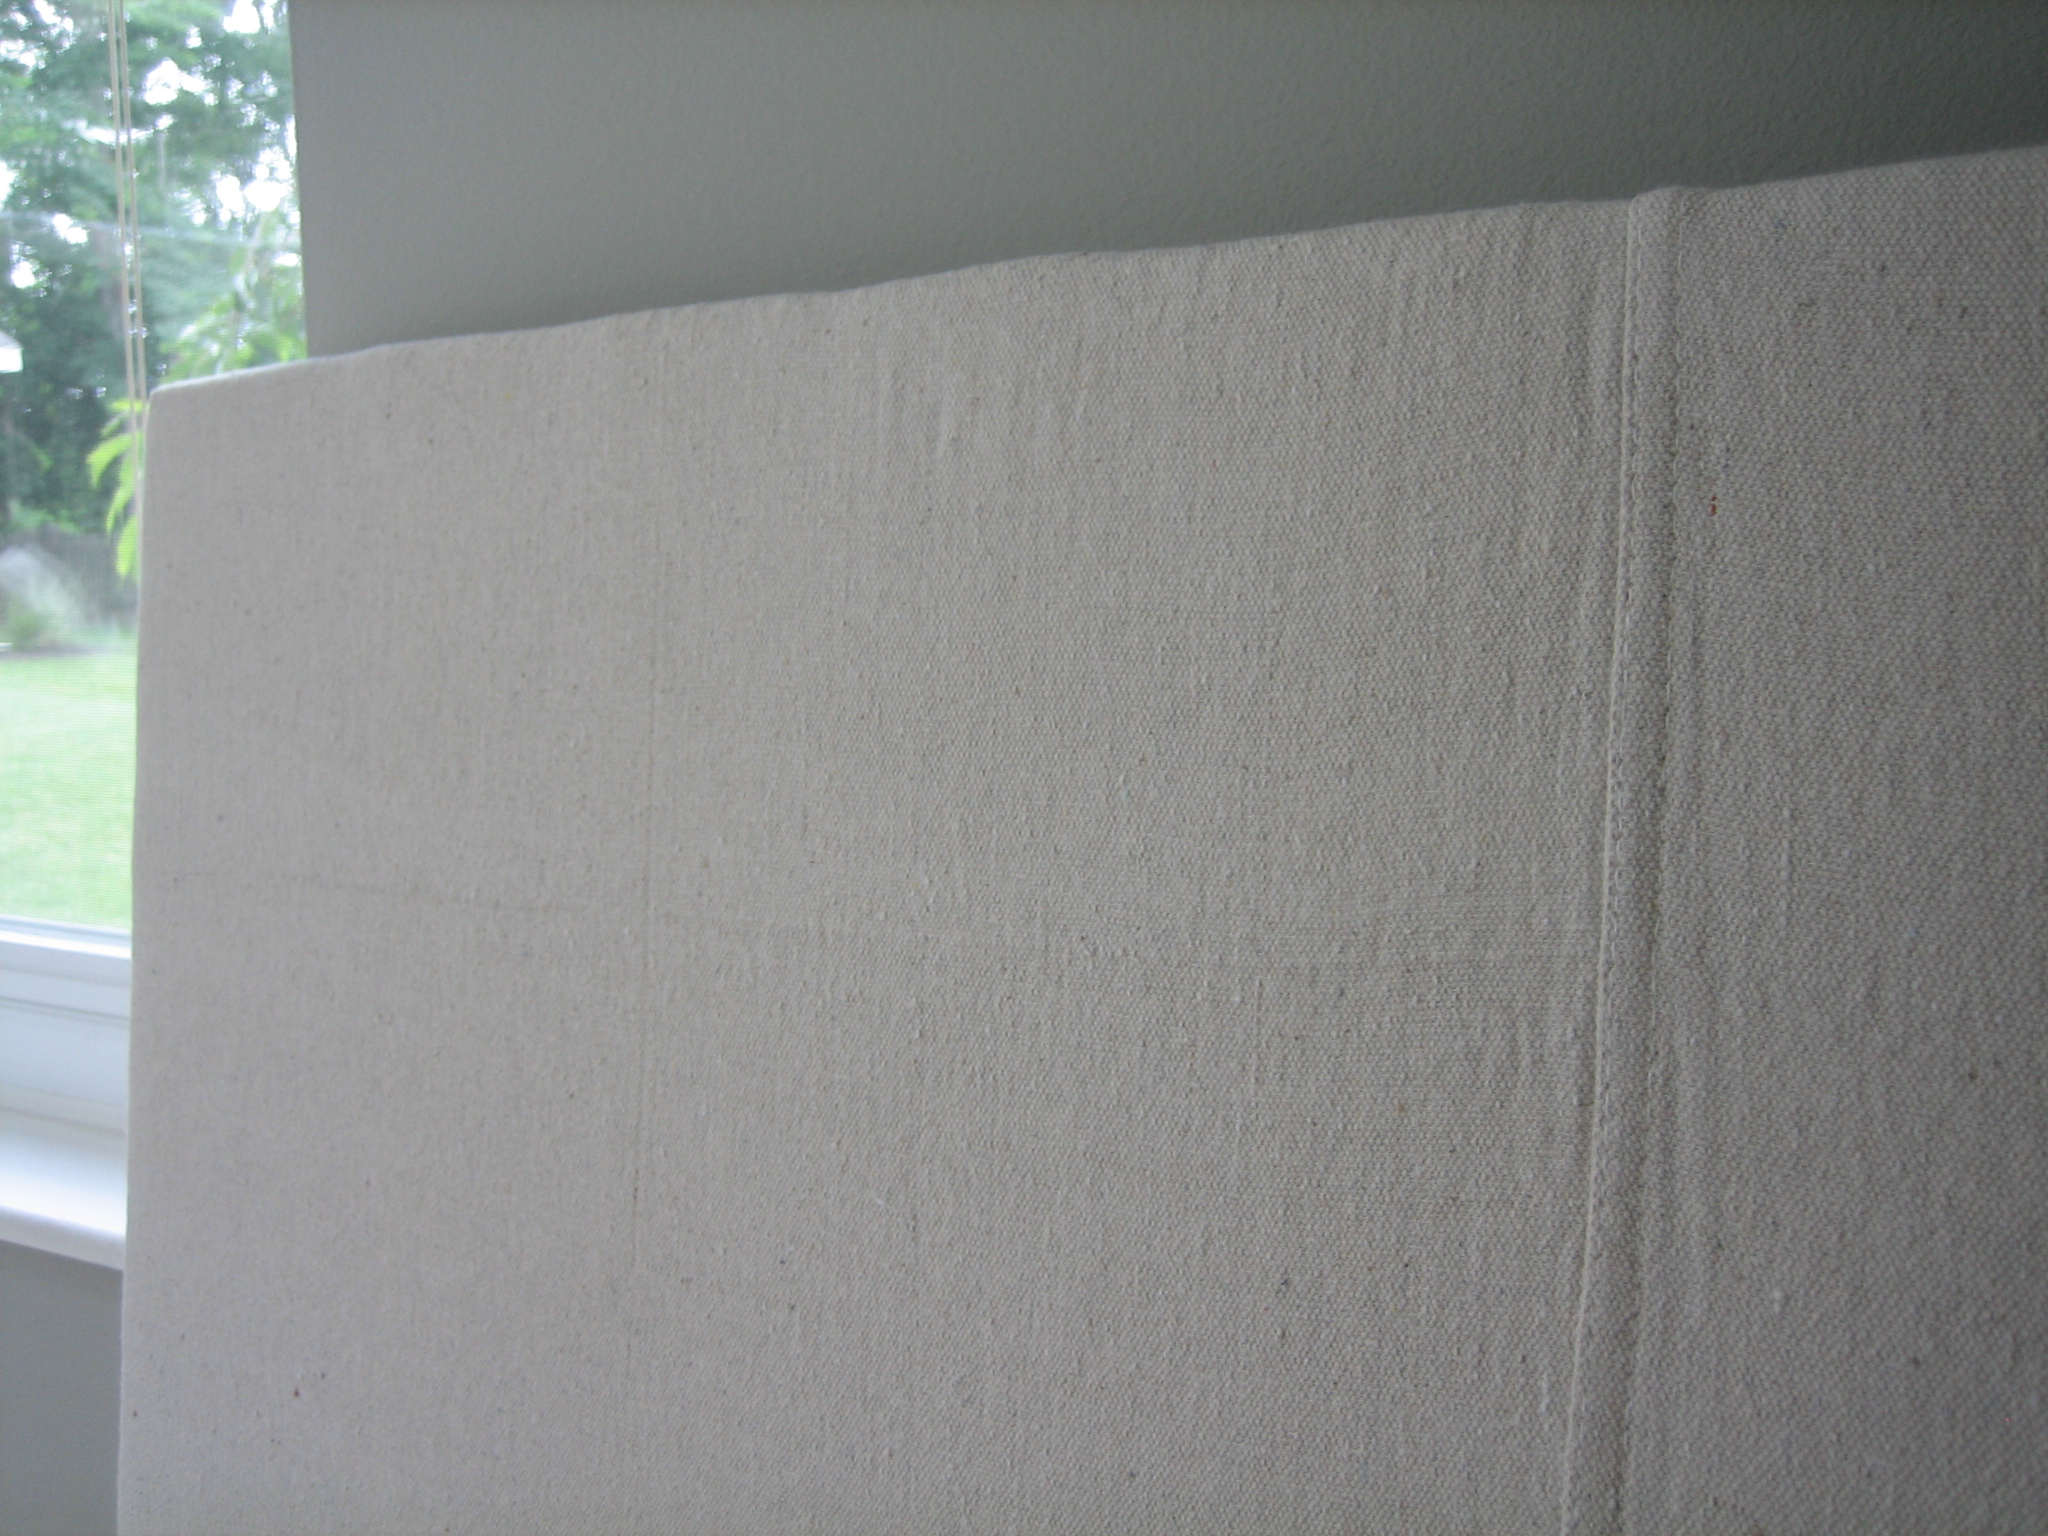
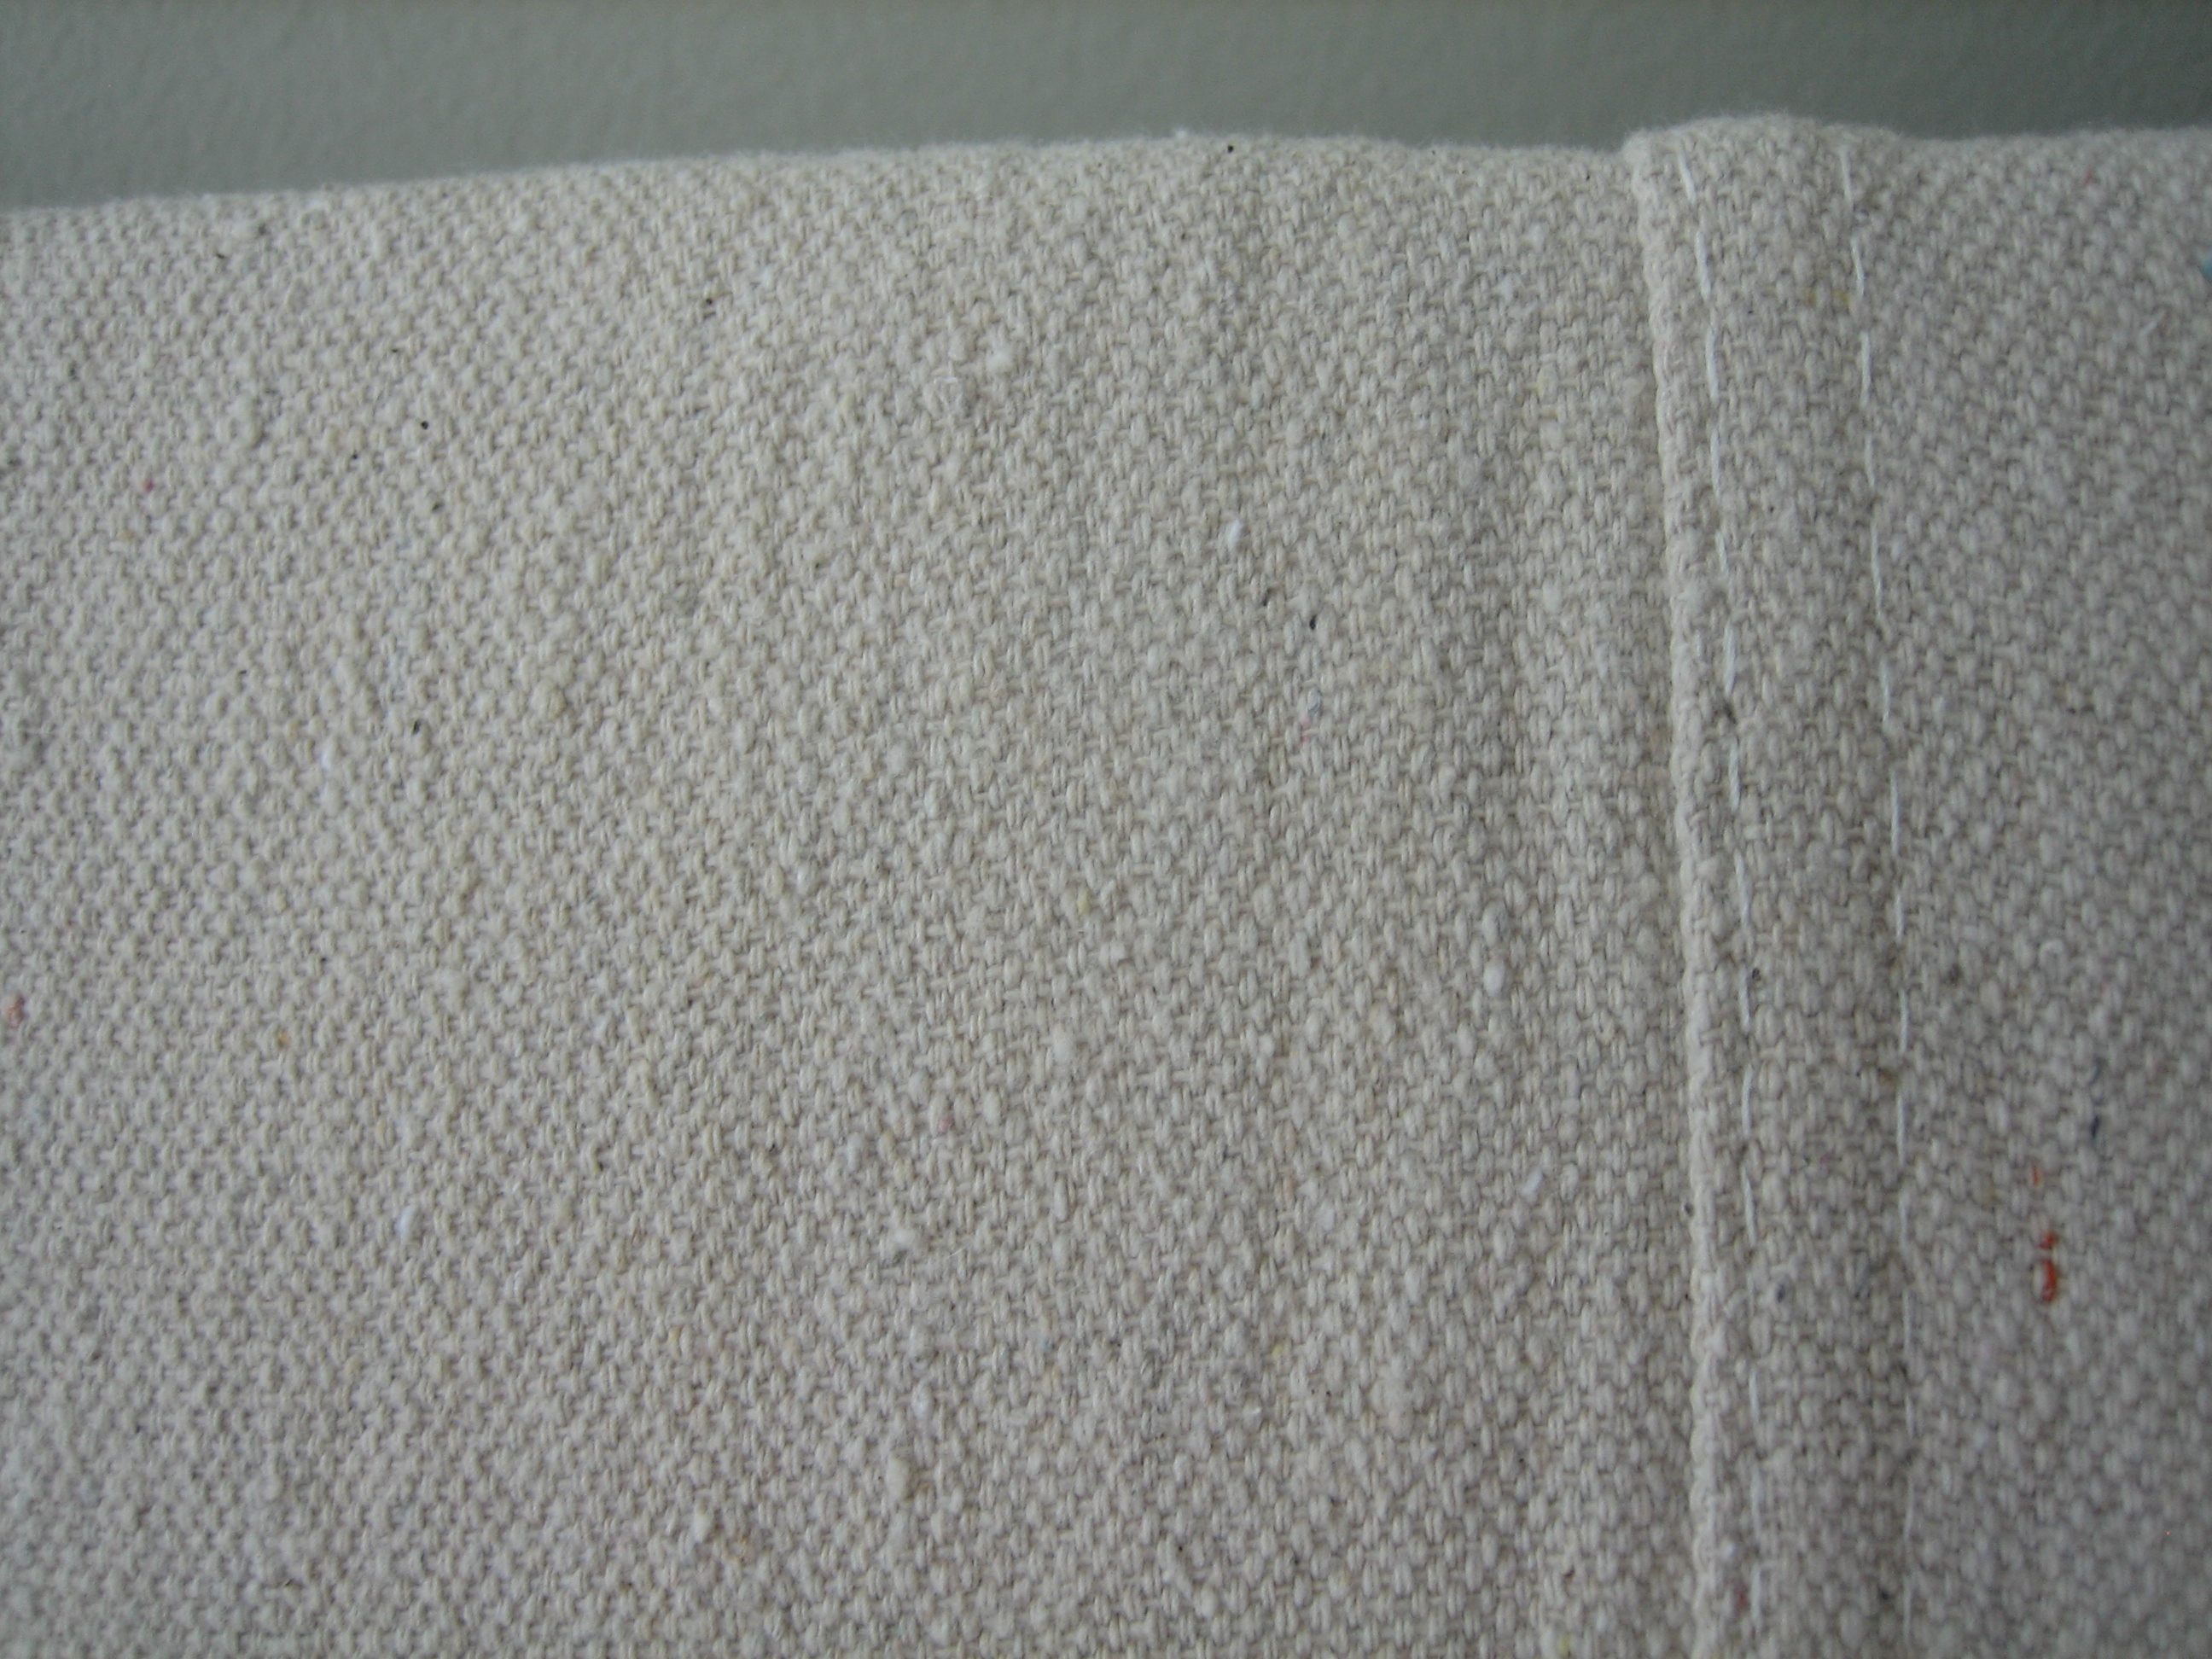
Then it was time to add my fabric (a.k.a. dropcloth) on top of the batting using the same procedure. The dropcloth I used had a seam straight down the middle of it. I decided to make that the center of each headboard and measured accordingly. (My headboards were 40″ wide, so I made sure the center seams fell at the 20″ mark on both the tops and bottoms of the headboards.)


I simply cut off the excess batting and dropcloth material.

I turned the whole thing over and VOILA!

A totally easy, cheap and kid-friendly headboard. Or, shall I say, headboardS. I just repeated the whole process over for my second headboard. A few close ups…


Sorry, but you’ll have to wait to see them hung in the boys’ bedroom…I’m getting there! I just love the way this project turned out. I’ve never made a headboard before but have always wanted to try. On a scale of 1-10, 10 being the most difficult, this was probably a 2 or 3. It’s easy, I’m telling you. I like the way the canvas has a worn linen look to it. If I were to do an adult’s bedroom (say, our master bedroom for example), I probably would have used more layers of batting to get a plusher look. The single layer is perfect for a kid’s room though and perfect for my dwindling budget. My favorite part is the seam…which was a total surprise! I couldn’t tell from the packaging that the dropcloth would have a seam smack dab in the middle. But it worked out in the end. All for $16…for 2 headboards.
Stay tuned for Part 2 of The Ugly Duckling where I rescue another dropcloth (or 2) from becoming a painter’s catchall.


budget decor, kid-friendly